How to Care for Epiphytic Bladderwort in Clean Mounts: A Hobbyist's Journey
I remember the first time I saw an epiphytic bladderwort mounted on a pristine piece of cork bark. It was stunning—a delicate lace of green, studded with tiny, jewel-like bladders, floating seemingly in mid-air. I was captivated. But as a fellow plant enthusiast, you know the feeling that follows: the nagging worry. How do you keep something so unique alive outside of a terrarium? How do you water a plant with no soil, mounted on a piece of wood, without causing rot or losing those precious, insect-trapping bladders? The fear of killing this fascinating carnivore by misunderstanding its needs is real. I’ve been there, staring at a newly mounted plant, paralyzed by conflicting online advice. That’s why I embarked on a hands-on experiment to demystify the process, documenting a real, two-week journey with all its successes and stumbles.
My goal was clear: to successfully establish and maintain an epiphytic bladderwort, specifically a Utricularia alpina hybrid, in a clean mount system, replicating its natural epiphytic habitat as closely as possible in my home environment.

Understanding Your Epiphytic Bladderwort
Before we even touch the mounting materials, it’s crucial to understand what makes these plants tick. Unlike their terrestrial or aquatic cousins, epiphytic bladderworts like Utricularia alpina, U. quelchii, or U. campbelliana grow on tree branches in high-humidity cloud forests. They don’t parasitize the tree; they simply use it as an anchor. Their nutrition comes from trapping microscopic organisms in their iconic bladders and from whatever minimal organic matter accumulates around their roots. This is the first key to their care: they are adapted to high humidity, excellent air circulation, and very low-nutrient conditions. As noted by the International Carnivorous Plant Society, attempting to grow these like a typical houseplant is the most common pitfall leading to failure.
Gathering the Right Materials for a Clean Mount
The term "clean mount" is intentional. We’re not using soil or sphagnum moss that might break down and sour. The philosophy is to provide a long-lasting, inert, and aesthetically pleasing foundation.
Here’s what I gathered for my setup:
")
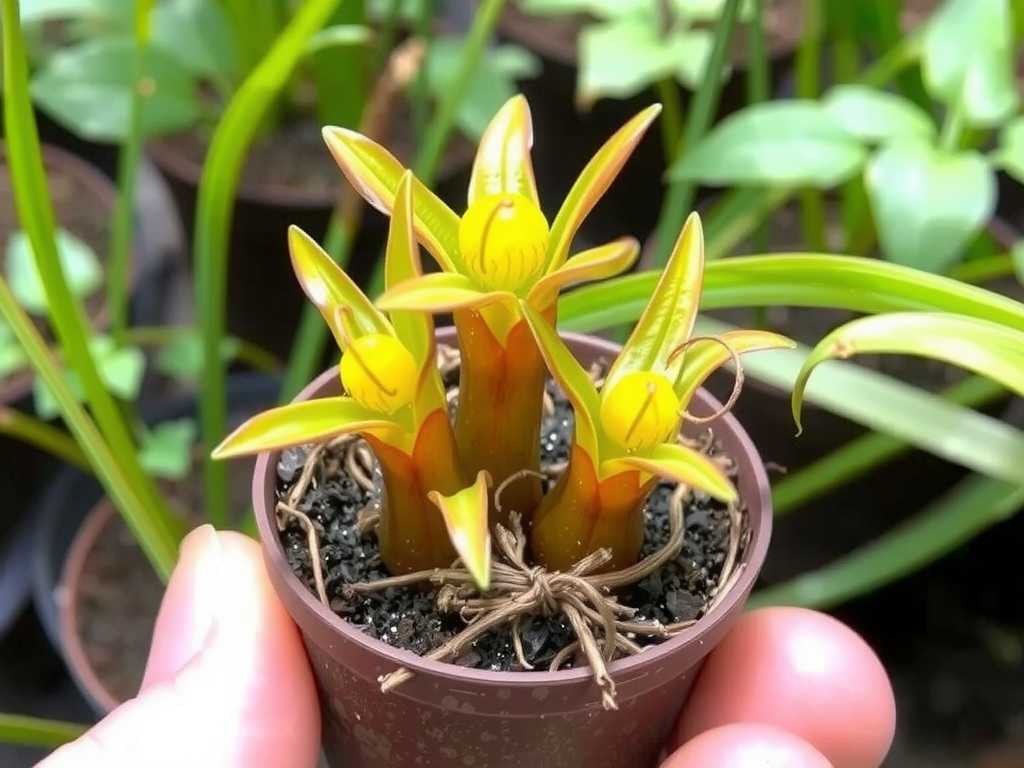
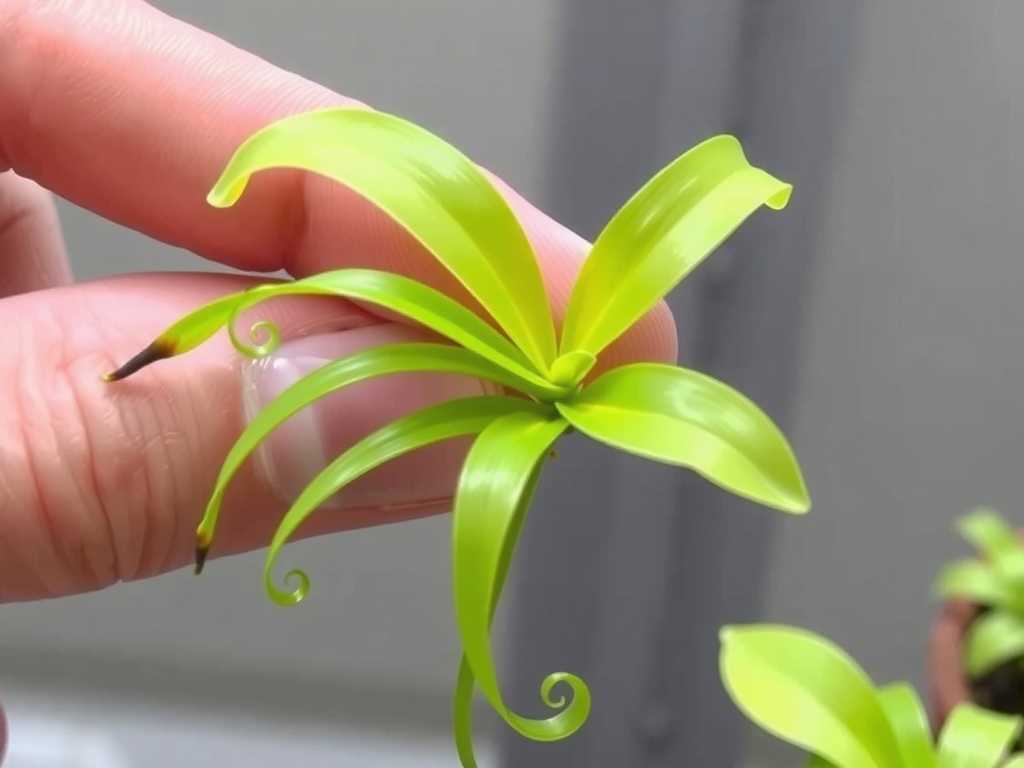
- The Plant: A healthy Utricularia alpina division, with several green stolons and visible white, thread-like roots.
- The Mount: A large, flat piece of natural cork bark. I chose cork for its moisture retention, texture for root attachment, and natural resistance to rot. Other excellent options include driftwood or tree fern panels.
- The Anchor: 100% sphagnum moss (not peat), rinsed and squeezed until just damp. This acts as a temporary moisture reservoir and root guide.
- The Ties: Clear, fine fishing line. It’s nearly invisible, strong, and won’t rot. Some growers use nylon stockings for a gentler hold.
- The Support System: A humidity tray (a simple plastic tray filled with LECA clay pebbles and water) and a small, quiet USB fan for intermittent air movement.
The Mounting Process: Step-by-Step
This is where the hands-on work begins. I performed this on a day with good natural light and no time constraints.
- Preparing the Base: I soaked the cork bark in water for an hour to ensure it was fully hydrated. Meanwhile, I lightly misted the bladderwort’s roots to prevent them from drying out.
- Creating a Moss Bed: I took a small handful of the damp sphagnum moss and formed a thin, flat pad. I placed this pad directly onto the area of the cork bark where I wanted the plant to reside. This pad is not a growing medium; it’s a cushion and a moisture buffer for the initial establishment phase.
- Positioning the Plant: Gently, I laid the stolons of the bladderwort over the moss pad, fanning out the thread-like roots so they made contact with the damp moss and cork.
- Securing It All: This was the trickiest part. Starting at one end, I began wrapping the fishing line in a crisscross pattern, securing the stolons and moss to the bark. The tension needs to be firm enough to hold everything in place but not so tight as to cut into the delicate plant tissue. I tied off the line securely on the back of the mount.
- The Initial Soak: Immediately after mounting, I submerged the entire cork slab, plant and all, in distilled water for about 15 minutes. This ensured the plant and its new foundation started off fully hydrated.
The First 48 Hours: Critical Observation
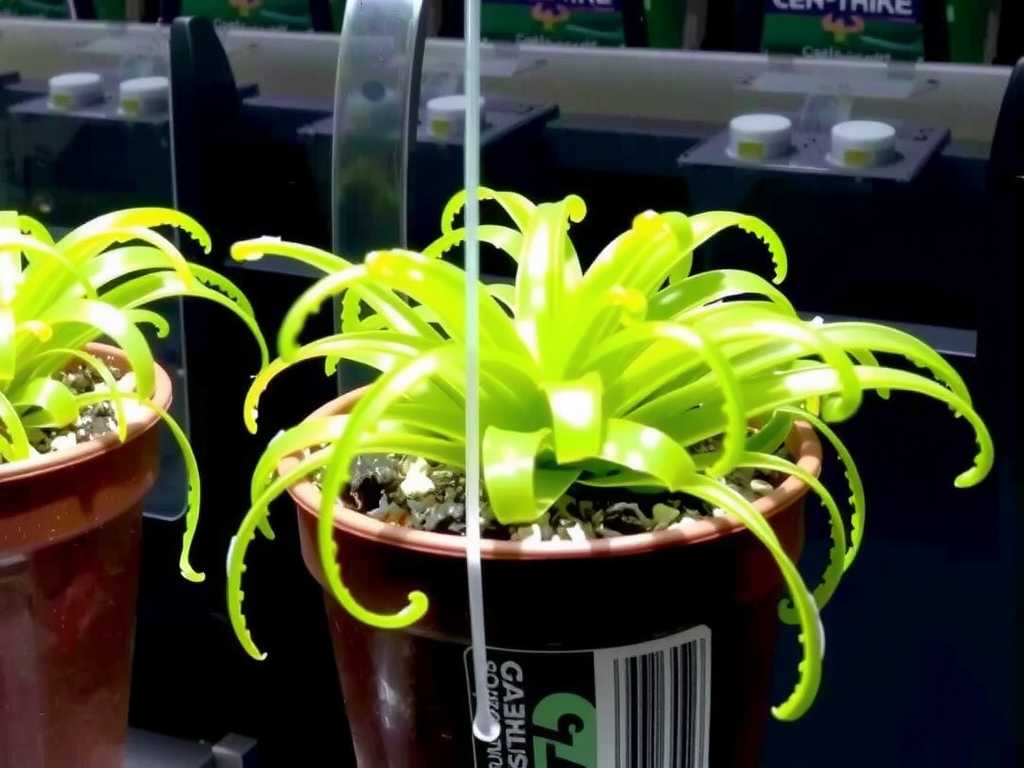
I placed the newly mounted bladderwort on its humidity tray, about 8 inches under a gentle LED grow light, and pointed a small fan across the room to provide indirect air circulation. The first day, the plant looked great—perky and green. By the end of the second day, I noticed the very tips of a few stolons looked slightly translucent. Panic set in. Was it rot? Was the moss too wet?
This was my first major "pitfall" moment. I realized the bundled moss pad, while damp, was creating a micro-environment that was too stagnant for the plant’s crown. The expert guidance from the Carnivorous Plant Society forums, which emphasize "moist but not soggy" for roots, clicked. The solution wasn’t to water less, but to improve air flow at the plant level.
Weeks 1 & 2: Dialing in the Routine and Seeing Results
I adjusted my care routine based on that initial scare. Here is the protocol I settled on, which yielded fantastic results by the end of the two-week period.
- Watering for Mounted Carnivores: I abandoned the idea of "spraying" the mount. Instead, I adopted a soak-and-dry method. Every morning, I would take the entire mount off the wall, and submerge it in distilled water for 5-10 minutes. I then let it drip-dry almost completely before hanging it back up. This daily deep hydration followed by excellent drying prevented the dreaded stem rot while satisfying the plant’s need for consistent moisture. The RHS (Royal Horticultural Society) advises that many epiphytes prefer a cycle of thorough wetting followed by a drying period, and this proved perfectly applicable.
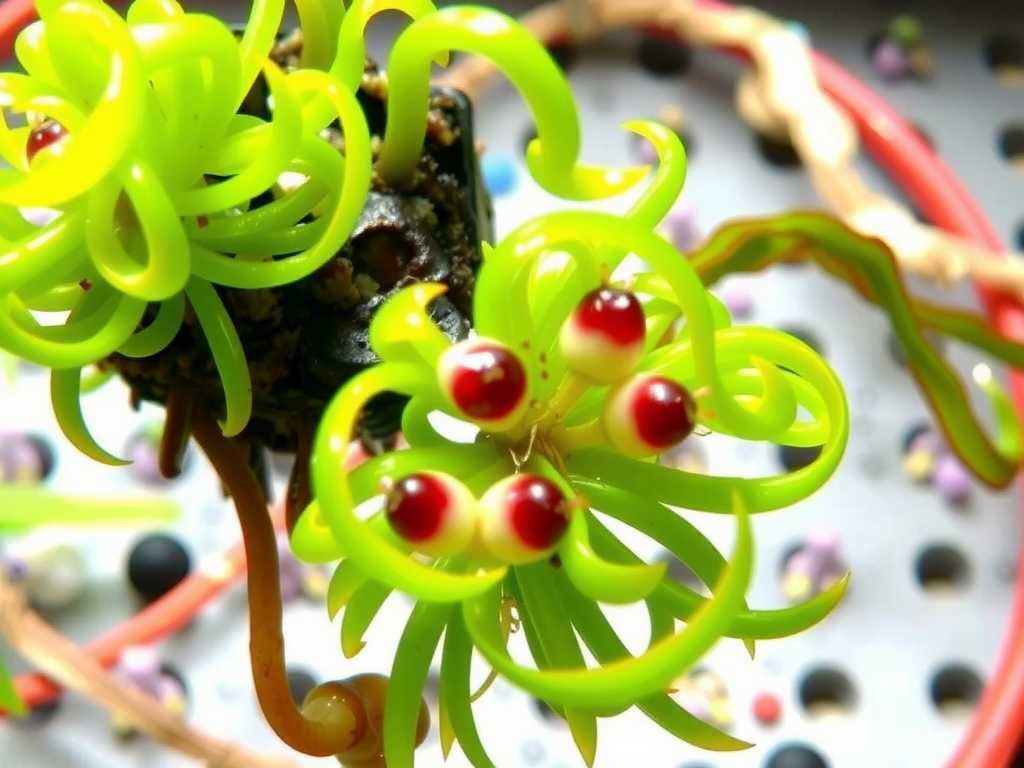
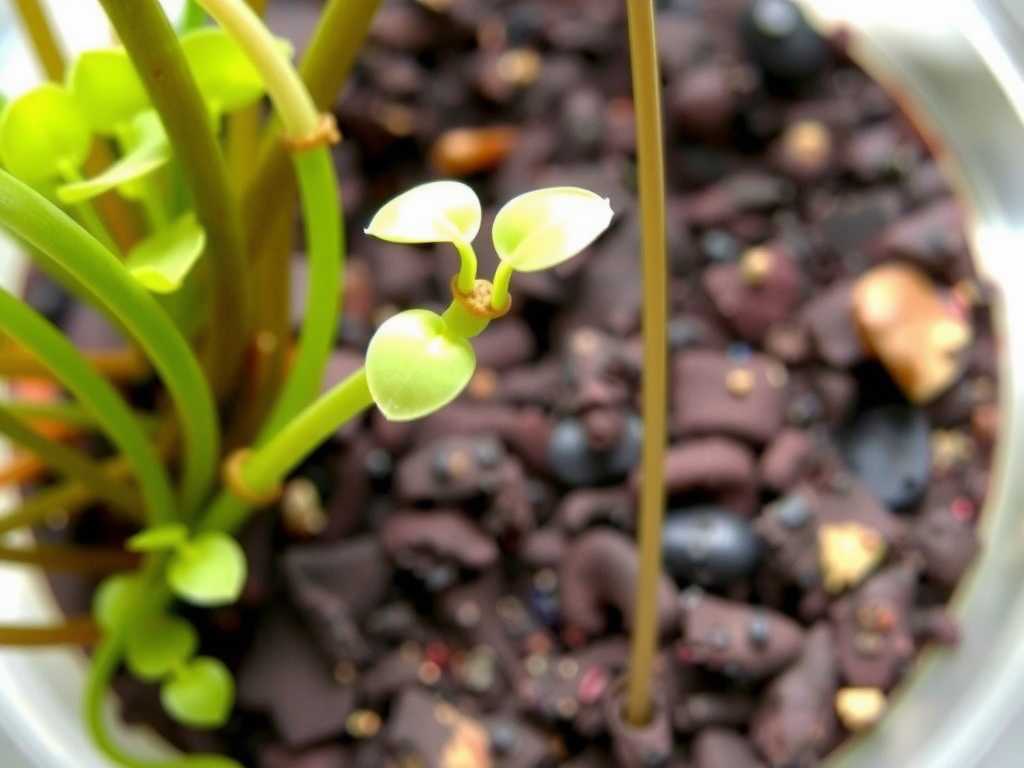
- Humidity and Airflow: The Non-Negotiable Balance: This is the heart of successful epiphytic bladderwort cultivation. The humidity tray kept the ambient humidity around 65-70%. The key change was repositioning the small USB fan to gently oscillate, blowing across the mount for 15 minutes every hour. This simulated the breezes of its native habitat, kept fungal issues at bay, and strengthened the plant. By day 10, I could see new, bright white root hairs actively seeking out and attaching to the cork bark—a sure sign of happiness.
- Light and Feeding: It received about 12 hours of bright, indirect light from the LED. As for feeding, the bladders are microscopic traps. I simply ensured the humidity tray water wasn’t sterile; a tiny bit of organic matter from the environment is all they need. Fertilizer is a major danger and must be avoided entirely.
Troubleshooting Common Problems in Clean Setups
Even with the best setup, issues can arise. Here’s what I watched for:
- Browning Stolons: Usually a sign of water sitting too long on the plant tissue. Increase air circulation immediately and ensure the mount dries thoroughly after soaking.
- Lack of Root Attachment: If roots aren’t grabbing the mount after a few weeks, the mount surface might be too smooth or too dry. A thin layer of live sphagnum can encourage attachment.
- Algae on the Mount: A result of too much constant moisture and light on the cork. I gently scrubbed it off with a soft toothbrush dipped in distilled water and slightly reduced the duration of the daily soak.
Frequently Asked Questions
How often should I really water my mounted bladderwort? There’s no universal schedule. It depends entirely on your home’s humidity, airflow, and mount material. The "taco test" is useful: if the sphagnum moss anchor feels bone dry and crispy, it’s been too long. It should feel like a damp, wrung-out sponge most of the time. My daily soak worked in my environment, but you may need to do it every other day. Observe your plant, not the calendar.
Can I mount other carnivorous plants this way? The clean mount technique for epiphytic plants works beautifully for other epiphytic carnivores like some Pinguicula (butterworts) species. However, it is not suitable for terrestrial bladderworts, sundews, or pitcher plants that require a proper soil medium. Always research the specific native habitat of your plant first.
My plant hasn’t grown any new bladders. Is it healthy? Growth speed varies. Focus on the stolons and roots. New, green stolon growth and active root attachment are the primary indicators of health. The bladders, often subterranean or microscopic on these species, will develop in time as the plant matures and feels secure. Patience is key when establishing specialized plants like these.
Seeing those first tiny root hairs grip the cork was immensely satisfying. It confirmed that by mimicking the key elements of its natural habitat—high humidity, perfect drainage, and constant air movement—this delicate-looking plant is surprisingly resilient. The clean mount method isn’t just about aesthetics; it’s a functional approach that aligns with the plant’s biology. It requires attentive observation, especially in the beginning, but the reward is a thriving, natural display of one of the plant kingdom’s most ingenious predators. Start with a healthy plant, be bold in adjusting your routine based on what you see, and you’ll unlock the secret to keeping these aerial wonders alive and well.

发表评论