How to Fix Epiphytic Bladderwort Contaminated Mounts: A Plant Enthusiast's Step-by-Step Recovery Guide
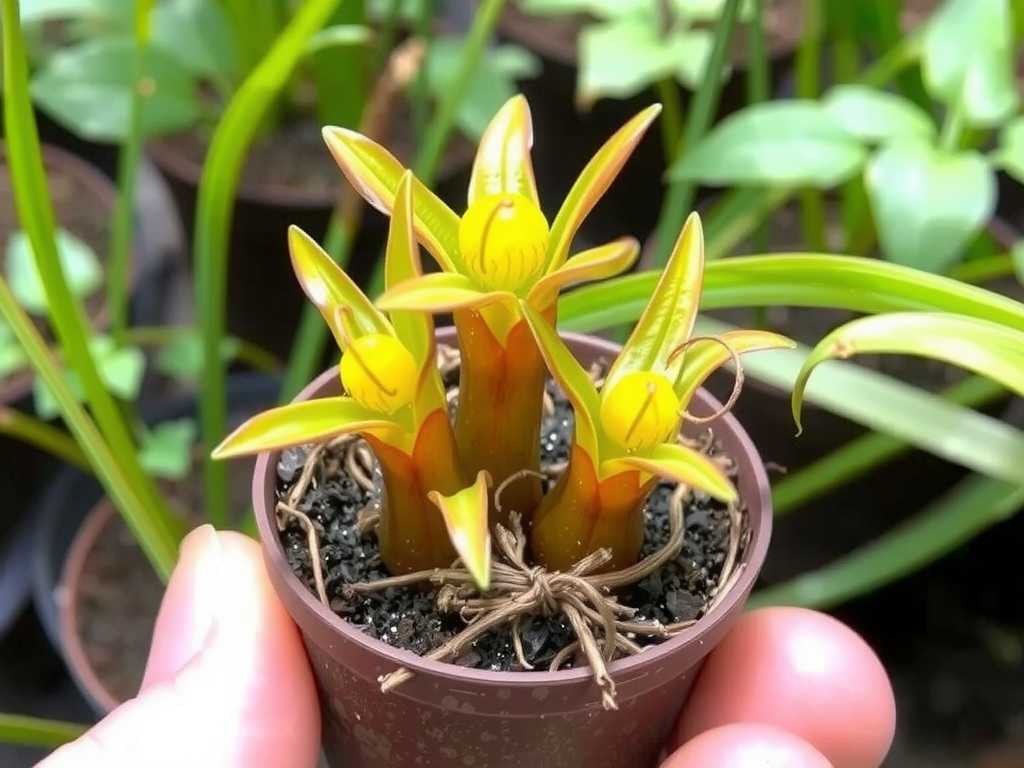
I remember the sinking feeling all too well. One morning, inspecting my prized orchid collection, I noticed something insidious creeping across the cork and fern-fiber mounts. A delicate, almost innocent-looking mat of tiny, thread-like stems and microscopic bladders had begun to weave itself around the roots of my mounted Masdevallia and Dracula orchids. It was epiphytic bladderwort (Utricularia spp.), an unexpected and unwelcome guest. As a fellow plant lover, I know the panic this can cause—the fear of losing cherished plants to this surprisingly tenacious, rootless invader that competes for moisture and nutrients. I embarked on a meticulous, two-week rescue mission to save my mounts. Here is my detailed account, including every step, observation, mistake, and the ultimate solution that worked.
Understanding Your Adversary: What is Epiphytic Bladderwort?

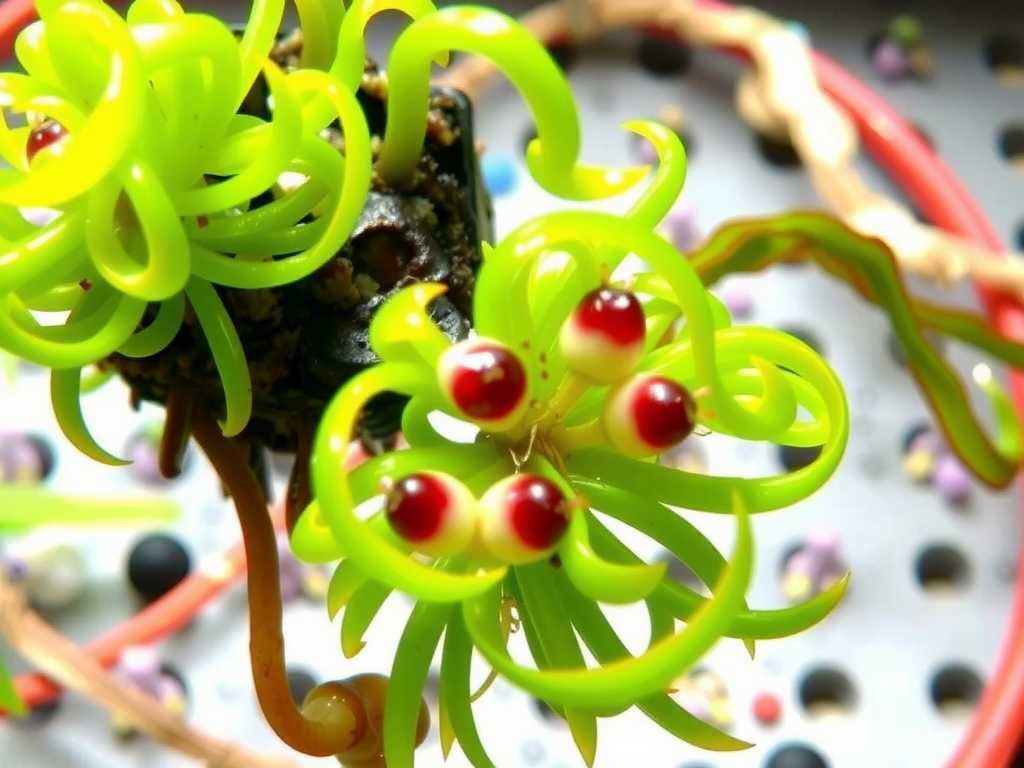
Before diving into the fix, it’s crucial to know what you’re dealing with. Epiphytic bladderworts are carnivorous plants that typically grow on trees or, in our case, on our carefully prepared mounts. They are not parasitic; they don’t directly tap into your orchid’s vascular system. Instead, they form dense mats that retain moisture on the surface, potentially keeping your orchid’s roots too wet and creating a microenvironment that can encourage fungal or bacterial rot. Their tiny bladders trap microorganisms, but their real threat is smothering competition. According to the American Orchid Society (AOS), while not directly harmful, aggressive growers like some Utricularia can overwhelm slow-growing epiphytes, necessitating management for the health of the primary plant.
My Step-by-Step Remediation Process
I decided on a physical removal combined with a targeted treatment approach, prioritizing the safety of my orchids.
Phase 1: The Initial Triage and Manual Removal
My first action was to isolate all affected mounts. I set up a separate area in my greenhouse to prevent any stray fragments, which can easily propagate, from contaminating other plants.
- Step 1: Gentle Disassembly: I carefully unmounted the most heavily infested plant. This is where I made my first mistake. In my haste, I tried to peel the bladderwort mat off in large sections, which resulted in damaging fine, delicate orchid root tips that were entangled within the net. The Fix: I stopped immediately. For the remaining mounts, I used a pair of fine-tipped tweezers and a soft, damp paintbrush. I gently brushed and lifted the bladderwort strands, using the tweezers to pluck them away from orchid roots with minimal disturbance.
- Step 2: The Soak and Rinse: After removing the bulk of the visible growth, I prepared a shallow basin with lukewarm, distilled water. I submerged the entire mount (plant and all) for about 15 minutes. This helped to loosen any remaining fragments and hydrate the orchid roots, making them more pliable and less prone to damage during the next step. I then used a soft stream of water from a spray bottle to gently flush the mount’s surface.
Phase 2: Applying a Targeted Treatment
Manual removal alone wasn't enough; I knew microscopic bits remained. I needed a treatment safe for the orchid but deterrent to the bladderwort. I ruled out standard insecticides as ineffective. Consulting resources from the Royal Horticultural Society (RHS) on managing moss and algae, I adapted a common recommendation: a diluted hydrogen peroxide solution.
- Step 3: The Peroxide Application: I mixed a 3% hydrogen peroxide solution with distilled water at a 1:4 ratio (one part peroxide to four parts water). Using a small, directed spray bottle, I misted the mount’s surface thoroughly, avoiding the orchid’s foliage as a precaution. The solution fizzed slightly on contact—a sign it was working on organic debris. I let it sit for 5 minutes before gently rinsing again with distilled water. This step aims to disinfect the mount and disrupt any remaining bladderwort cells.
Phase 4: The Critical Recovery and Observation Period
")
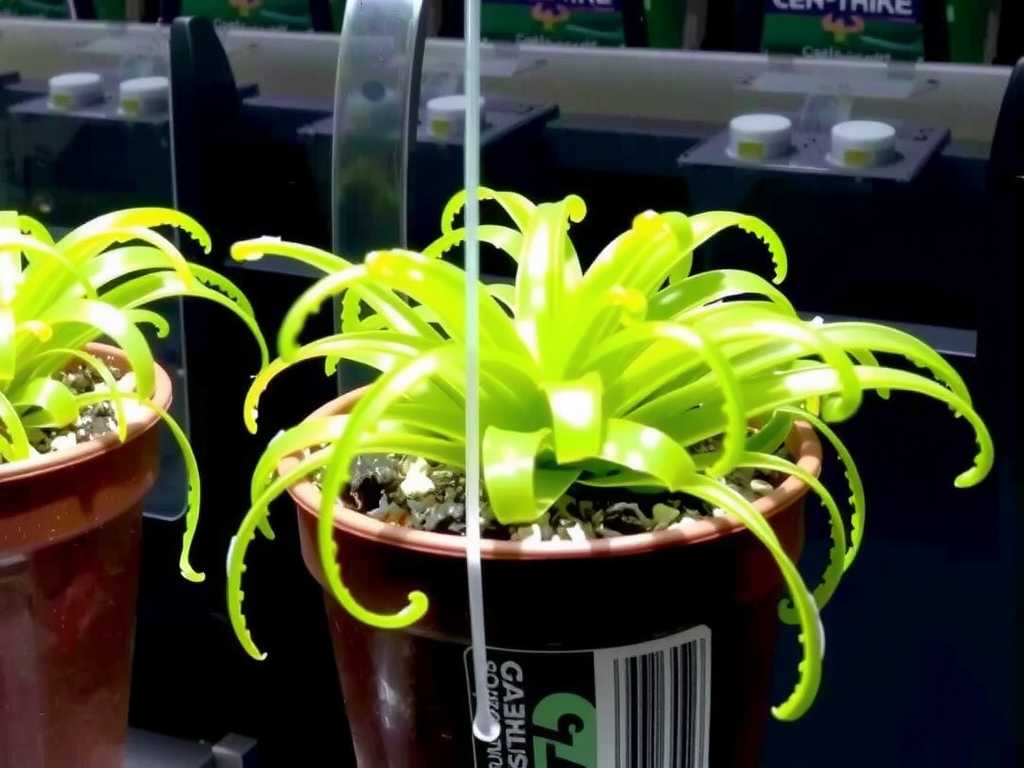
This was the most important phase. I remounted the orchid on fresh, clean cork bark, using new sphagnum moss as a base. For mounts that were lightly contaminated and didn’t require full remounting, I simply ensured they were clean and re-hung them.
- The Two-Week Watch: I committed to daily observations.
- Days 1-3: The orchids showed slight signs of transplant stress (mild leaf wilting on one), which was expected. No new bladderwort growth was visible. I maintained slightly higher humidity around these plants to aid root recovery but was careful to let the mounts dry adequately between waterings, as a consistently wet surface is what bladderwort loves.
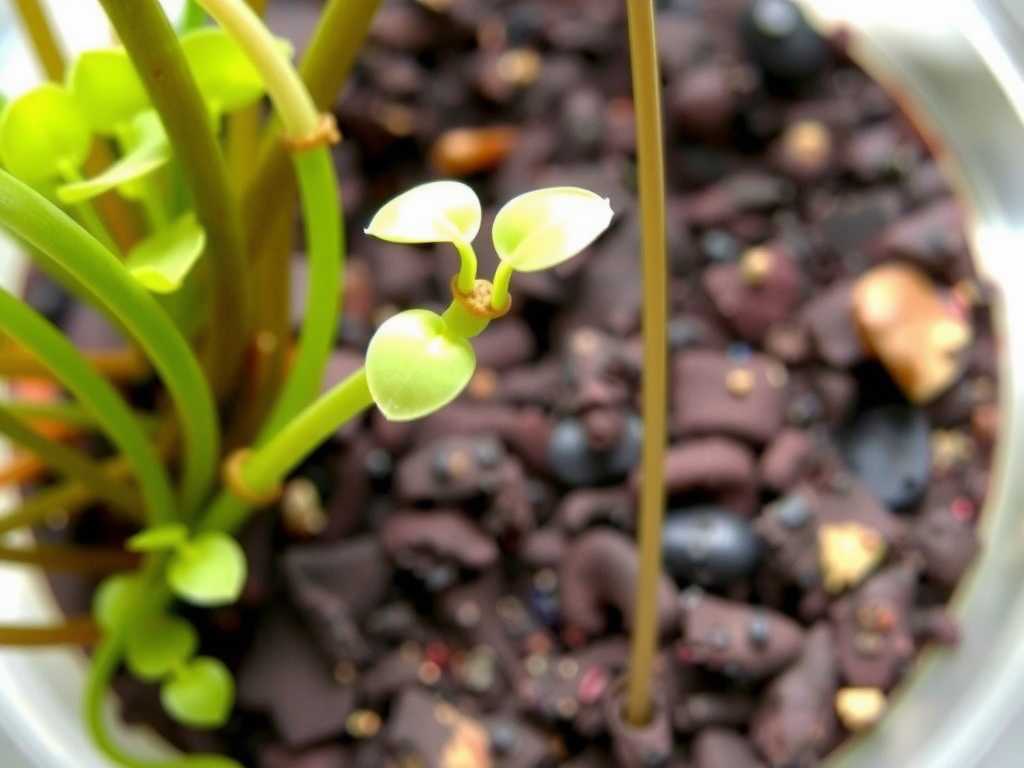
- Days 4-7: The orchids stabilized. Here, I encountered my second challenge. On one mount, I saw a few tiny, familiar green specks re-emerging in a crevice. My heart sank. I had missed a spot during manual removal. The Solution: Instead of re-soaking, I used a cotton swab dipped in the same diluted hydrogen peroxide solution and dabbed it precisely on the new growth. I repeated this for two consecutive days.
- Days 8-14: The targeted dabbing worked. The re-emergence was halted. The orchids began showing signs of new root growth, a clear indicator they were no longer under competitive stress. The mount surfaces remained clean. By the end of the second week, I was confident the outbreak was contained and eradicated.
Key Lessons and Proactive Prevention
My experience taught me that fixing a bladderwort contamination is more about patience and precision than brute force. The goal of cleaning contaminated orchid mounts is to preserve the host plant’s root integrity above all else. To prevent future issues:
- Improve Airflow: I rearranged my growing space to ensure better air circulation around all mounts, as bladderwort thrives in stagnant, moist conditions.
- Water Mindfully: I adjusted my watering schedule to ensure mounts dry out more completely between sessions, creating a less hospitable environment for bladderwort spores.
- Quarantine New Additions: Any new plant or mount now spends its first few weeks in an observation area, a practice strongly endorsed by both AOS and RHS to prevent the introduction of pests and weeds.
Addressing Your Pressing Questions
Can bladderwort actually kill my orchid? Not directly through poisoning or parasitism. However, a severe infestation can smother roots, retain excessive moisture leading to rot, and outcompete the orchid for surface nutrients and water, ultimately leading to its decline and potential death.
Is there a chemical spray I can use? There is no specific herbicide labeled for bladderwort on epiphytic mounts that is also safe for all orchids. General herbicides pose a high risk of damaging your sensitive plants. The manual removal and diluted hydrogen peroxide method is widely considered the safest and most controlled approach for treating bladderwort on mounts.
Will boiling or bleaching the mount work? While these methods would certainly kill any organic life, including bladderwort, they would also severely damage or kill the living roots of your orchid. These are not viable options for treating a mounted, living plant. They are, however, excellent for sterilizing empty mounts before use.
Dealing with epiphytic bladderwort is a test of a grower’s patience and attention to detail. The invasion felt like a setback, but the successful recovery of my plants was immensely rewarding. It reinforced the importance of regular, close inspection and proactive cultural practices. By acting swiftly, prioritizing gentle removal, using a safe, targeted treatment like diluted peroxide, and maintaining a less humid surface environment, you can reclaim your mounts. Remember, the health of your orchid’s roots is the ultimate priority—work around them with care, and you’ll both thrive.

发表评论