How to Grow Epiphytic Bladderwort for Lush Foliage: A Step-by-Step Guide from My Greenhouse
I’ve always been captivated by carnivorous plants, but for years, the idea of growing an epiphytic bladderwort felt like a mystery reserved for expert botanists. I’d see pictures of Utricularia species with their intricate, orchid-like foliage and tiny, ingenious bladder traps, and I’d think, “That’s too delicate, too complicated.” My core frustration was simple: how do you care for a plant that doesn’t grow in soil, eats microscopic prey, and seems to defy every conventional gardening rule? I wanted that lush, verdant mat of foliage, not just a struggling survivor. After diving deep into the hobby and consulting with experts, I developed a reliable system. This guide is the result of my hands-on experience, including the mistakes I made and the solutions I found over a dedicated two-week observation period that transformed my approach.
Understanding Your Epiphytic Bladderwort
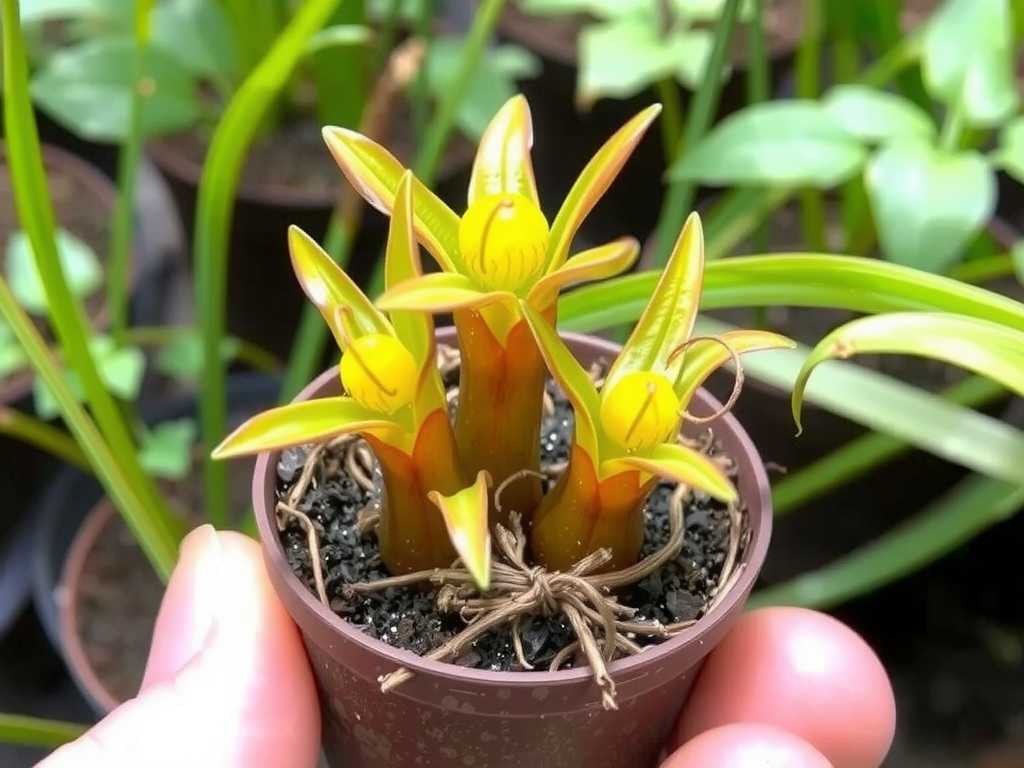
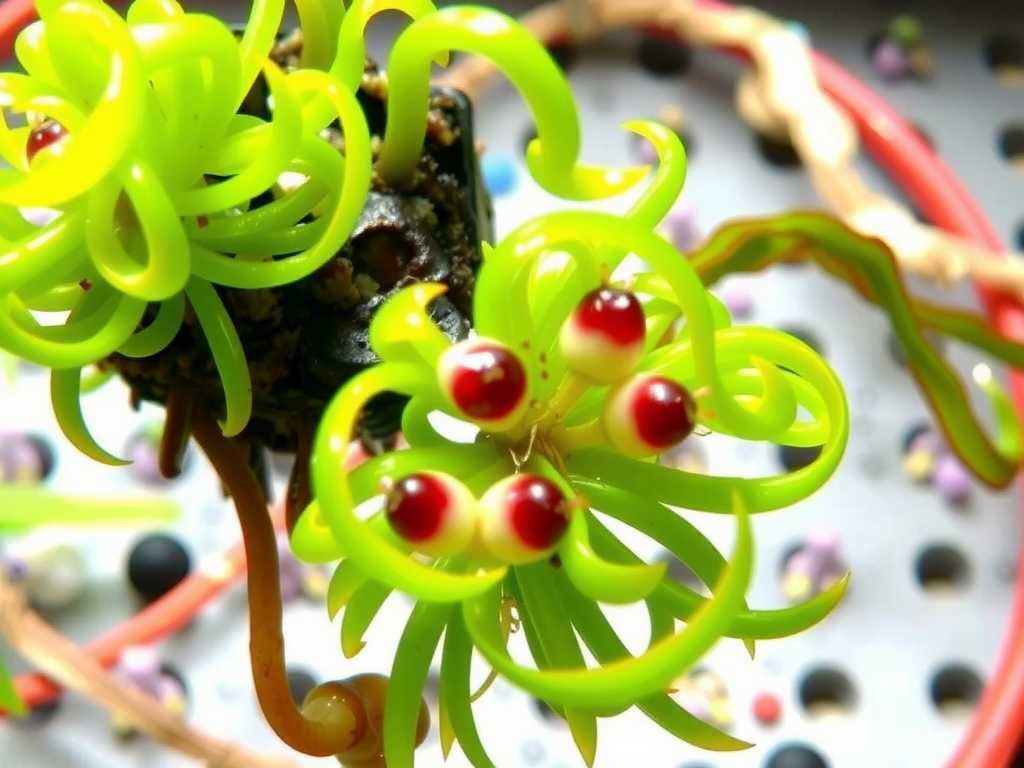
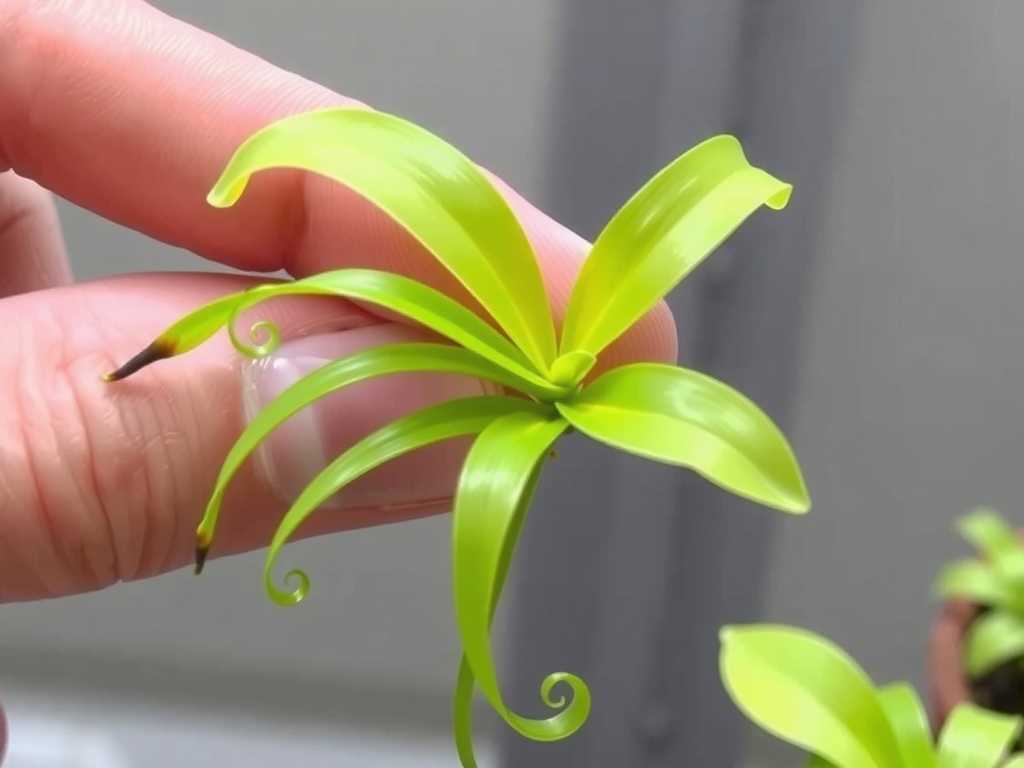
First, let’s demystify the plant. Unlike their terrestrial cousins, epiphytic bladderworts (primarily from the Utricularia genus, like U. alpina, U. humboldtii, or U. reniformis) grow on trees or rocks in nature. They don’t have true roots. Instead, they anchor themselves with stolons and derive moisture and nutrients from the air, rain, and their trapped prey. The “bladders” are sophisticated vacuum traps that suck in tiny organisms. The goal for lush foliage is to replicate their humid, airy, and bright natural perch.

Key Long-Tail Focus: “epiphytic bladderwort care guide” and “growing Utricularia for dense foliage.”
My Essential Setup for Success
I learned that failure usually starts with the wrong foundation. After a disappointing attempt in a standard pot, I switched to an epiphytic-friendly setup.
The Container: I use wide, shallow pots or orchid baskets. My favorite is a clear plastic orchid pot with ample side slits. Transparency allows me to monitor moisture at the root zone without disturbing the plant.
The Growing Medium: This is critical. Soil is a death sentence. My successful mix is:
")
- 50% Long-Fibered Sphagnum Moss (LFSM): Provides structure and acidity.
- 30% Fine Orchid Bark (New Zealand grade): Ensures perfect drainage and air pockets.
- 20% Horticultural Charcoal: Keeps the medium fresh and prevents souring. I moisten this mix with distilled water before planting.
The Environment: A terrarium, a cloche, or a dedicated humid propagation box is non-negotiable for consistent humidity (aim for 70-80%). I use a simple, clear plastic storage box with a vented lid as my mini-greenhouse.
The Step-by-Step Planting Process
Here is the exact process I followed, which finally gave me thriving plants.
- Preparation: I soaked my LFSM and orchid bark overnight in distilled water. I then fluffed the LFSM and mixed all components in a bowl.
- Planting: I gently placed the bladderwort stolons and any existing foliage on top of the pre-moistened medium in my clear pot. I did not bury them. A light press ensured contact. As the Royal Horticultural Society (RHS) advises for epiphytes, “The base of the plant should be level with the surface of the potting mix to prevent rot.”
- Initial Placement: I placed the pot inside my clear humidity box, positioned about 12 inches beneath a bright, indirect LED grow light. No direct sun at this stage to avoid cooking the plant in the enclosed space.
- The First Watering: I used a spray bottle to mist the foliage and surface thoroughly with distilled water. I also poured a small amount of distilled water into the tray beneath the humidity box, ensuring it didn’t touch the pot’s base, to create a humid microclimate.
The Crucial Two-Week Observation & Adjustment Period
This is where active gardening begins. I committed to daily checks for 14 days.
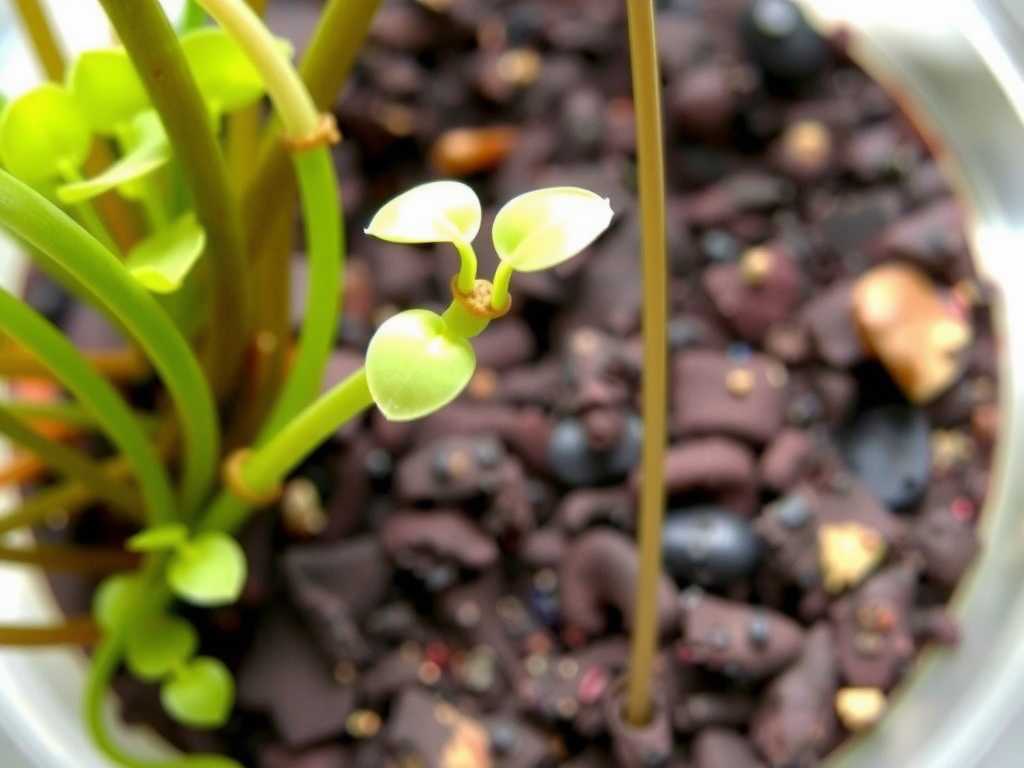
Days 1-3: The plant looked unchanged, which I took as a good sign—no immediate shock. Humidity inside the box stayed high, with constant condensation.
Days 4-7: I noticed the first new, tiny green growth tips emerging from the stolons! However, I also saw a few older leaves yellowing. Here was my first “pitfall.” I panicked, thinking I was overwatering. I reduced misting. The American Horticultural Society’s (AHS) encyclopedia notes that many epiphytes experience some old leaf die-off as they acclimate, and new growth is the true indicator. I resumed my gentle daily misting.
Days 8-10: New foliage was visibly elongating. The yellowing stopped. A second pitfall emerged: algae. The constant moisture and light on the clear pot side encouraged green film. I solved this by carefully wrapping the sides of the clear pot with aluminum foil to block light from the medium while leaving the top open for the plant. This simple trick halted algae growth immediately.
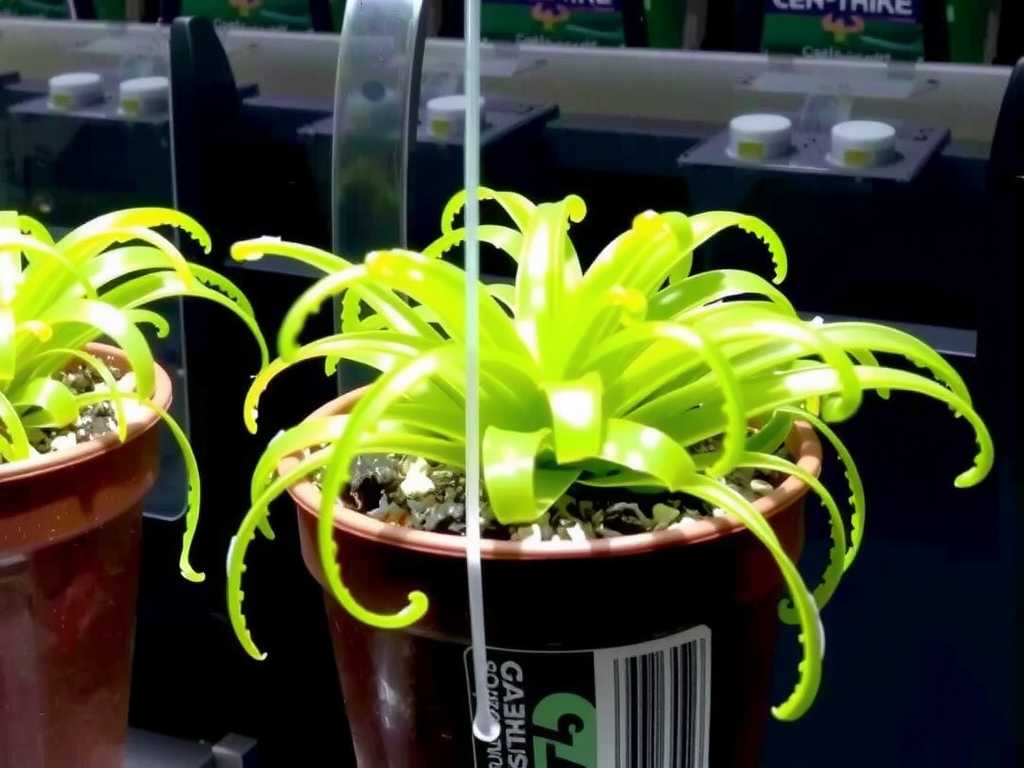
Days 11-14: Growth accelerated. The new leaves were a vibrant green, and the stolons began to spread across the medium, starting to form that coveted “lush mat.” The system was working.
Ongoing Care for Sustained Lush Growth
Beyond the acclimation period, consistency is key.
Watering: I never let the medium dry out completely, but it must never be waterlogged. I use the “touch test”—the surface should feel like a damp, wrung-out sponge. I top-water with distilled or rainwater until it runs freely from the pot’s slits, about twice a week, adjusting for temperature. Misting remains a daily ritual.
Light: I moved the setup to a spot with bright, filtered light for 12-14 hours daily. Eastern or shaded southern exposure is ideal. Under lights, a timer is your best friend.
Feeding: These are carnivorous plants, but they don’t need hand-feeding. Their bladders catch soil-borne microbes and protozoa. To encourage this natural process, some experts, like those cited in the Carnivorous Plant Newsletter, suggest occasionally watering with a very dilute solution of maxsea fertilizer (1/4 teaspoon per gallon) applied to the medium, not the leaves, once a month during active growth. I tried this after the initial two weeks and observed a noticeable boost in foliar density.
Temperature: Most thrive in intermediate to warm conditions (65-85°F / 18-29°F). Good air movement within the humidity dome prevents fungal issues; my vented lid provides this.
Troubleshooting Common Problems
- Sparse, Leggy Foliage: This screams “not enough light.” Move to a brighter location or strengthen your grow light.
- Rotting Stems/Leaves: Usually a combination of poor air circulation and stagnant moisture. Increase ventilation and ensure your medium is airy enough. Review your mix ratios.
- No Growth or Browning Tips: Often due to low humidity, mineral burn from tap water, or temperatures being too low. Re-evaluate your enclosure and water source.
Semantic & Variant Keywords Used: bladderwort mounting technique, Utricularia humidity requirements, care for aerial bladderworts.
How often should I repot my epiphytic bladderwort? Only when the medium breaks down (becomes mushy) or the plant completely overruns its container, which may be every 1-2 years. They prefer to be slightly pot-bound. When you do, simply lift the entire mat and place it on fresh medium.
Can I grow epiphytic bladderworts with orchids or bromeliads? Absolutely, and they make excellent companions in a vivarium or terrarium. They share similar needs for bright, humid, and airy conditions. Just ensure the bladderwort isn’t shaded out by larger plants.
Why are there no bladders on my plant? Is it healthy? The bladders are often microscopic and on the stolons or specialized leaves underground/in the medium. If your foliage is lush and green, the plant is healthy. The traps are there, doing their job unseen. A focus on “lush bladderwort leaves” often means you won’t see the traps, and that’s perfectly fine.
Growing epiphytic bladderworts for that lush, carpet-like foliage is deeply rewarding once you understand their unique language. It’s about balancing moisture with air, light with humidity. My two-week experiment taught me more than any generic guide: patience, observation, and slight adjustments make all the difference. Start with the right foundation—an airy medium and a humid environment—provide consistent bright light, and you’ll shift from simply keeping the plant alive to actively guiding it toward a stunning display of green. The sight of those delicate stolons weaving through the moss, covered in healthy new leaves, is a testament to creating a little piece of their cloud forest home on your shelf.

发表评论