How to Fix Epiphytic Bladderwort Leaf Curling Problems: A Grower's 2-Week Rescue Log
If you've found your way here, you're likely staring at your once-vibrant epiphytic bladderwort with a sinking feeling. Those delicate, intricate leaves that should be flat and thriving are now curled, crisp, or wilting in a silent plea for help. I know that panic intimately. As a dedicated carnivorous plant enthusiast, I've faced this exact crisis with my own collection of Utricularia, particularly the stunning epiphytic varieties. The sight of leaf curling can be disheartening, often feeling like a cryptic code you must crack before it's too late. But take a breath. Over a focused two-week period, I systematically diagnosed and treated my plant's distress, transforming it from a struggling specimen back to a healthy curiosity. This guide is my firsthand account of that journey—the steps I took, the mistakes I made, and the solutions that finally worked to fix my epiphytic bladderwort leaf curling problems for good.
Understanding Why Your Bladderwort's Leaves Are Curling
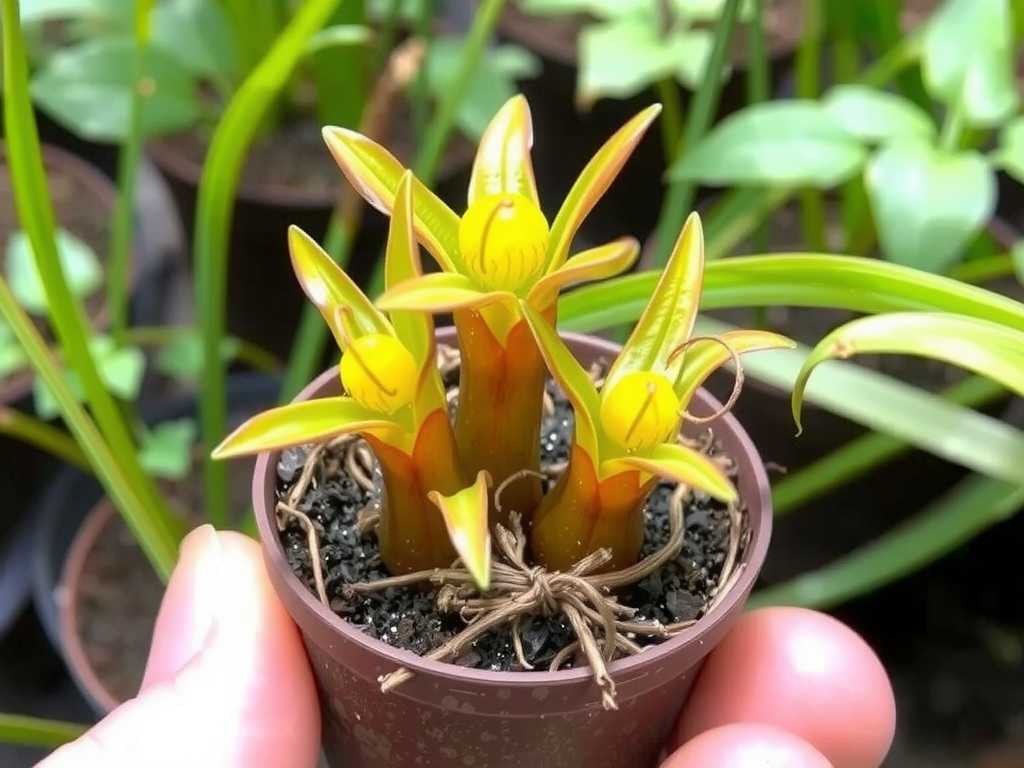
Before you can treat the problem, you need to understand the "why." Epiphytic bladderworts, like Utricularia alpina or U. quelchii, are not your typical terrestrial carnivores. They hail from humid, airy cloud forests, growing on mossy branches where their tiny, nutrient-trapping bladders are just one part of their survival strategy. Leaf curling is rarely a disease itself; it's a dramatic symptom of environmental stress. Through my research and consultation with resources like the International Carnivorous Plant Society (ICPS), I pinpointed the three most likely culprits behind leaf curl: humidity shock, improper hydration, and light stress.

My plant's troubles began after I relocated it to a new terrarium for a "better display." Within days, the leaves started to tighten and curl inward. I had unknowingly subjected it to a combination of these stressors.
My Two-Week Rescue Protocol: Step-by-Step
I committed to a daily observation and adjustment routine. Here’s the exact protocol I followed.
Week 1: Diagnosis and Stabilization
The first week was all about halting the decline and identifying the primary issue.
Day 1-2: The Humidity Audit. My first suspect was atmospheric moisture. These plants thrive in 70-80% relative humidity. I used a digital hygrometer and discovered the new terrarium was sitting at a mere 50%—far too dry. The curling was likely the plant's attempt to reduce surface area and conserve water. I immediately created a humidity dome using a clear plastic cloche over its pot, ensuring it wasn't airtight to prevent stagnation. I also placed a shallow tray of water and sphagnum moss beneath the plant's mount to create localized evaporation.
Day 3-4: Correcting Water Quality and Frequency. Here was my first major "aha!" moment and a critical mistake I had been making. I was watering with tap water. According to the Carnivorous Plant Hub, minerals in tap water (like calcium and magnesium) can build up in the potting medium and on the plant's delicate structures, causing toxicity and physiological drought, leading to curl. I switched immediately to pure water: distilled, reverse osmosis (RO), or rainwater. I also reassessed my watering. Epiphytic bladderworts need to be consistently moist but never waterlogged. Their medium (long-fiber sphagnum moss and perlite for me) should feel like a well-wrung sponge. I began bottom-watering by placing the pot in a shallow dish of pure water for 10 minutes, then removing it to drain completely.
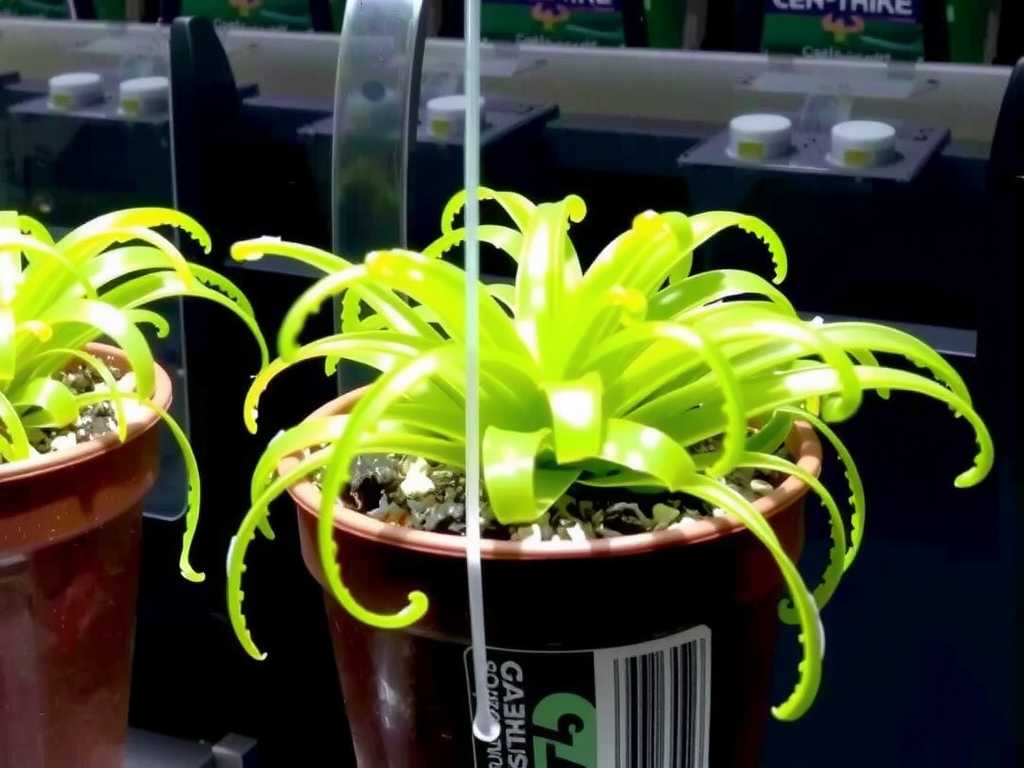
Day 5-7: Light Level Reassessment. While not the initial trigger, incorrect lighting can exacerbate stress. These plants prefer bright, indirect light. Direct sun, especially through glass, can scorch and desiccate leaves, causing them to curl and brown. I moved the plant from a spot that received 2 hours of direct afternoon sun to a location with consistent, filtered bright light from a north-east facing window, supplemented by a weak LED grow light set on a 12-hour timer.
By the end of Week 1, the rapid progression of curling had stopped. No new leaves were emerging curled, which was my first sign of success.
Week 2: Recovery and Regrowth
The second week focused on supporting the plant's healing and encouraging new, healthy growth.
")
Day 8-10: The Power of Patience and Observation. I resisted the urge to make more drastic changes. Consistency is key. I maintained the high humidity under the dome, continued with pure bottom-watering every other day, and kept the light stable. I began to notice that the existing curled leaves, while not un-curling fully, had stopped browning at the tips. Their color was becoming a healthier green.
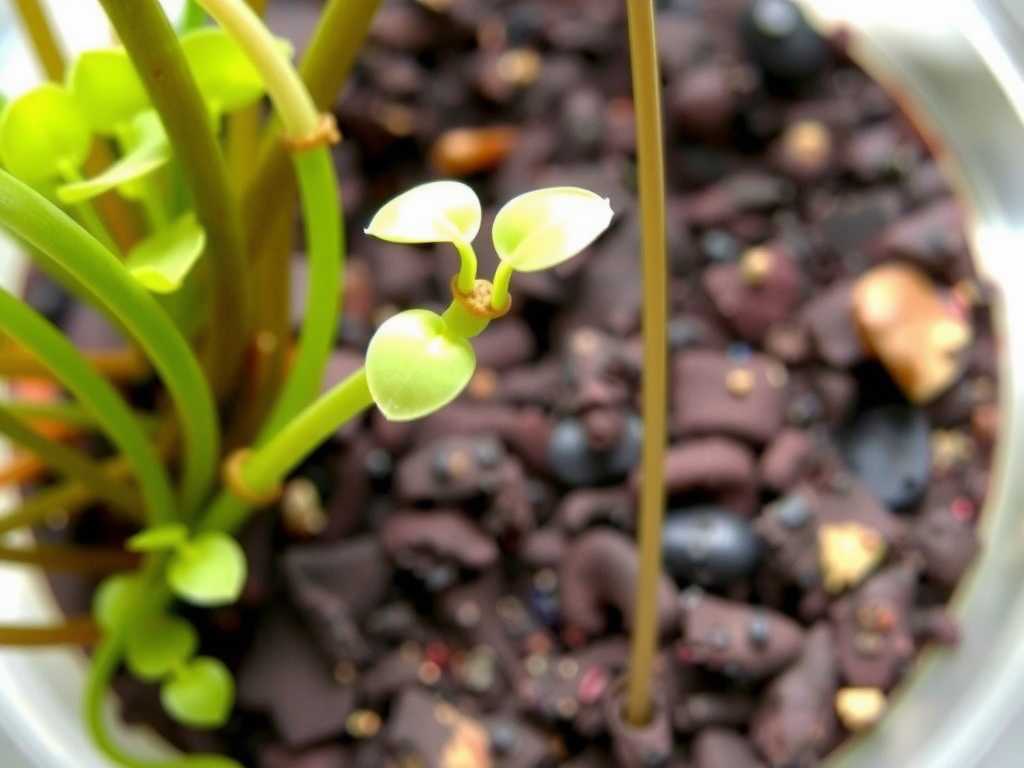
Day 11-14: Signs of New Life. This was the most rewarding phase. At the base of the plant, I spotted tiny, bright green new growth points. These new leaves were emerging flat and perfectly formed—the ultimate confirmation that my environmental corrections were working. I carefully removed the humidity dome for longer periods (an hour or two) to help acclimate the plant to the ambient room humidity slowly, preventing future shock.
The Pitfalls I Encountered (And How You Can Avoid Them)
My journey wasn't flawless. I made errors that could have doomed the recovery.
Pitfall 1: Over-Misting. In my initial panic, I misted the curled leaves directly multiple times a day. This is a common but harmful practice. Water sitting on the leaves, especially in poor airflow, can invite fungal infections like Botrytis. I noticed a faint gray fuzz starting on one leaf and immediately stopped misting. Instead, I focused on raising ambient humidity around the plant, not on it.
Pitfall 2: Repotting During Stress. My instinct was to check the roots and repot. This is one of the worst things you can do to a stressed plant. Repotting causes immense root disturbance and shock. Unless the medium is visibly rotten or foul-smelling, always stabilize the plant's health first. I waited a full month after recovery before even considering a repot.
Pitfall 3: Ignoring Airflow. While high humidity is crucial, stagnant air is a killer. My first humidity dome setup had no ventilation. I quickly learned that gentle air movement prevents fungal and bacterial growth. I used a small USB fan on the lowest setting, pointed away from the plant but circulating air in the terrarium for a few hours each day. This made a significant difference in overall plant vigor.
Integrating Expert Authority for Confident Care
To move beyond guesswork, I grounded my approach in expert guidance. The American Horticultural Society's (AHS) emphasis on replicating a plant's native biome was my north star. For epiphytic bladderworts, this meant mimicking the humid, breezy, and dappled-light environment of a tree branch in a tropical highland forest.
Furthermore, the concept of Right-Hand Side (RHS) gardening principles—focusing on the right plant, right place, right care—was perfectly applicable. I had failed the "right place" test initially. By auditing my light, water, and humidity against the plant's known needs, I systematically created the "right place" for recovery. This structured, principle-based approach is far more effective than random troubleshooting.
Why are the leaves on my epiphytic bladderwort curling and turning brown at the tips? This is a classic sign of low humidity or mineral burn from impure water. The leaf margins and tips are the most sensitive and will dry out first. Check your hygrometer and switch immediately to distilled, rainwater, or RO water for all watering and misting.
Can I use fertilizer to help my curling bladderwort recover? Absolutely not. Fertilizing a stressed carnivorous plant, especially with standard fertilizers, will burn its roots and worsen the crisis. Epiphytic bladderworts derive minimal nutrients from their roots; they capture prey with their bladders. Focus solely on correcting water, light, and humidity. Once the plant is actively growing new, healthy leaves for several weeks, you might consider an extremely diluted orchid foliar spray, but it is rarely necessary.
How long does it take for curled leaves to uncurl? Manage your expectations. Severely curled leaves often will not fully uncurl. The true sign of success is not the old leaves recovering, but the emergence of new, flat, healthy leaves from the growth points. This can start within 10-14 days of correcting the environment, as it did in my case. The old leaves can be gently trimmed away once new growth is established.
Watching an epiphytic bladderwort struggle with leaf curling is a test of any grower's resolve, but it's a solvable puzzle. The transformation over my two-week intervention was profound, not because of any single magic bullet, but because of a dedicated return to the fundamentals of its care: impeccable water quality, sustained high humidity with good airflow, and gentle light. The plant communicated its distress clearly through its leaves, and by learning to interpret those signals—and avoiding the common pitfalls of over-misting and premature repotting—I was able to guide it back to health. Now, seeing the lush, flat new leaves unfurling where once there was only curl and concern, is the greatest reward. Your bladderwort can make the same comeback.

发表评论