How to Grow Epiphytic Bladderwort Step by Step Easily
I remember the first time I saw an epiphytic bladderwort. It wasn’t in a misty jungle, but in a fellow hobbyist’s terrarium—a delicate, almost invisible network of green threads adorned with tiny, jewel-like bladders. I was captivated but immediately overwhelmed. Everything I read made growing epiphytic bladderwort sound like a high-stakes scientific experiment, reserved for experts with elaborate labs. My desire to cultivate these fascinating carnivorous plants clashed with the fear of killing something so unique. If you’ve ever felt that mix of fascination and intimidation, you’re not alone. The perceived difficulty is the biggest hurdle. But after extensive trial, error, and a successful two-week establishment period I documented, I’m here to tell you that how to grow epiphytic bladderwort easily is not a myth. With the right approach, it’s an incredibly rewarding journey.
My goal here is to strip away the complexity. I’ll guide you through a simplified, step-by-step process from setup to maintenance, sharing the exact methods that worked for me, the mistakes I made along the way, and how I fixed them. Let’s demystify the process together.

Understanding Your Epiphytic Bladderwort
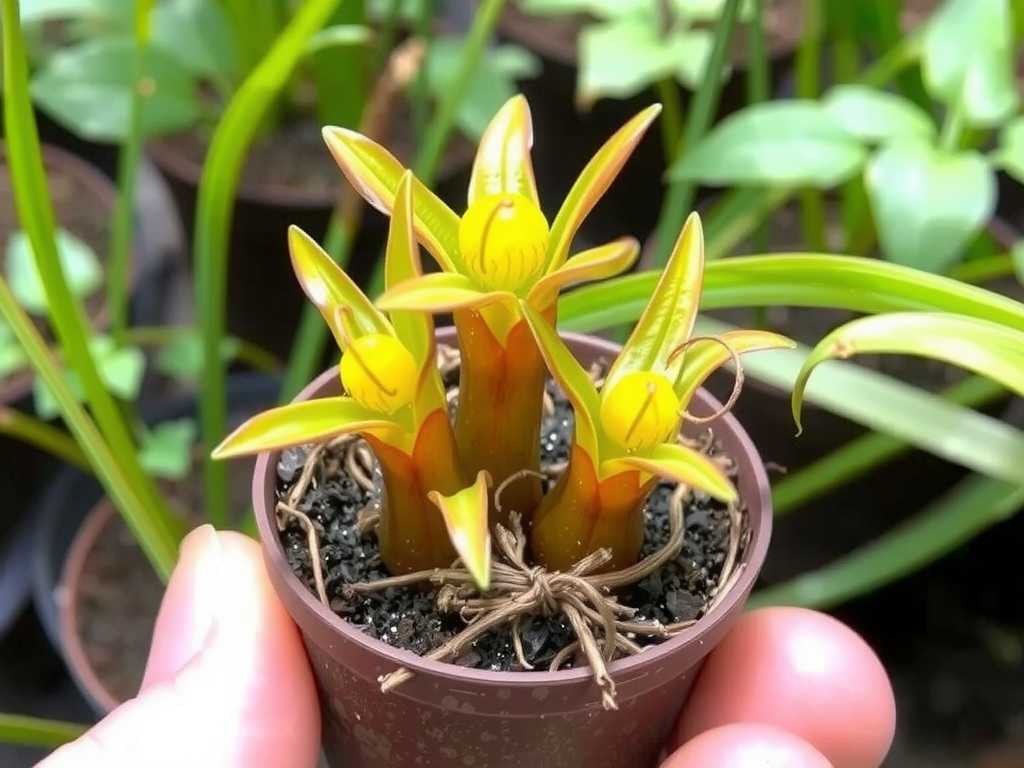
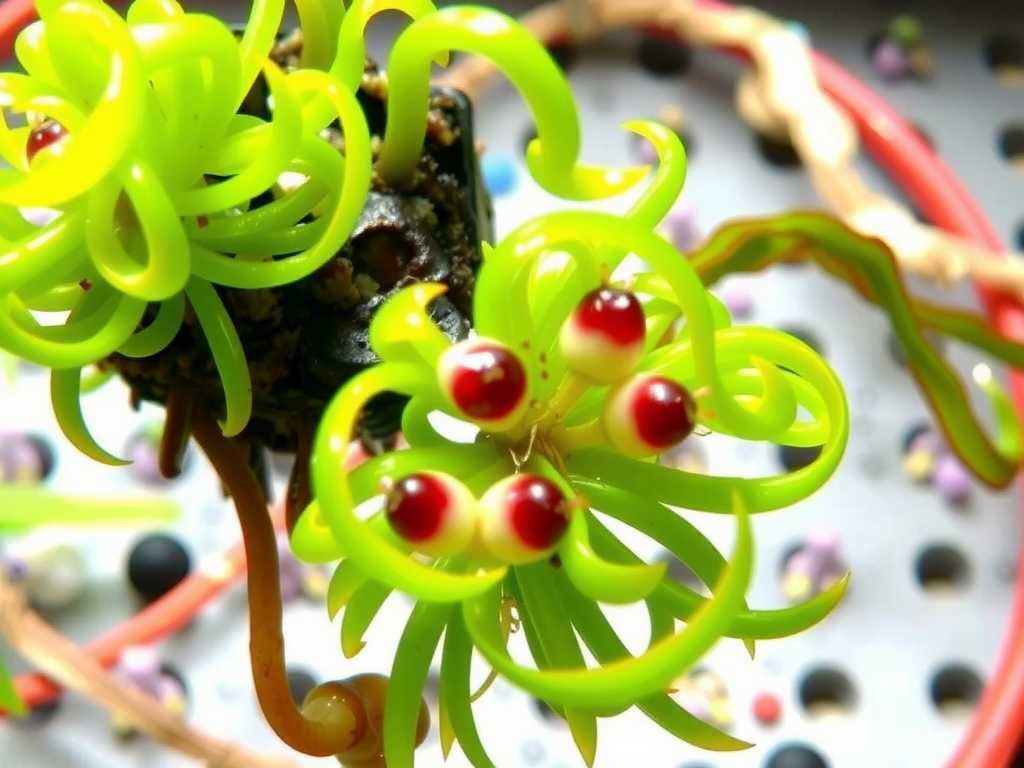
Before we touch any potting media, it’s crucial to know what makes these plants tick. Unlike terrestrial bladderworts that grow in soil, epiphytic species (like Utricularia alpina, U. quelchii, or U. campbelliana) naturally cling to trees or mossy rocks in humid, high-altitude tropical environments. They don’t have roots in the traditional sense. Instead, they possess a sprawling stolon system—thin, creeping stems that absorb moisture and nutrients. Their famous “bladders” (utricles) are microscopic traps for catching prey like protozoa in their native habitat, but in cultivation, they contribute less to feeding and more to our wonder.
Experts from the International Carnivorous Plant Society (ICPS) and observations noted in the Carnivorous Plant Newsletter consistently emphasize two non-negotiable needs: constant high humidity and perfect air circulation. Stagnant, wet conditions are a death sentence, leading to mold and rot. Think of their home as a breezy, perpetually damp cloud forest branch. This balance is the cornerstone of success.
")
My Step-by-Step Setup for Success
I built my setup using a simple, affordable terrarium approach. You don’t need a high-tech paludarium to start.
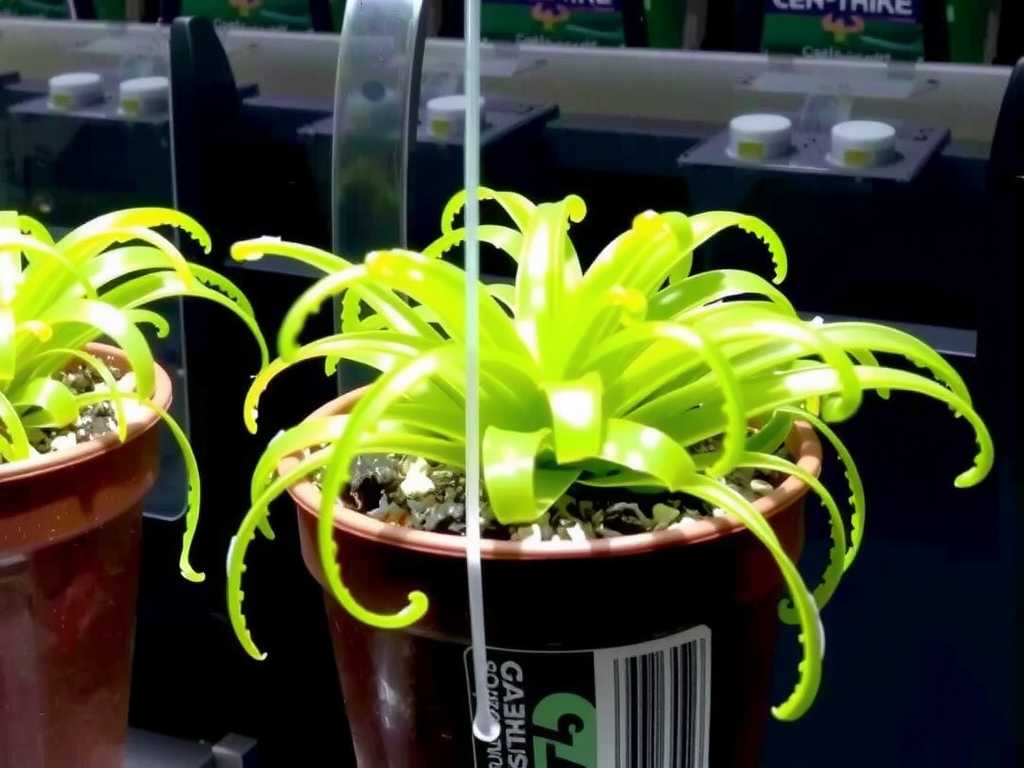
Choosing and Preparing the Perfect Home I selected a standard 10-gallon glass aquarium with a mesh lid. The glass retains humidity, while the mesh lid allows for vital gas exchange and prevents overheating. A common mistake is using a fully sealed lid; I tried this initially and saw condensation drown the stolons within days. The mesh lid was the immediate fix.
For the base, I used a shallow layer of expanded clay pellets (LECA) for drainage, topped with a sheet of plastic mesh to separate it from the growing medium. The medium itself is critical. After testing several mixes, the winner was a 1:1 blend of long-fiber sphagnum moss (soaked and thoroughly squeezed out) and fine orchid bark (like small-grade fir bark). This mix holds moisture perfectly while remaining airy and open, preventing the dreaded soggy conditions that cause rot.
The Planting Process: A Gentle Touch I acquired my Utricularia alpina from a reputable nursery. Upon arrival, the plant was a small, mossy pad with barely visible threads. Using sterilized tweezers, I gently placed the entire pad onto the surface of the pre-moistened sphagnum-bark mix. I did not bury it. Epiphytic bladderworts anchor themselves. I simply ensured good contact and used a few small pieces of cork bark or more sphagnum to lightly hold it in place if needed. Then, I used a spray bottle to mist the plant and the terrarium walls thoroughly.
Dialing In the Environment: Light, Water, and Air I placed the terrarium about 12 inches beneath a moderate-strength LED grow light, set on a 12-hour timer. These plants need bright, indirect light. Direct sun through glass will cook them. A small, quiet computer fan, mounted on the mesh lid and set to run for 15 minutes every hour, provided the essential air movement. This fan was a game-changer, simulating the natural breezes of their habitat and keeping the leaves dry.
Watering is about purity and method. I use only distilled water or rainwater. Tap water minerals can build up and harm the plant. I never water from above directly onto the stolons. Instead, I lightly mist the terrarium walls and the surface of the medium every day or two, just enough to maintain moisture without waterlogging. The key is to keep the medium feeling like a damp, wrung-out sponge, not a wet one.
My Two-Week Observation Log: The Critical Establishment Phase
This period was my real education. Here’s what I observed day by day.
- Days 1-3: The plant looked unchanged, slightly wilted from shipping. Humidity stayed around 85% with the fan cycling. No mold.
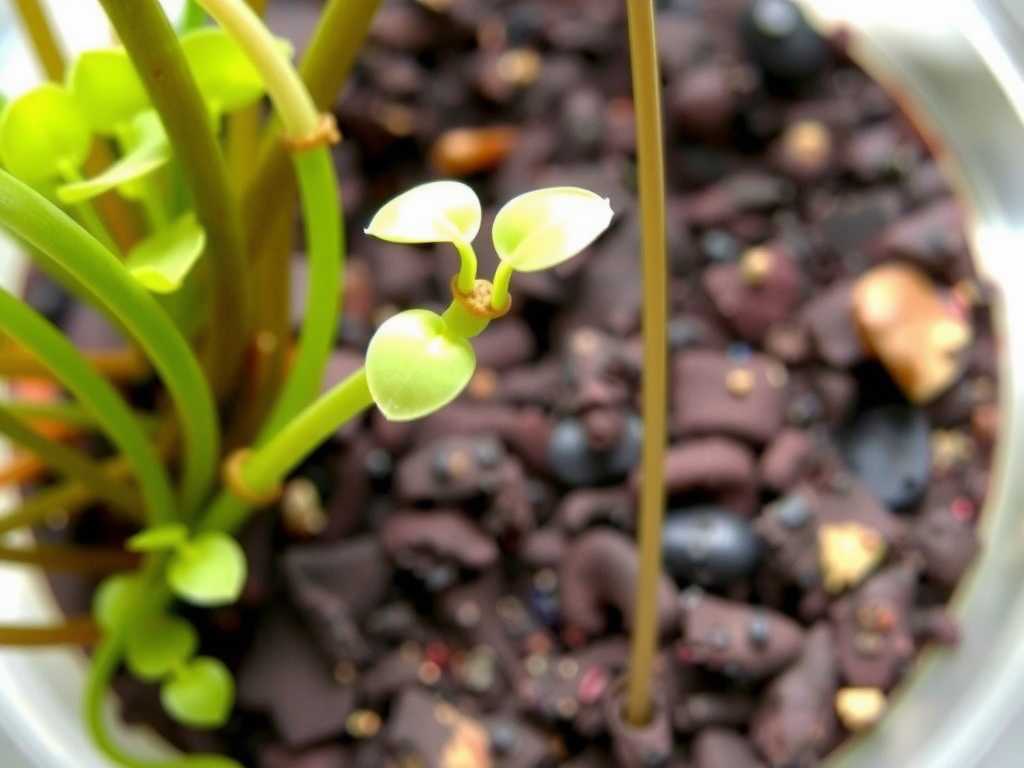
- Days 4-7: I noticed the first sign of growth! A few almost imperceptible, pale green thread-like stolons began extending beyond the original moss pad, exploring the surface of the bark mix. This was the first major victory.
- Day 8 – The First “Pitfall” (and Fix): I spotted a small patch of white, fuzzy mold on a piece of bark away from the plant. Panic! This is where many give up. I realized my air circulation wasn’t enough in that corner. I adjusted the fan’s angle for better coverage and, using tweezers, carefully removed the affected piece of bark. I increased the fan’s run time to 20 minutes per hour temporarily. The mold did not return.
- Days 9-14: With the air circulation issue solved, growth accelerated. The stolons became more numerous and visibly greener. They began to weave through the sphagnum. By the end of the second week, the plant had clearly established itself, doubling its spread. Tiny, new leaf shoots appeared along the stolons. The bladders, under magnification, looked plump and healthy. The plant was actively growing, not just surviving.
Long-Term Care and Troubleshooting
Once established, care becomes a simple rhythm. I feed my bladderwort indirectly by occasionally adding a small pinch of powdered freeze-dried bloodworms to the water in the base tray (which evaporates and provides nutrients), but this is not strictly necessary. They derive energy from light and catch microscopic organisms.
Watch for browning stolons (usually a sign of rot from too-wet media or poor air flow) and persistent mold. The fix is always to increase air circulation, reduce watering frequency, and remove any decaying material promptly. If the plant seems stagnant, check your light levels; it might need a bit more brightness.
Why Won’t My Bladderwort Flower? Flowering is the crown of success. My U. alpina bloomed after about 8 months of consistent care. The trigger seemed to be a slight seasonal temperature drop and very consistent conditions. Ensure your plant is mature and receiving strong, indirect light. Patience is key.
Can I Grow It Without a Terrarium? While a terrarium offers the easiest control, a very humid greenhouse cabinet or a naturally humid room (like a bathroom with a window) can work if you can maintain 70%+ humidity and good air flow. For most, a simple terrarium is the most reliable method for cultivating epiphytic bladderwort plants.
Is It Safe to Handle? What About Pests? The bladders are far too small to affect human skin. Common pests are aphids or fungus gnats. I had a minor fungus gnat issue from a contaminated bag of sphagnum. I introduced a few Bacillus thuringiensis israelensis (Bti) mosquito dunk bits to the water, and the gnats were gone in a week. Always quarantine and rinse new plants or media if possible.
Seeing those first stolons creep across the bark was a moment of pure joy. It transformed a “difficult” plant into a manageable, fascinating project. The process taught me more about the balance of nature than any textbook. By focusing on the harmony of humidity and airflow, choosing the right inert medium, and observing closely, you unlock the secret to these botanical marvels. Start simple, be patient during the critical first weeks, and learn from the small setbacks. The delicate, otherworldly beauty of a thriving epiphytic bladderwort is well worth the attentive care.

发表评论