How to Care for Epiphytic Bladderwort in Balanced Conditions: My Two-Week Journey to Success
I’ll admit it: when I first brought home my epiphytic bladderwort, I was equal parts thrilled and terrified. Here was a carnivorous plant, not rooted in soil but clinging to bark, with tiny, intricate bladders designed to trap microorganisms. The online forums were a maze of conflicting advice. My core fear, and likely yours, was simple: how do I provide the perfect balanced conditions for this unique plant without killing it through over-attention or neglect? The terms “high humidity” and “pure water” were everywhere, but what did that truly mean day-to-day? This guide is the result of my meticulous, two-week experiment to crack the code on epiphytic bladderwort care. I’ll walk you through my exact steps, the mistakes I made, and the clear signs of success I observed, so you can achieve that elusive balance from the start.
My goal was to create a stable, balanced microenvironment that mimicked the plant’s natural habitat. For clarity, I focused on two core long-tail keywords throughout my process: maintaining high humidity for epiphytic bladderwort and epiphytic bladderwort watering schedule. I understood that getting these two elements in harmony was 90% of the battle.

Understanding the Epiphytic Bladderwort’s Unique Needs
Before diving into setup, I had to reset my thinking. Unlike terrestrial bladderworts, epiphytic species like Utricularia nelumbifolia or U. alpina grow on mossy trees in cloud forests. They don’t have traditional roots for nutrient uptake; their stolons and bladders handle that. This means everything hinges on the moisture and quality of the air and their mounting medium. The Royal Horticultural Society (RHS) emphasizes that these plants are excellent indicators of environmental stability—they thrive on consistency, not dramatic swings. The American Horticultural Society (AHA) also notes that their carnivorous nature is more about supplementing nitrogen in nutrient-poor environments, not about “feeding” them like a pet. Success, I learned, is about engineering a stable climate.
My Step-by-Step Setup for Balanced Growth
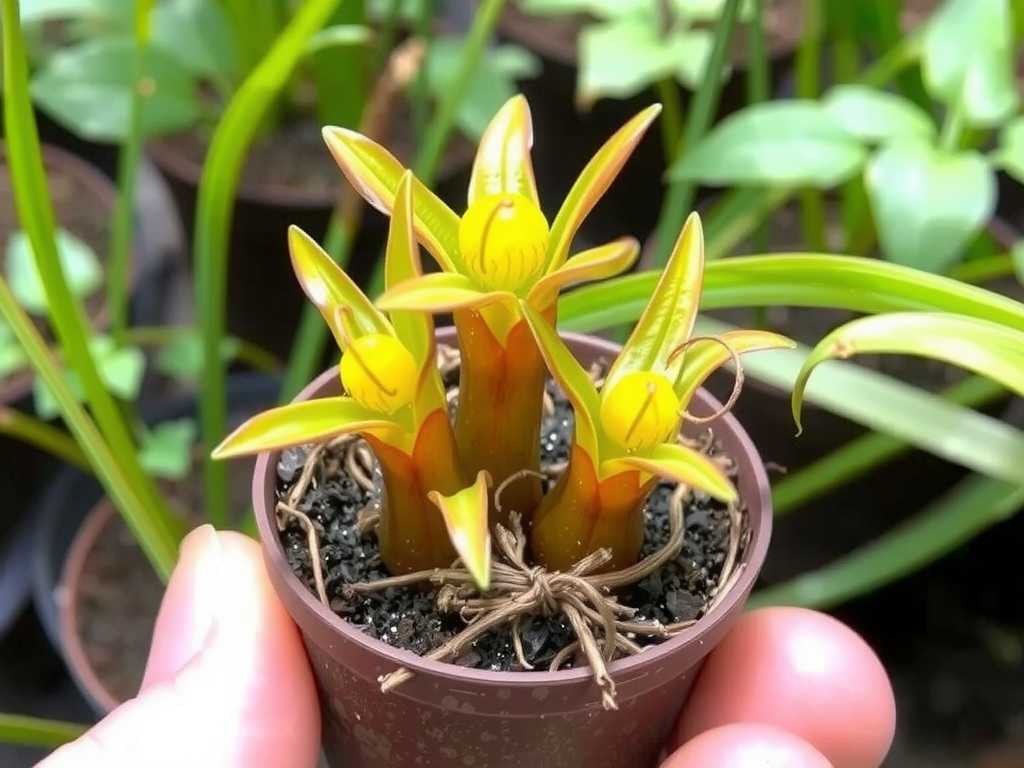
I chose a robust Utricularia alpina for this trial. Here is the exact protocol I followed, refined through trial and error.
Creating the Perfect Home: The Enclosed Terrarium
An open windowsill was out of the question. My home’s ambient humidity was a mere 40%, a death sentence for a plant needing 70%+. I selected a large, clear glass terrarium with a vented lid. This was crucial for containing humidity while allowing some air exchange to prevent stagnation.
The mounting medium was my first challenge. I used a mix of long-fiber sphagnum moss and orchid bark (small grade). I soaked the sphagnum in distilled water for an hour, then wrung it out so it was damp but not dripping—a “moist sponge” consistency. I formed this mix around a piece of cork bark, creating a porous, moisture-retentive anchor for the plant’s stolons. I gently laid the bladderwort on top, not burying it, and used a bit of fishing line to loosely secure it until it attached naturally.
")
Mastering the Humidity Balance
This was the trickiest part. Simply sealing the terrarium shot humidity to 95%, risking mold. My solution was a combination of tools and observation. I placed a small digital hygrometer inside. For maintaining high humidity for epiphytic bladderwort, I relied on the damp substrate and light misting. Every morning, I would give the inside walls of the terrarium a fine mist with distilled water, avoiding direct spraying on the plant. I kept the vented lid about 25% open. This routine maintained a steady 75-80% humidity range, which I verified twice daily. The AHA’s guidance on air circulation for preventing fungal issues was my mantra here.
The Critical Watering Rhythm
Establishing my epiphytic bladderwort watering schedule was not about drenching the plant but rehydrating the medium. I used only distilled water. Every third day, I performed the “lift test”: I carefully lifted the cork bark mount. If it felt light and the sphagnum’s top layer was slightly crisp, it was time. I would take the mount out and submerge just its base in a cup of distilled water for 10 minutes, allowing capillary action to pull moisture upward. Then, I let it drain completely before returning it to the terrarium. This “soak-and-drain” method prevented the sogginess that leads to rot.
The Two-Week Observation Log: Triumphs and Troubles
The first few days were nerve-wracking. Here’s what I saw, and the problems I had to solve.
Days 1-3: The Adjustment Period The plant looked unchanged, which I took as a good sign. However, I noticed condensation pooling heavily on one side of the terrarium. Mistake #1: Uneven lighting was causing a temperature gradient, leading to excess condensation. Solution: I moved the terrarium to a spot with bright, consistent indirect light (no direct sun) and rotated it 90 degrees each day. This evened out the condensation.
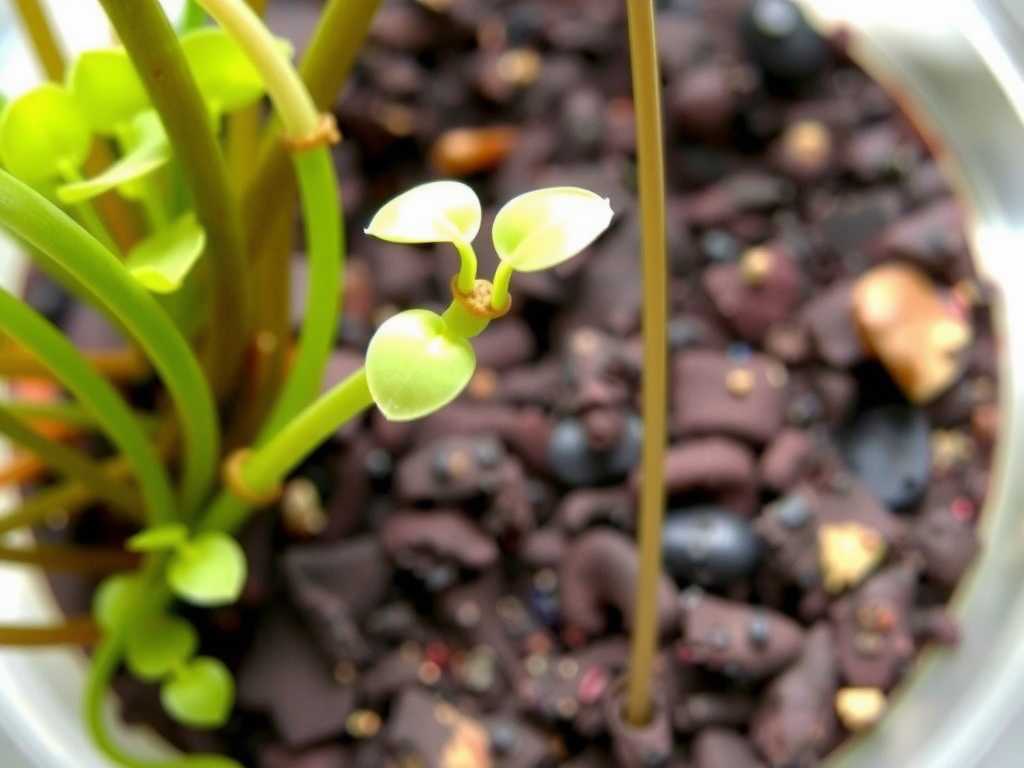
Days 4-7: First Signs of Life By day five, I spotted the first new, tiny green stolon tip extending from the main plant. This was a huge victory! It meant the plant was acclimating. However, a small patch of sphagnum near the base began to look slightly green with algae. Mistake #2: The medium was staying too wet in that one spot due to compacted moss. Solution: I gently fluffed the compacted area with sterilized tweezers to improve aeration. I also slightly increased the lid opening to boost air flow, monitoring humidity closely to ensure it didn’t drop below 70%.
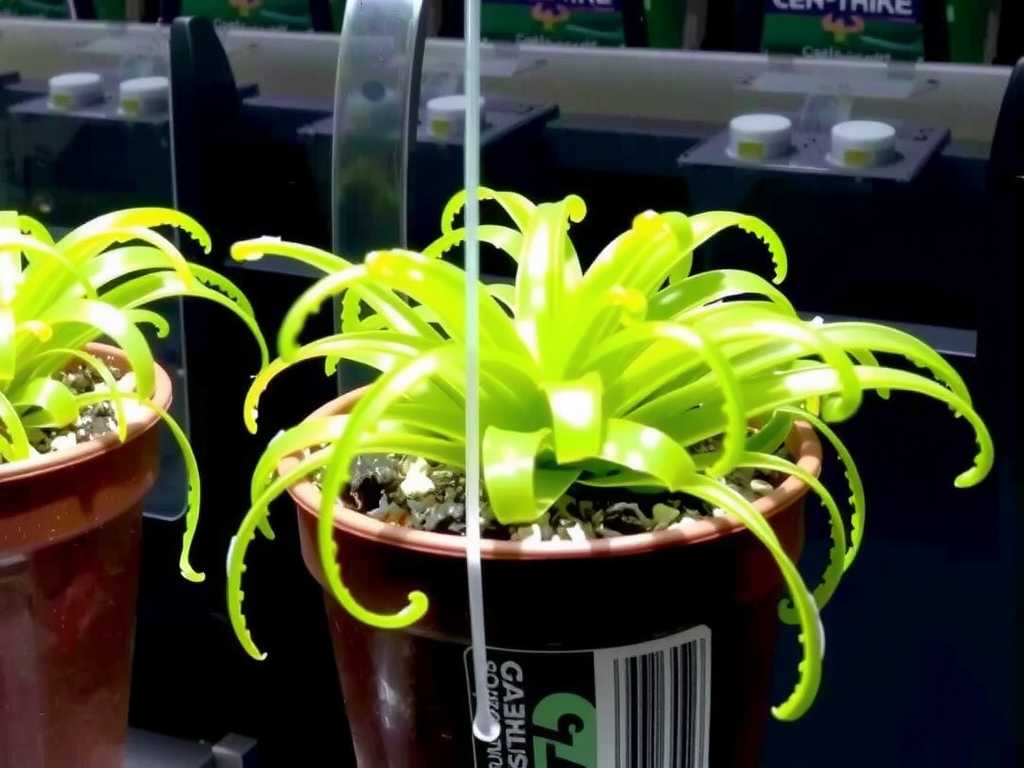
Days 8-14: Stable Growth and Blooming Cues The second week showed remarkable progress. The stolons were actively creeping across the moss. Most excitingly, by day twelve, I noticed two thin flower stalks beginning to ascend. Flowering is a definitive sign of a happy, well-cared-for epiphytic bladderwort. The balanced conditions for Utricularia were clearly being met. My morning misting and tri-weekly soaking schedule were now a steady rhythm. The plant was not just surviving; it was preparing to reproduce.
Key Takeaways for Your Success
My experiment proved that consistency is everything. The balance between humidity, moisture, and air flow is non-negotiable. Investing in a hygrometer is essential—you cannot guess humidity. Furthermore, using pure water is not a suggestion; it’s a requirement. Tap water minerals will coat the delicate stolons and bladders, eventually killing the plant.
How often should I fertilize my epiphytic bladderwort? You shouldn’t, directly. Their bladders catch enough microscopic prey. In a balanced, mature setup, some experts suggest that very occasional, highly diluted orchid fertilizer misted in the air around (not on) the plant can be beneficial, but it’s a major risk for beginners. I avoided it entirely during my trial, and the plant thrived. Focus on perfecting the physical environment first.
What are the signs of an unhealthy epiphytic bladderwort? Watch for stolons turning black or mushy (a sign of rot from too-wet conditions) or becoming shriveled and brown (a sign of desiccation from low humidity). A complete halt in growth or a lack of any bladder development also indicates stress. In my case, the early algae growth was a warning sign to improve air flow.
Can I keep it with other plants in a terrarium? Yes, but choose companions wisely. Other high-humidity epiphytes like certain mosses, miniature orchids, or some bromeliads can work. However, ensure they have similar water needs. Avoid plants that require heavy fertilization or dry periods, as their care will clash with the consistent moisture needs of your bladderwort.
Seeing those flower stalks emerge was the ultimate reward. It confirmed that the path to cultivating epiphytic bladderworts successfully isn’t about complex tricks, but about disciplined, simple care. By providing a stable, humid microclimate with a strict pure-water regimen and vigilant observation, you transform from a worried owner into a confident cultivator. The plant’s fascinating growth will become a direct reflection of the balanced environment you’ve skillfully maintained. Start with the fundamentals I’ve outlined, be patient through the adjustment period, and you’ll likely find yourself, as I did, eagerly awaiting the first delicate bloom.

发表评论