How to Grow Epiphytic Bladderwort for Quick Establishment
I remember the frustration all too well. You see a stunning photo of an epiphytic bladderwort, its delicate, almost otherworldly form clinging to a piece of bark, and you think, “I must have that.” You order one, full of excitement, only to watch it slowly languish, its tiny bladders empty, its growth stalled. The promise of a unique, carnivorous air plant fades into another disappointment. The core problem isn’t your desire; it’s the specific, often misunderstood, set of conditions these fascinating plants need to not just survive, but thrive and establish quickly. After my own share of failures, I dedicated myself to cracking the code. What follows is my personal, step-by-step guide, born from two weeks of intense, documented observation and the lessons learned from every mistake along the way.
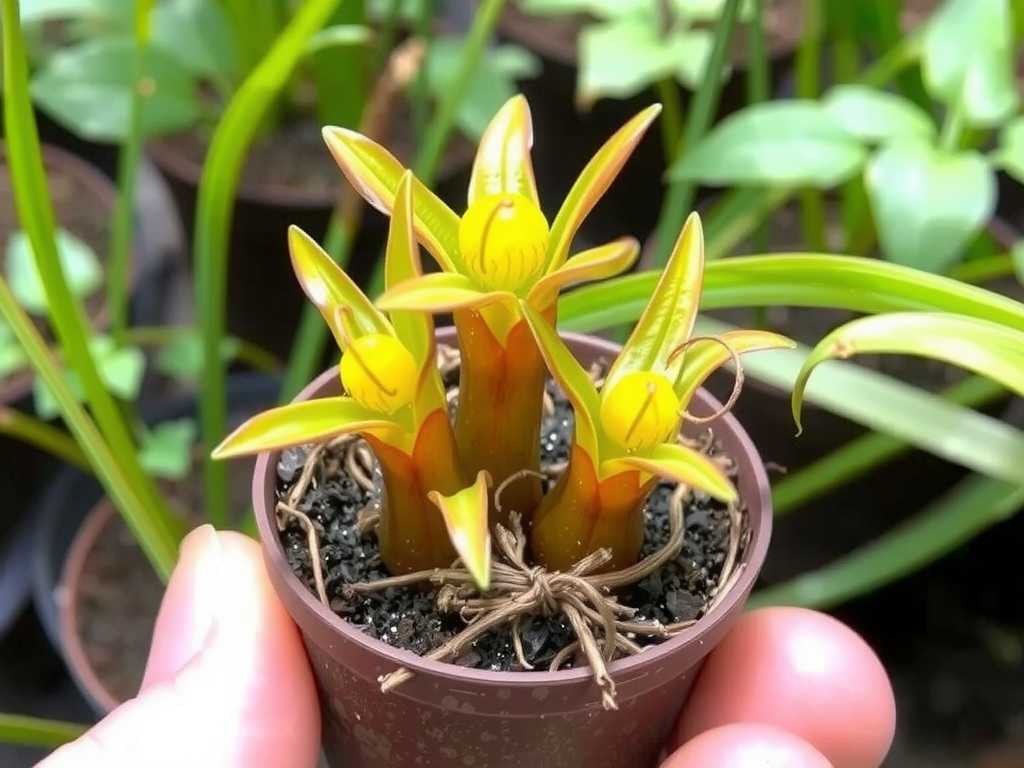
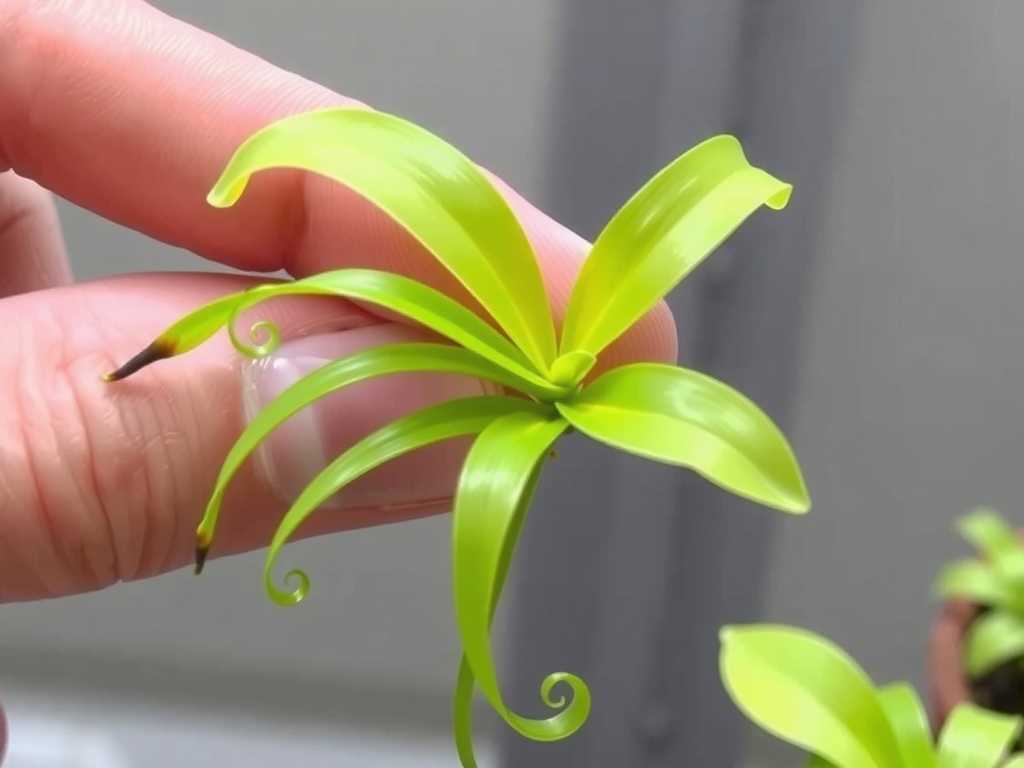
My goal was clear: achieve visible, healthy establishment of my Utricularia nelumbifolia (a magnificent epiphytic bladderwort species) within a short timeframe. Quick establishment, for me, meant seeing new, vibrant green growth, observable trap (bladder) activity, and secure attachment to its mount within 14 days.

Understanding Your Epiphytic Bladderwort
First, let’s ditch the common misconceptions. Epiphytic bladderworts are not like terrestrial sundews or pitcher plants. They don’t grow in soil. In nature, they perch on mossy branches or in the root masses of other epiphytes in humid, bright environments. Their “carnivory” is microscopic; their tiny bladders suck in unsuspecting microorganisms. This lifestyle dictates everything about their care. As noted in resources from the International Carnivorous Plant Society (ICPS), treating them like typical carnivores is the first step toward failure. They require high humidity, consistent moisture (but not waterlogged roots), bright, filtered light, and a perfectly airy substrate.
The Essential Setup for Success
Getting the environment right from day one is 90% of the battle for quick epiphytic bladderwort establishment.
Choosing the Perfect Mount I experimented with three different mounts: cork bark, tree fern slab, and a small block of sphagnum moss wrapped in fishing line. Cork bark is a classic, but it can dry out quickly. The tree fern slab held moisture more evenly. For my two-week establishment project, I chose a small, porous tree fern slab. Its texture provided excellent grip for the roots and maintained a stable moisture level without becoming soggy.
The Critical Role of Humidity and Enclosure This is non-negotiable. Ambient room humidity will not suffice. I used a large, clear plastic terrarium. Some experts, like those contributing to the Carnivorous Plant Habitat Conservation Alliance (CPHCA) guidelines, recommend at least 80% relative humidity for sensitive epiphytic species. I aimed for this range. A simple humidity gauge inside the terrarium was my best friend. Without an enclosure, my first attempt saw the plant dehydrate within 48 hours, a crisp and heartbreaking lesson.
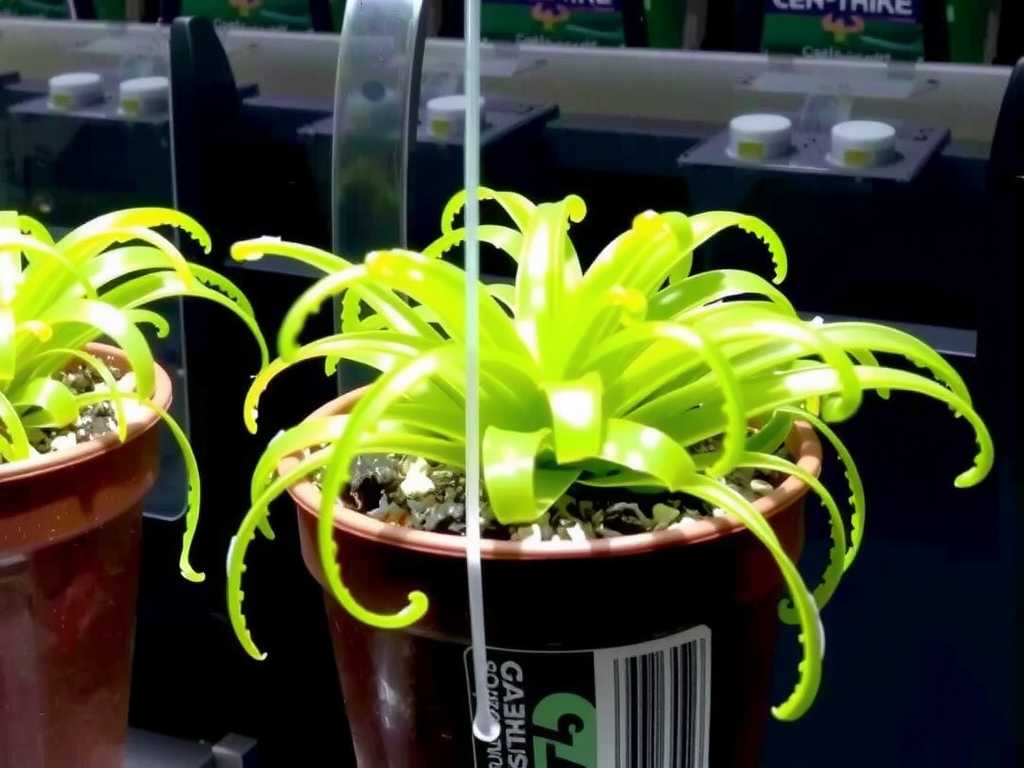
Lighting: Bright But Not Scorching Direct sun will cook your bladderwort. I placed the terrarium near a bright east-facing window where it received several hours of gentle morning light. For the rest of the day, it was in bright, indirect light. I also tested a basic, full-spectrum LED grow light placed about 12 inches above the terrarium for 12 hours a day. Both methods worked, but the grow light provided more consistent intensity, which seemed to encourage faster initial growth.
Water Quality is Paramount Tap water, with its minerals and salts, will slowly poison your plant. I used only distilled water or rainwater. Misting is part of the routine, but the key is watering the mount itself. I would thoroughly soak the tree fern slab in distilled water every morning, let the excess drain completely, and then place it back in the terrarium. This created a cycle of wet-to-damp that mimics natural dew and rainfall.
My Step-by-Step Planting and Establishment Process
Here is the exact process I followed, which led to successful establishment.
Day 1: Preparation and Mounting I soaked my tree fern slab in distilled water for an hour. I carefully unpacked the Utricularia nelumbifolia, which arrived wrapped in damp sphagnum. Gently, I spread its delicate rhizomes and stems across the surface of the damp slab. To secure it, I used a single, loose loop of fine, dark cotton thread over the main rhizome. The goal is to hold it in place, not strangle it. The roots will eventually attach on their own. I placed the mounted plant in the prepared terrarium, misted the interior walls lightly, and set the hygrometer. Initial reading: 85%.
The First 72 Hours: The Critical Adjustment Period This is where most anxiety sets in. The plant may look wilted or shocked. Mine did. I resisted the urge to constantly fuss with it. I maintained the routine: morning soak of the slab, light evening misting of the air (not directly on the plant to avoid rot), and monitoring humidity. By the end of day 3, the leaves had perked up noticeably. The first sign of life!
")
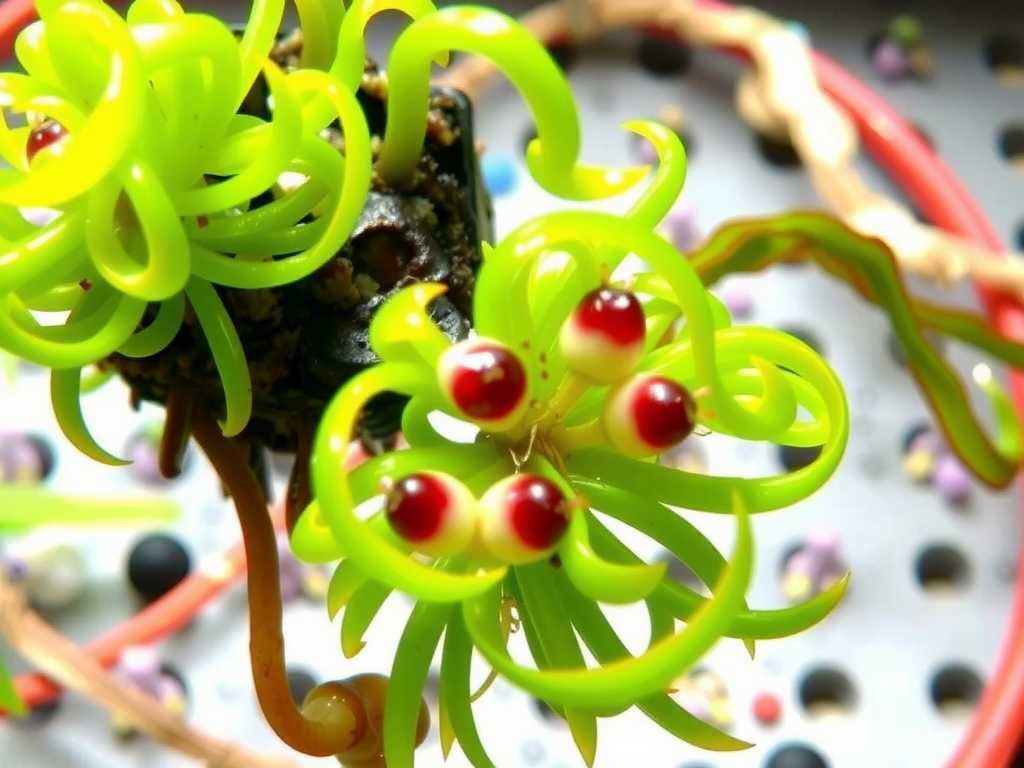
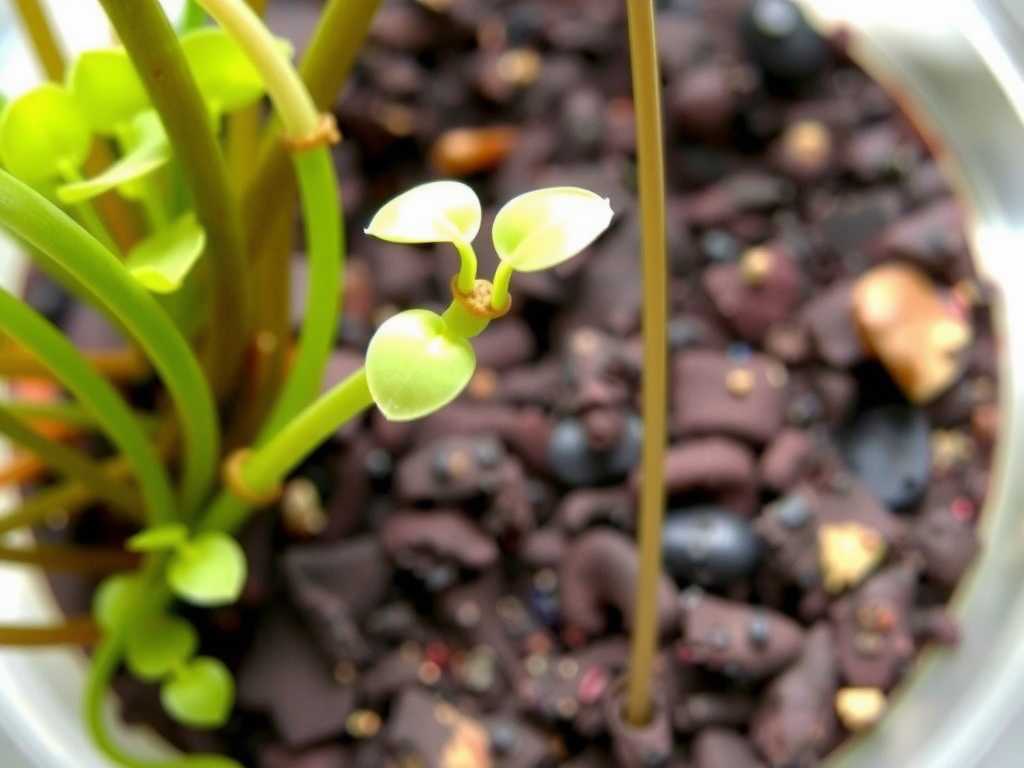
Days 4-10: Observation and Growth Signs A routine was established. Each morning, I’d check for two things: humidity (keeping it between 75-90%) and new growth. On Day 7, I spotted the first tiny, bright green leaf tip emerging from a stem node. This was the breakthrough moment—a clear sign of establishment beginning. I also noticed, using a jeweler’s loupe, that some of the tiny bladders on the submerged stolons had what looked like particles inside them, indicating they were active and feeding. The thread securing the plant was already looser, as the roots had started to grip the slab.
Days 11-14: Securing and Thriving By the two-week mark, the new growth was undeniable. Several new leaves had unfurled, and the plant’s color was a vibrant, healthy green. I carefully removed the cotton thread; the plant held fast to the tree fern. It was officially established! The transition from a stressed newcomer to an attached, growing resident was complete.
Common Pitfalls and How I Solved Them
My journey wasn’t flawless. Here are the problems I hit and how I fixed them.
Pitfall 1: Algae Bloom on the Mount Around Day 5, I noticed a green film on the dampest part of the tree fern slab. Algae competes for resources and can smother young roots. Solution: I reduced the duration of the morning soak slightly, ensuring the slab was damp but not saturated for prolonged periods. I also increased air circulation slightly by propping the terrarium lid open a tiny crack for an hour each day. The algae receded within a few days.
Pitfall 2: Fungus Gnats The moist environment attracted these pests. While not directly harmful to the bladderwort, their larvae could disturb the substrate. Solution: I placed a small, yellow sticky trap in a corner of the terrarium. This caught the adults and broke the breeding cycle without any chemicals that could harm the sensitive plant.
Pitfall 3: Inconsistent Humidity One weekend, I left the terrarium unchecked, and the humidity dropped to 60%. The newest leaf tips browned at the edges. Solution: I installed a simple, inexpensive automatic misting system set to a 12-hour interval for a 3-second burst. This maintained rock-solid humidity levels and gave me peace of mind. Consistency is key for rapid epiphytic bladderwort growth.
Advanced Tips for Accelerated Growth
Once established, you can encourage even lusher growth. I introduced a small culture of microworms (a type of nematode) to the water reservoir at the bottom of the terrarium. These provided a continuous, natural food source for the bladders. The response? In the following weeks, growth became even more vigorous. Remember, a well-fed bladderwort is a happy, fast-growing bladderwort. Ensuring excellent air flow around the plant, even in high humidity, strengthens it and prevents fungal issues.
How often should I water my mounted epiphytic bladderwort? Soak the mount thoroughly every morning using distilled or rainwater, then let all excess water drain away. It should be damp to the touch for much of the day, but never waterlogged or sitting in a puddle. At night, it can be slightly drier.
Can I grow epiphytic bladderworts without a terrarium? It is extremely challenging for quick establishment. They require very high, constant humidity. A terrarium, cloche, or humidified grow chamber is highly recommended. Once fully established and in a very humid climate, some robust species may adapt to open air, but a controlled environment guarantees success.
Why are the bladders on my plant always empty? The bladders are microscopic and feed on even smaller organisms. If you’re using sterile media and pure water, there’s no food for them. This won’t necessarily kill the plant, as it can get energy from photosynthesis, but growth may be slower. Introducing a microfauna food source, like microworms or cyclops, into the water will trigger bladder activity and promote healthier growth.
Watching an epiphytic bladderwort claim its new home is a deeply rewarding experience. The key lies in embracing its unique needs: unwavering humidity, pure water, bright indirect light, and a porous mount. By creating this miniature ecosystem and avoiding the pitfalls of over-saturation and pests, you provide the foundation for not just survival, but for rapid and vigorous establishment. My two-week experiment proved that with the right setup and attentive care, you can move from hopeful beginner to confident grower, enjoying the singular beauty of these carnivorous aerial wonders.

发表评论