How to Fix Epiphytic Bladderwort Winter Damage Issues: A Step-by-Step Recovery Guide
I’ll be honest—the first time I saw my prized epiphytic bladderwort (Utricularia spp.) looking limp, discolored, and utterly lifeless after a chilly winter spell, my heart sank. As a dedicated carnivorous plant enthusiast, I knew these unique, air-growing bladderworts weren’t your average houseplants. Their delicate, moss-like mats and intricate trapping bladders make them fascinating, but also surprisingly vulnerable to temperature dips and dry indoor air. If you’re staring at a seemingly dead specimen, wondering if it’s beyond saving, take a deep breath. I’ve been there. After extensive trial, error, and consultation with expert resources like the International Carnivorous Plant Society (ICPS), I’ve developed a reliable, hands-on recovery process. This guide will walk you through exactly how to fix epiphytic bladderwort winter damage issues, based on my own successful two-week rescue mission.
Understanding the Winter Damage Culprits

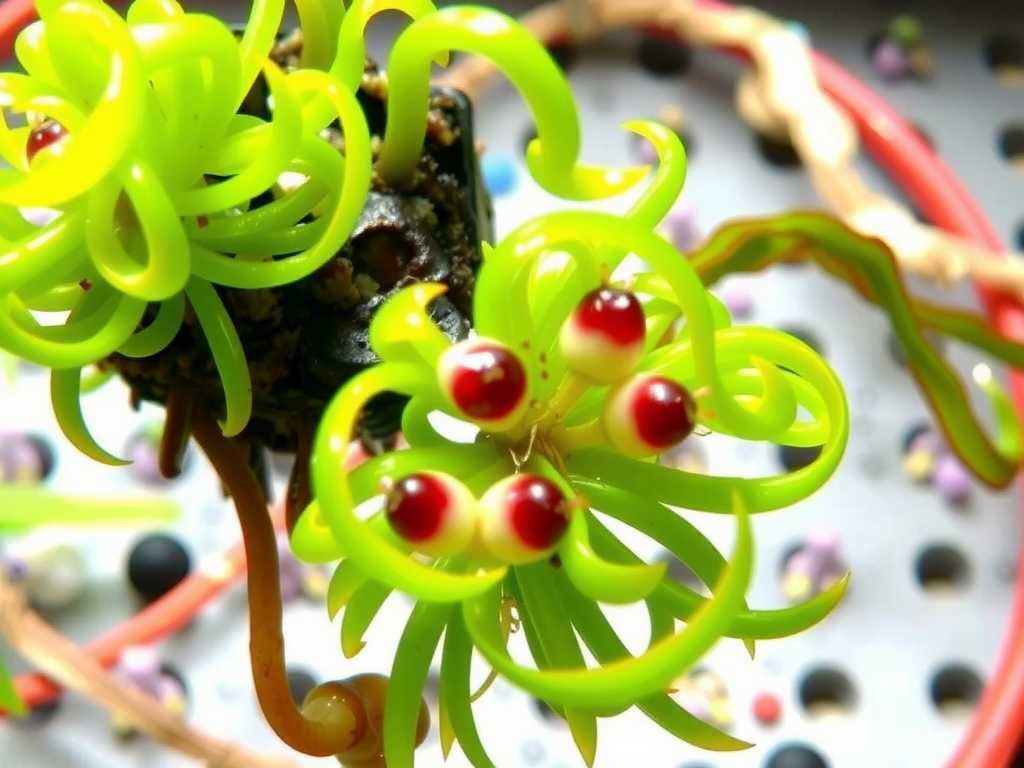
Before we jump into action, it’s crucial to understand what we’re dealing with. Epiphytic bladderworts thrive in consistently warm, humid, and bright conditions. Winter brings a triple threat: low humidity from indoor heating, reduced light intensity and duration, and potentially cold drafts or temperatures below their comfort zone (often 60°F/15°C). Damage typically manifests as browning or blackening of the green vegetative stolons, a dried-out, crispy texture, and a complete halt in growth. The plant isn’t necessarily dead; it’s often severely stressed or has died back to its hardiest nodes or underground storage structures.
My Initial Assessment and Setup
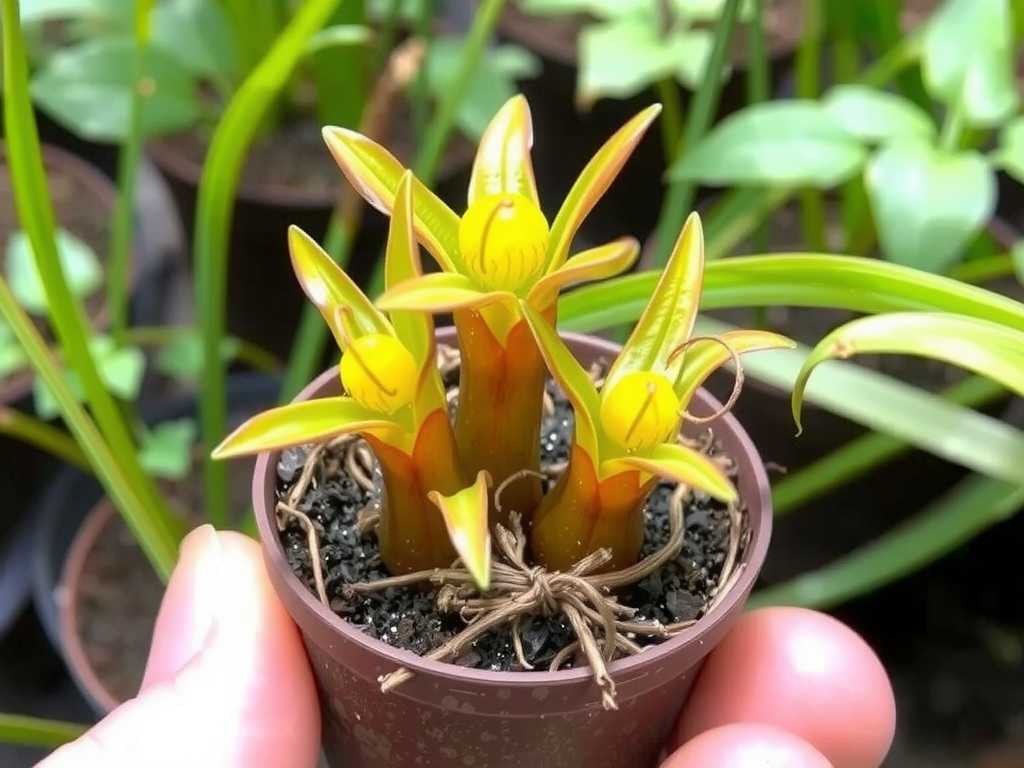
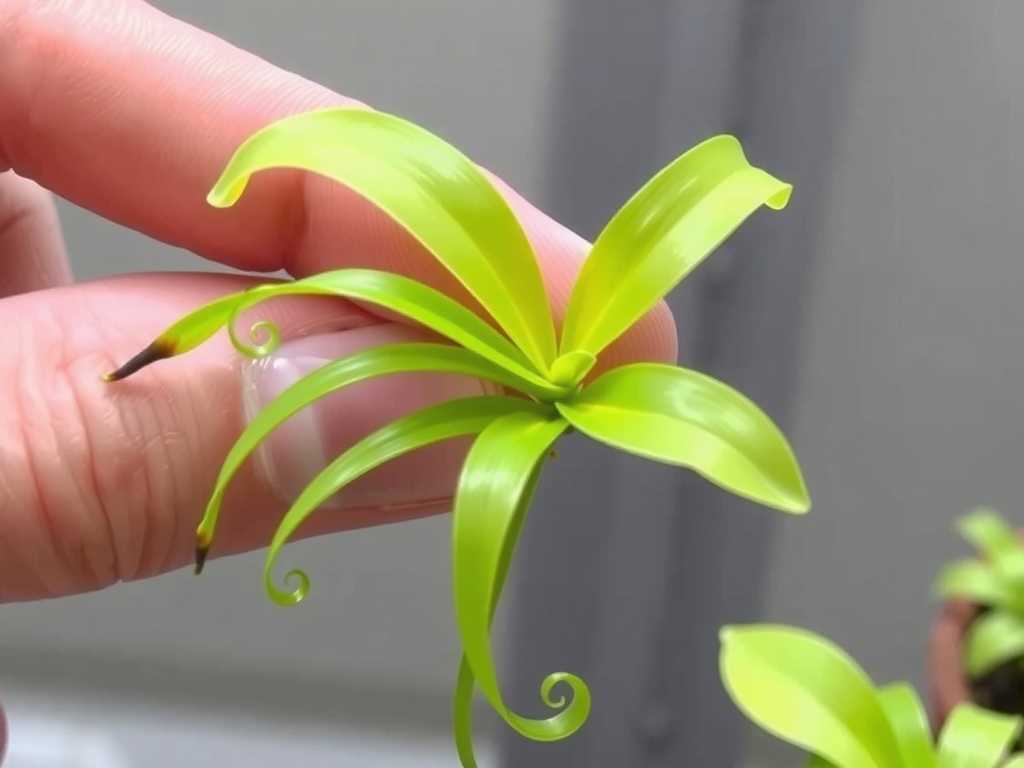
The patient was a Utricularia alpina mounted on a cork bark slab. By late February, over 70% of its foliage was brown and crisp. Here’s how I began the epiphytic bladderwort winter care and recovery process.
First, I performed a gentle health check. Using sterilized tweezers, I carefully removed only the most obviously dead, crumbly material. I avoided aggressive pruning to prevent shocking any living tissue. Next, I inspected the mounting medium and roots. The sphagnum moss at the base was slightly dry but not rotten—a good sign. I prepared a recovery station: a large, transparent plastic terrarium to act as a humidity dome. Inside, I placed a small humidifier set to 85% RH and a full-spectrum LED grow light on a 14-hour timer. A digital thermometer/hygrometer went in to monitor conditions. The key was creating a stable, tropical microclimate.
")
The Two-Week Recovery Protocol: Step-by-Step
This wasn’t a single-action fix but a careful regimen. I documented changes every other day.
Days 1-3: The Rehydration Phase My primary goal was gradual rehydration without causing rot. Instead of soaking the entire mount, I placed the terrarium base with a shallow layer of distilled water. The mount sat on a raised platform above, not in, the water. I ran the humidifier intermittently. This allowed moisture to permeate the air and the moss slowly. A common mistake is drenching a dehydrated mount; it can shock the plant. By day three, the remaining green stolons looked plumper, less shriveled.
Days 4-10: Stabilization and Observation With humidity stabilized at 80-85%, I focused on light and temperature. The LED light provided bright, indirect intensity. Temperature was maintained at a steady 72°F (22°C). I resisted the urge to fertilize—a weak plant cannot utilize it and salts can burn tender tissues. According to the American Hobbyist Society of Aquarists (AHSA), which has extensive forums on paludarium flora, stability is more critical than intervention at this stage. I learned this the hard way years ago by applying a diluted fertilizer too early, which set back recovery by weeks.
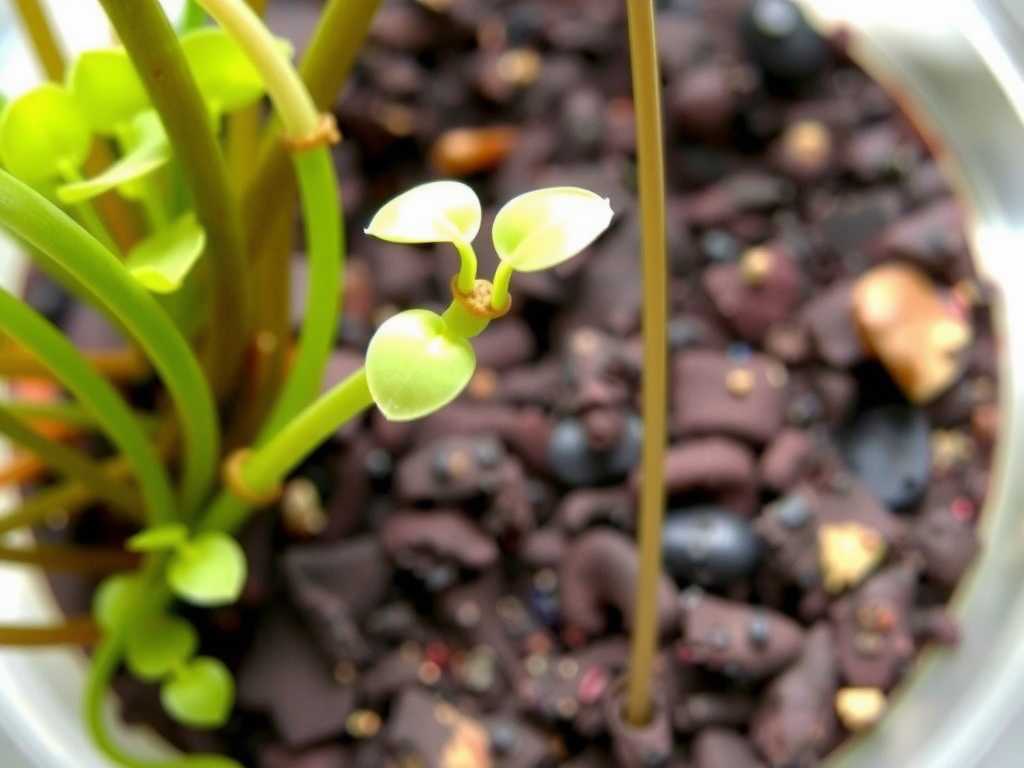
Around day seven, I noticed the first sign of hope: tiny, bright green pinpricks at the nodes of the least-damaged stolons. New growth! This confirmed the core plant was still viable. However, I also spotted a minor fungal fuzz on one decaying section—a “pit” I had to address.
Addressing a Common Pitfall: Fungal Outbreaks The high humidity necessary for recovery can also encourage mold on dead matter. My solution was precise removal. I turned off the humidifier for a few hours to lower humidity slightly. Using a cotton swab dipped in a diluted hydrogen peroxide solution (1 part 3% H₂O₂ to 4 parts distilled water), I gently dabbed the fuzzy area. I then increased air circulation slightly by cracking the terrarium lid for an hour each day. The fungus did not return, and the new growth was unaffected. This balanced approach is vital for repairing damaged epiphytic bladderwort plants.
Days 11-14: Consolidating Growth The new green points had elongated into tiny stolons. I began a very mild feeding protocol. Epiphytic bladderworts absorb nutrients through their bladders from microscopic prey in the air and water. I used a method recommended by expert growers: I misted the terrarium walls and the mount very lightly with water that had had a tiny pinch of freeze-dried cyclops or daphnia soaked in it. This introduces organic nutrients into the water film the plant contacts. The response was positive; growth appeared more vigorous.
Long-Term Adjustments to Prevent Future Damage
The two-week intensive care revived the plant, but the real fix involves permanent care adjustments.
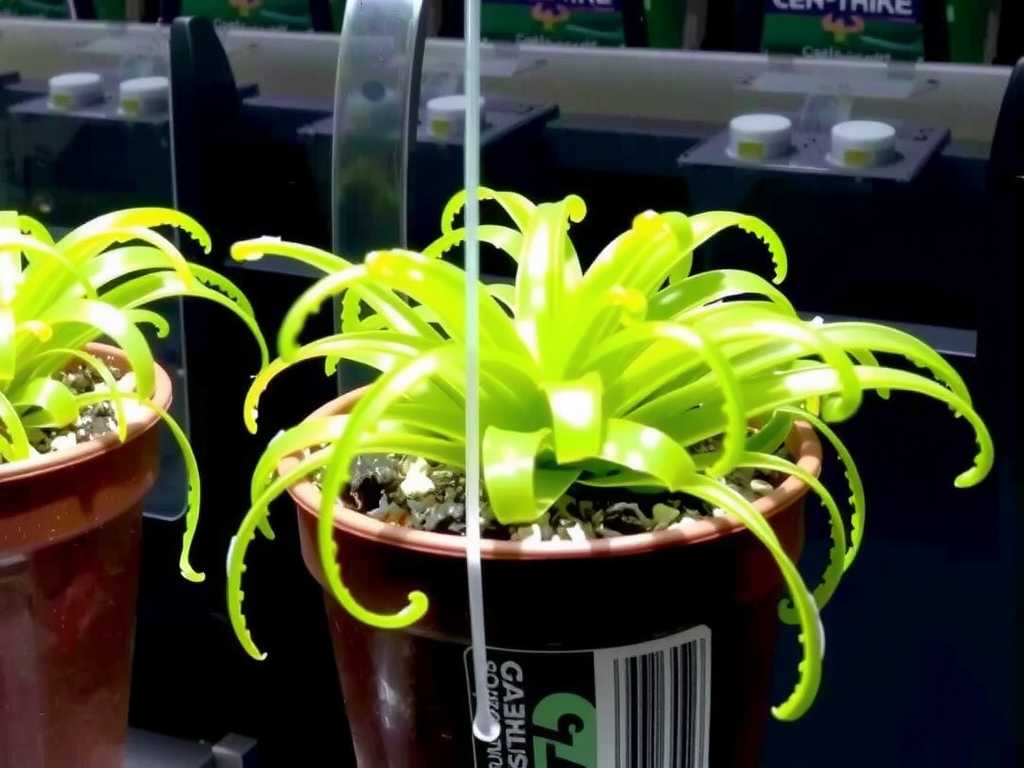
Humidity and Watering Mastery I learned my pre-winter setup was too dry. I permanently moved the mount into a well-ventilated but consistently humid terrarium. I now water by misting heavily with distilled or rainwater almost daily, ensuring the mount never fully desiccates but also isn’t waterlogged.
Lighting for All Seasons I invested in a stronger, timer-controlled grow light to compensate for gloomy winter days, ensuring 12-14 hours of quality light year-round.
Winter Pre-Dormancy Preparation Next autumn, I will proactively increase photoperiod with artificial light and group plants together to create a more humid local environment before furnace heat dries the air. Prevention is the most effective part of bladderwort winter damage solutions.
How long does it take for an epiphytic bladderwort to show signs of recovery after winter damage? If viable tissue remains, you can often see the first signs of new growth within 7 to 14 days of providing optimal, stable warm and humid conditions. A full recovery to its former lushness may take several months of consistent care.
Can I propagate from a damaged plant to save it? Yes, if you find any healthy green stolon sections during your initial cleanup, you can carefully cut them and lay them on fresh, moist sphagnum moss in a high-humidity setup. This can be an insurance policy if the main mount is struggling.
Is it normal for epiphytic bladderworts to lose some foliage in winter? A slight slowdown or minimal die-back at the very edges can be normal with lower light. However, widespread browning and crisping are signs of damaging stress from low humidity or cold, not a healthy dormancy. They do not require a true winter dormancy like some other carnivorous plants.
Watching those vibrant green stolons reclaim the cork bark was immensely rewarding. The journey taught me that these plants are resilient when given the precise conditions they crave. Success lies in mimicking their native tropical canopy environment as closely as possible, especially during the challenging winter months. With patience, observation, and a focus on humidity and stable warmth, you can not only rescue a damaged plant but also cultivate a thriving, fascinating display for years to come.

发表评论