How to Grow Epiphytic Bladderwort for Dense Foliage: My Two-Week Journey to a Lush, Carnivorous Display
")
I’ve always been fascinated by the bizarre and beautiful world of carnivorous plants, but for years, I avoided epiphytic bladderworts. The very idea of growing an air plant that also secretly hunts with underwater bladders felt intimidating. My goal wasn't just survival; I wanted that signature, dense foliage—a cascading mat of vibrant green that turns a mounted display into a living sculpture. If you're like me, you've probably found advice that's either overly simplistic or discouragingly technical. Through trial, error, and a dedicated two-week experiment, I cracked the code. Here’s my hands-on, step-by-step guide on how to grow epiphytic bladderwort for dense foliage, transforming a sparse fragment into a thriving colony.
Understanding the Epiphytic Bladderwort's Unique Needs

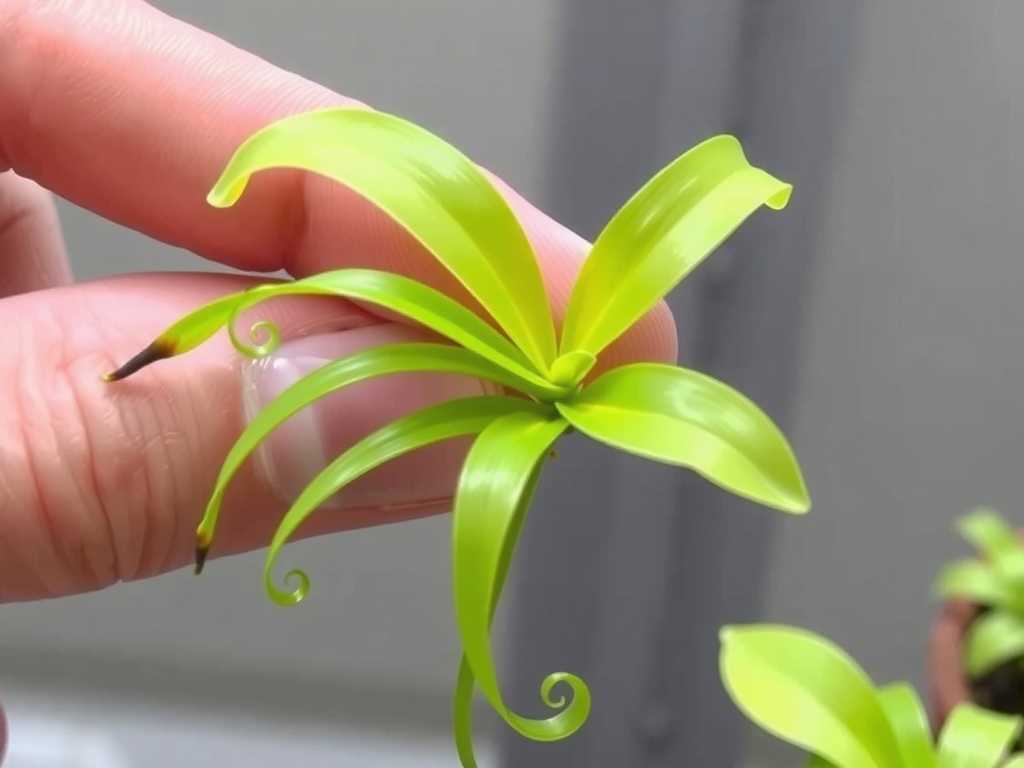
Before we dive into the setup, it's crucial to forget everything you know about soil-based plants. Epiphytic bladderworts, like Utricularia alpina or U. quelchii, are masters of adaptation. They anchor themselves to tree bark in the wild, absorbing moisture and nutrients from humid air and rain. Their tiny, intricate "bladders" trap microorganisms in a film of water on the mount. Achieving dense bladderwort foliage hinges on replicating this humid, airy, and consistently moist microenvironment. The foliage density is directly tied to the health of the stolons—the creeping stems—beneath the surface. If they're happy, lush growth follows.
My Step-by-Step Setup for Success
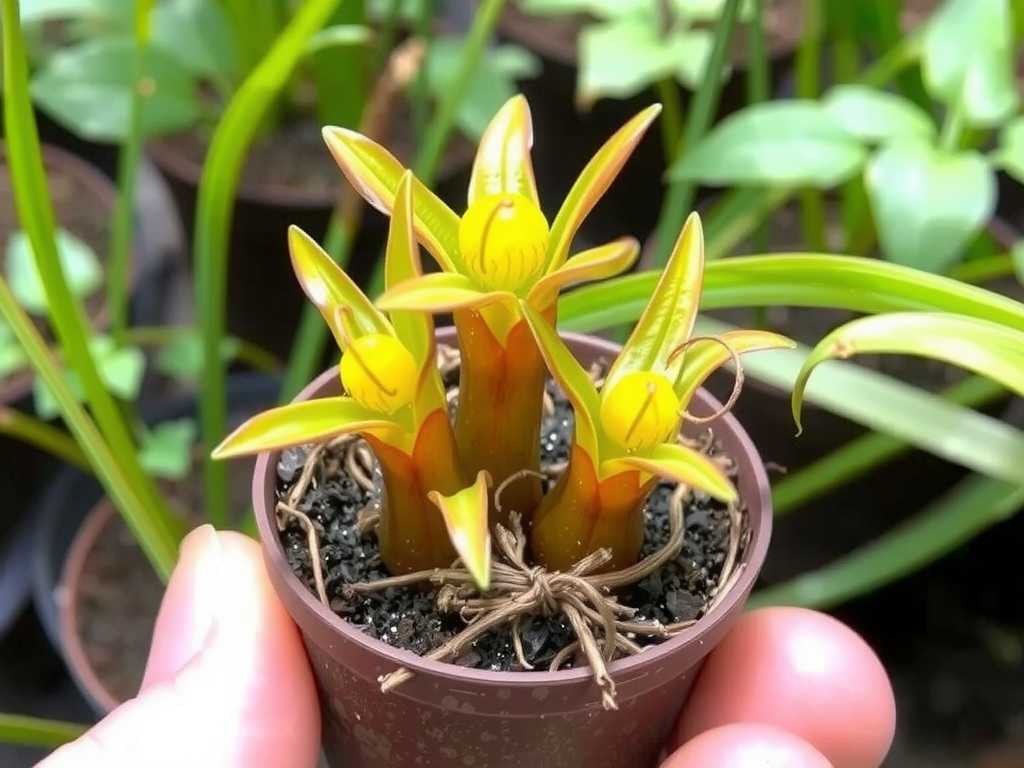
I started with a small, healthy division of Utricularia alpina I acquired from a reputable nursery. My previous failed attempts taught me that the mounting medium and hydration strategy are everything.
Choosing and Preparing the Mount I selected a sturdy piece of cork bark. It's porous, natural-looking, and holds moisture well without becoming soggy. Sphagnum moss is the other critical component. I soaked a handful of high-quality, long-fiber sphagnum moss in distilled water for 30 minutes, then gently squeezed it so it was damp but not dripping. I created a thin, even layer of this moss on the cork bark, securing it loosely with a few loops of clear, non-copper fishing line. This moss pad would be the bladderwort's initial home, providing constant humidity to its roots and stolons.
Mounting the Plant and Initial Placement I carefully laid the bladderwort division onto the moss bed. The key here is gentle contact, not burial. I used the fishing line to make a few more loops over the stolons, just enough to hold them in place until they naturally attach. According to the Carnivorous Plant Society, successful establishment relies on the stolons making direct, uninterrupted contact with a moist substrate. I then placed the mounted plant in a clear, ventilated terrarium. This wasn't a sealed jar; I used a tank with a mesh top to allow for some air exchange while trapping humidity. A simple hygrometer confirmed the humidity stayed between 70-85%.
The Critical First Two Weeks: Observation and Adjustment
This is where most guides stop, and where my real learning began. I committed to daily observations and minor tweaks.
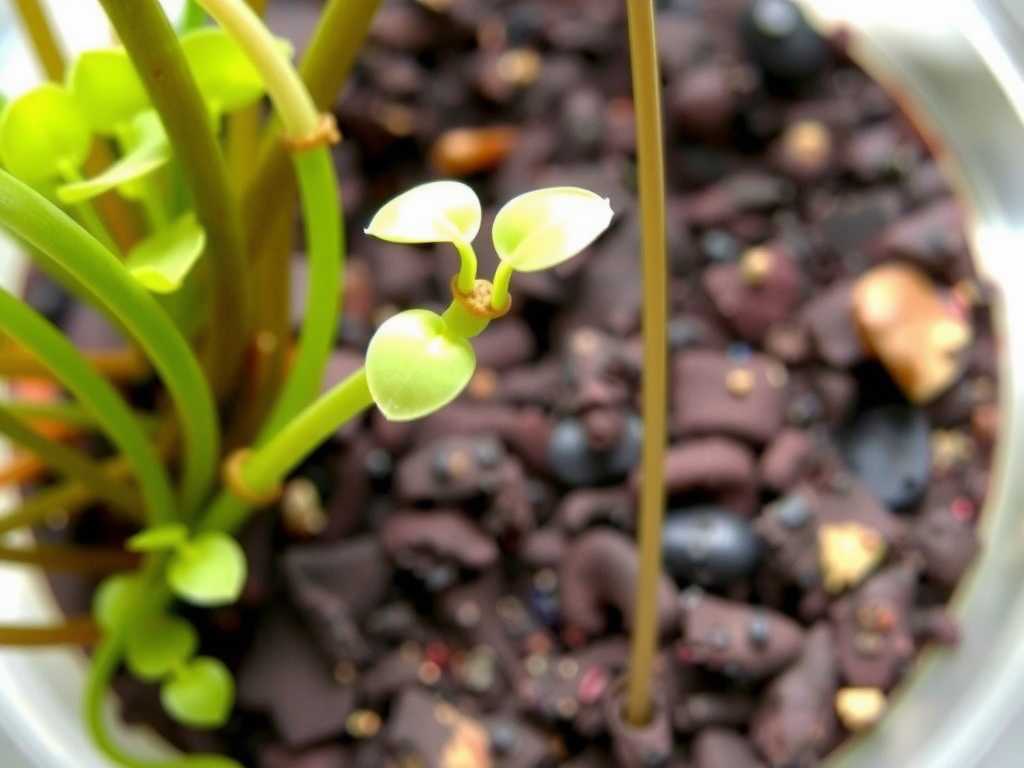
Week One: The Waiting Game The first few days showed no visible change. I kept the moss consistently damp using a spray bottle with distilled water, misting lightly twice a day. Light was provided by a full-spectrum LED grow light for 12 hours daily, positioned about 12 inches above the mount to provide bright, indirect intensity. By day five, I noticed the first sign of hope: the existing green leaves seemed perkier, and I spotted a single, tiny, new pale green shoot emerging from a stolon. The stolons themselves began to look slightly plumper, indicating they were absorbing moisture.
The "Pit" I Fell Into (And How I Climbed Out) Around day seven, I noticed a small section of moss and the stolon underneath it looked dark. I panicked, thinking it was rot. This was my pit: overzealous misting. I was keeping the surface too wet, preventing the delicate stolon from breathing. The solution wasn't to water less, but to water smarter. I stopped misting directly over that area. Instead, I began lightly misting the air above the mount and the surrounding moss, letting fine droplets settle. More importantly, I started the "pour-through" method recommended by expert growers: once every three days, I would take the entire mount to the sink and gently pour distilled water over the top, allowing it to flow through the moss and bark for a few seconds before returning it to the terrarium. This soaked the core of the mount while letting the surface dry slightly. The dark patch stabilized within two days.
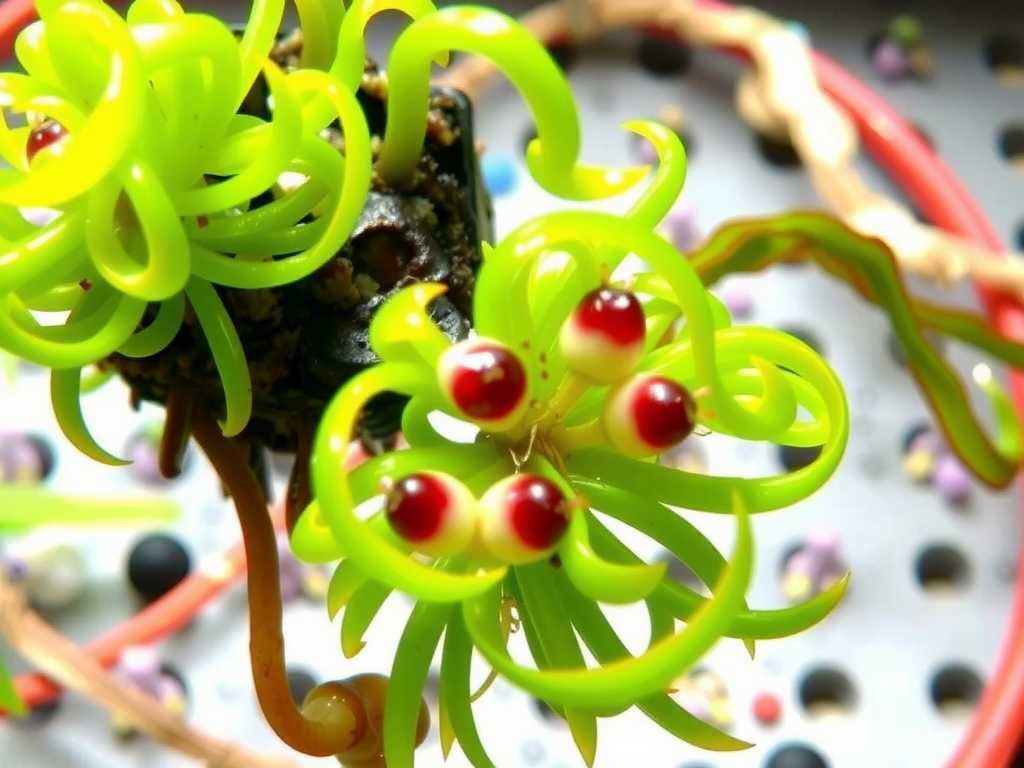
Week Two: The Explosion of Growth With the corrected watering routine, the plant responded dramatically. The single new shoot was joined by three more. The stolons visibly crept across the cork bark, branching as they went. Every node on these stolons seemed to produce a new leaf rosette. The foliage density of epiphytic bladderwort was increasing before my eyes. By the end of the second week, the mount had transformed from a lonely fragment to a recognizable colony. The new foliage was a lighter green, maturing to a deeper emerald. The most satisfying moment was seeing a tiny, thread-like flower bud initiate—a sure sign of a content plant.
Optimizing Conditions for Maximum Lushness
My two-week experiment confirmed the fundamentals, but achieving truly dense, mature foliage is an ongoing process built on these optimized conditions.
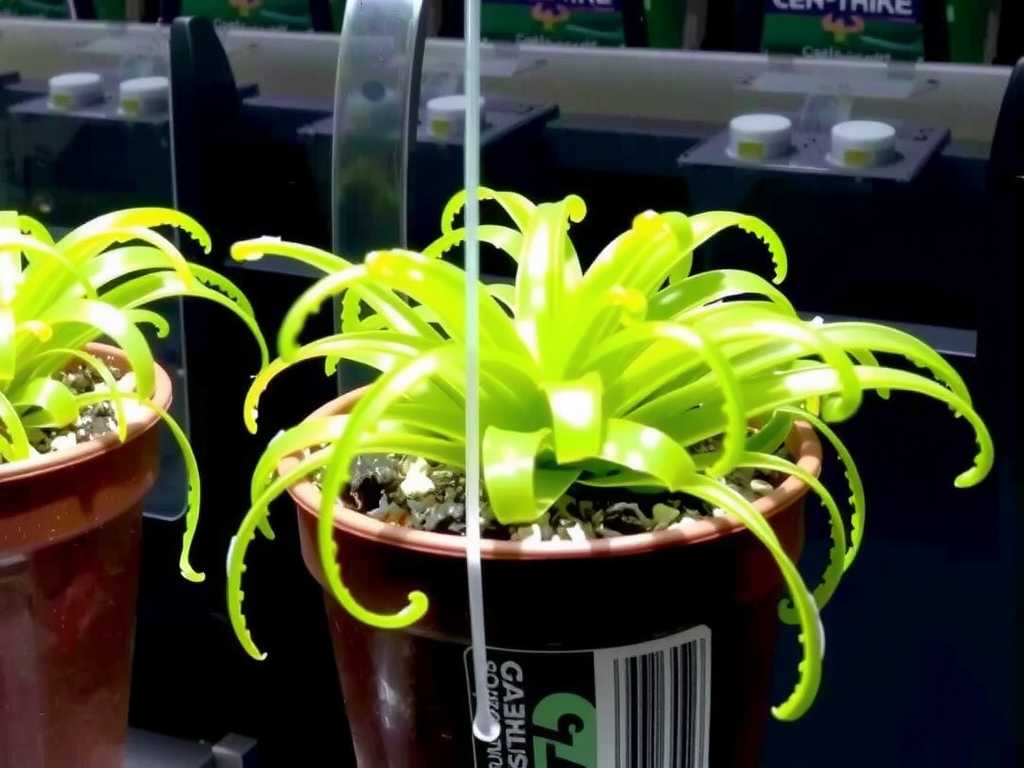
Light: The Energy for Density Bright, filtered light is non-negotiable. My LED setup worked perfectly. As noted in horticultural guides from institutions like the Royal Horticultural Society (RHS), providing high light levels without scorching heat encourages compact, vigorous growth. Dense foliage will not develop in low light; the plant will become etiolated and sparse. I found 12-14 hours of light to be ideal.
Water and Humidity: The Balancing Act I maintain the "pour-through" method 2-3 times a week, letting excess water drain completely. The terrarium humidity stays high. I never let the moss bone dry, but the surface now has a chance to transition from dark damp to lightly moist between waterings. This cycle promotes strong root and stolon health. I only use distilled or reverse osmosis water to prevent mineral burn on the delicate leaves.
Feeding: The Secret for Supercharged Growth While they catch their own food, supplemental feeding supercharges growth for lush epiphytic bladderwort. Every two weeks, I use a diluted orchid fertilizer (1/4 strength) or a specific Maxsea 16-16-16 solution, misting it very lightly over the foliage and mount. The American Horticultural Society (AHS) acknowledges that gentle foliar feeding can benefit specialized plants like these. The result? Noticeably larger leaves and faster stolon spread. Never overdo this; less is more.
Common Questions from Fellow Growers
Can I grow epiphytic bladderwort without a terrarium? Yes, but it's far more challenging. You would need a consistently humid location like a greenhouse cabinet or a bright bathroom with very high natural humidity. For most indoor environments, a simple terrarium or cloche is the most reliable way to maintain the constant humidity needed for dense growth.
My plant is growing but the foliage isn't dense; it's stringy and spread out. This is almost always a light issue. The plant is stretching to find more energy. Increase the intensity or duration of your light source. Ensure it's bright but not so close that it heats the leaves and dries the mount too quickly.
How do I propagate a dense mat to make more plants? Once you have a lush colony, propagation is simple. Carefully lift a section of the creeping stolon network that has several leaf rosettes. Cut it with sterile scissors, leaving a good length of stolon. Mount this new piece on fresh moss using the same technique. It will establish quickly because it's already a functioning plant unit, not just a cutting.
Watching my epiphytic bladderwort transform over just fourteen days was a profound lesson in understanding a plant's core needs. The journey from a cautious fragment to a confidently spreading colony, brimming with dense, healthy foliage, is entirely achievable. It boils down to a humid home, bright light, clean water applied wisely, and a little patience. By mimicking the tree-branch microclimate it loves and avoiding the common trap of over-wetting, you can unlock the spectacular, lush potential of these carnivorous aerial gems. The sight of that dense, green mat is worth every bit of the careful attention.

发表评论