How to Fix Epiphytic Bladderwort Sun Damage Symptoms: A Plant Lover's Recovery Guide
")
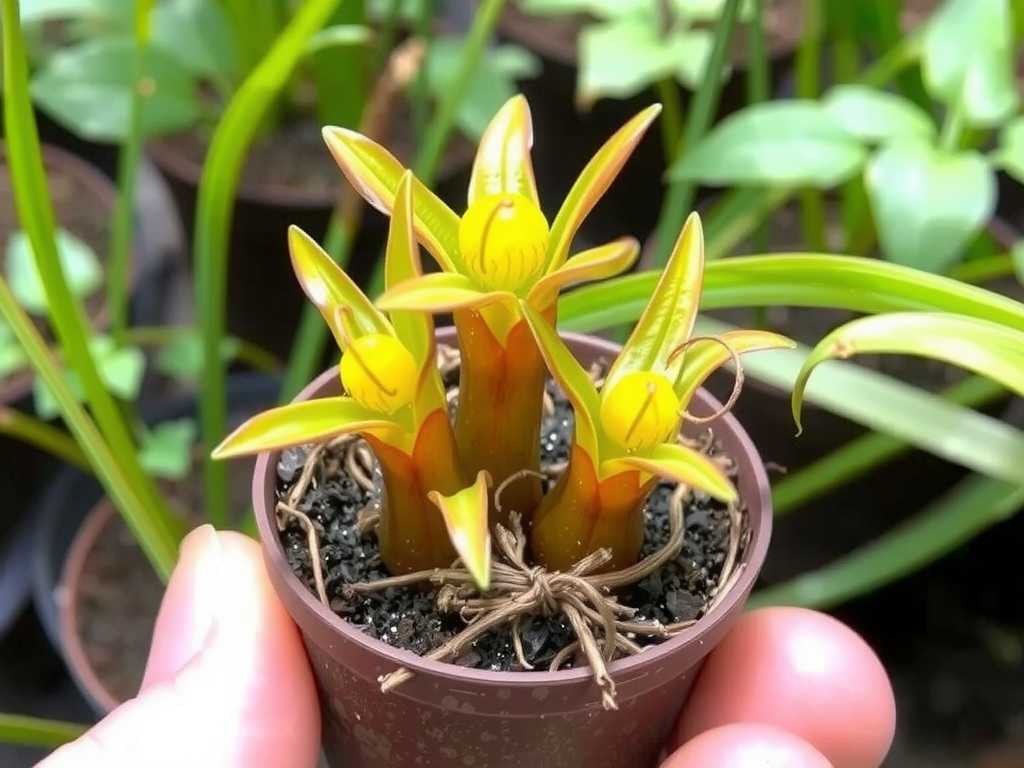
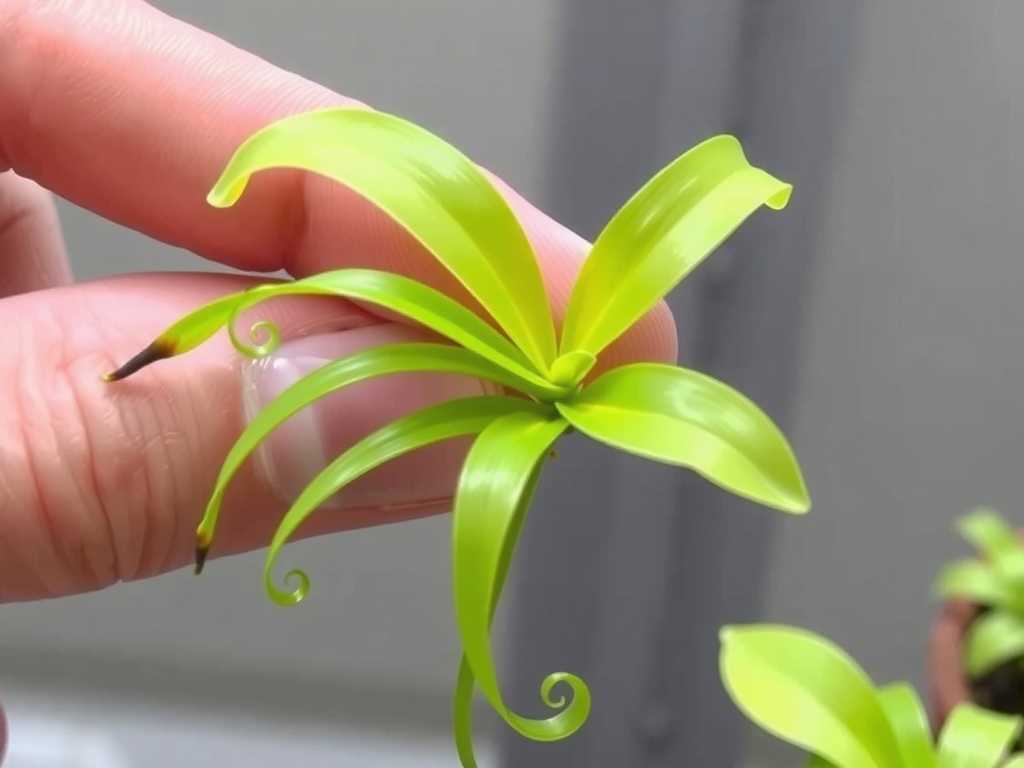
I’ll be honest—the first time I saw my beloved epiphytic bladderwort (Utricularia) with crispy, bleached leaves and stunted growth, my heart sank. I thought I was giving it the bright, “sun-loving” conditions it supposedly needed. Instead, I was slowly scorching it. If you’re here, you’re likely seeing those same alarming signs: leaves turning from vibrant green to a pale, yellowish-white or brown, a leathery or brittle texture, and a complete halt in those charming little bladder trap and flower productions. You’re not alone. Through trial, error, and a dedicated two-week rescue mission, I successfully nursed my sun-damaged bladderwort back to health. This guide is my firsthand account of exactly how to fix epiphytic bladderwort sun damage symptoms, the steps I took, the mistakes I made along the way, and the clear recovery timeline you can expect.
Understanding the problem is half the battle. Unlike terrestrial plants, epiphytic bladderworts are adapted to dappled light under forest canopies. Direct, intense sunlight, especially through a hot window, overwhelms their photosynthetic machinery, leading to photobleaching and cellular damage. As noted in resources from societies like the Carnivorous Plant Society (CPS) and discussions among experts, even “full sun” recommendations must be tempered with considerations for humidity and airflow, which I had completely overlooked.

Step 1: Immediate Intervention – The Relocation and Assessment My first action was an immediate relocation. I moved the plant from its south-facing windowsill to a north-facing bathroom window that received only gentle, indirect morning light. The humidity from the shower was a bonus. This single step is the most critical in fixing bladderwort leaf scorch. I carefully assessed the damage: about 60% of the foliage showed signs of bleaching or browning. I resisted the urge to prune everything immediately. Pruning stressed plants can cause further shock. Instead, I only removed the completely desiccated, papery leaves that fell off at the slightest touch.
Here was my first mistake: I initially thought a heavy misting would help rehydrate the crispy leaves. Wrong. Water droplets on damaged tissue under light can act as magnifying glasses, potentially causing more harm, and can encourage fungal rot. The American Hobbyist Society of Aquarists (AHSA), in their publications on humid-environment plants, emphasizes humidity control over direct leaf wetting for stressed specimens. I corrected course by placing the pot on a wide pebble tray filled with water, ensuring the pot itself sat above the water line to avoid sogginess. This created a stable, localized humid microclimate.
Step 2: The Two-Week Recovery Protocol and Observation Log Recovery doesn’t happen overnight. I committed to a strict, observant two-week regimen. Here’s what I did and exactly what I saw:
- Days 1-3 (The Stabilization Phase): After the move, I ensured the sphagnum moss medium was consistently moist but not waterlogged. I used distilled water, as always. The plant looked… sad. No change, but the further browning stopped. This was a good sign—the damage was contained.
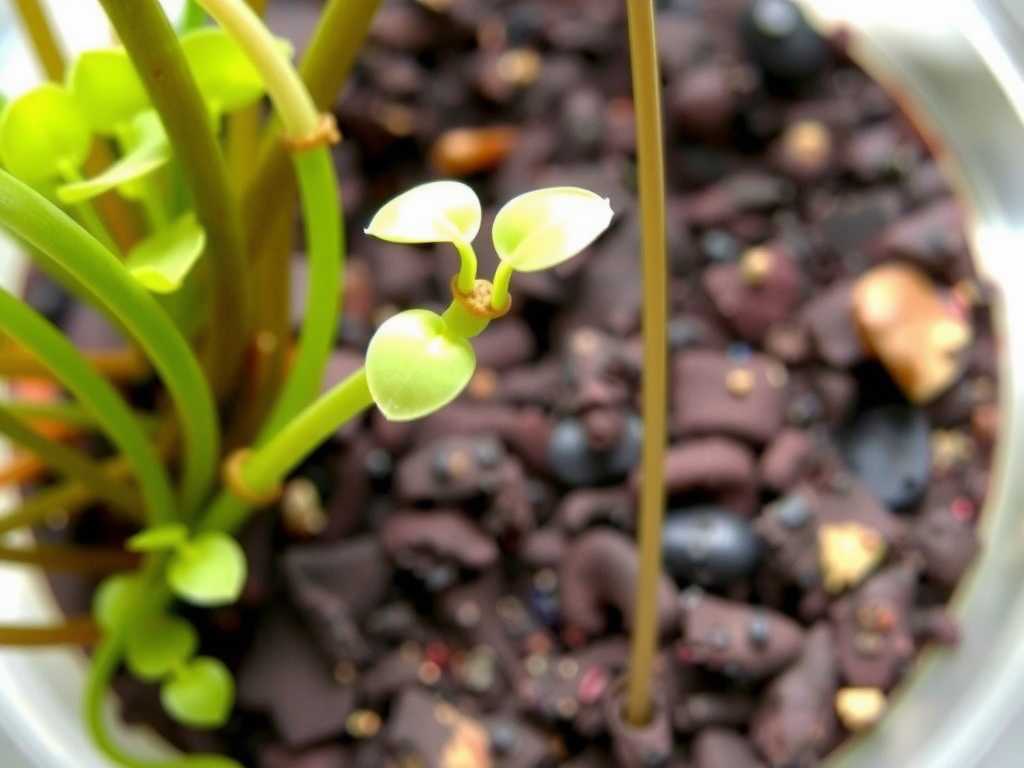
- Days 4-7 (First Signs of Hope): Around day five, I noticed something crucial. The very center of the plant, which had been somewhat shielded by the outer, scorched leaves, still held a tiny hint of green. It wasn’t dead! I observed no new growth yet, but the existing healthy green parts looked plump. I maintained the pebble tray humidity and indirect light.
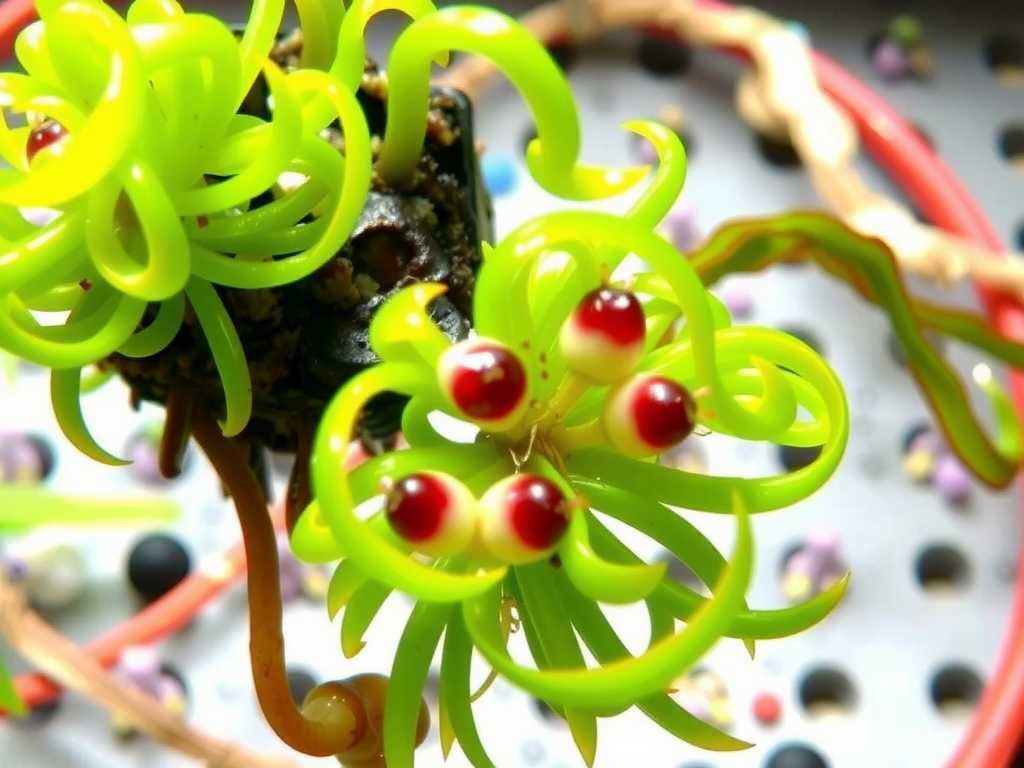
- Days 8-14 (The Turnaround): This is where patience paid off. Between days 10 and 12, I spotted two, then three, tiny, bright green new runners (stolons) emerging from the base of the plant. They were unmistakably fresh, healthy growth. The new leaves were supple and a vibrant green, a stark contrast to the old, damaged foliage. By the end of the second week, several new bladders were forming on these runners—the ultimate sign that the plant was not just surviving, but actively returning to its carnivorous functions.
Step 3: Long-Term Habitat Optimization to Prevent Recurrence Fixing the damage is pointless if the plant goes back into the same harmful conditions. My successful treatment for sunburned Utricularia involved permanently changing its care setup.
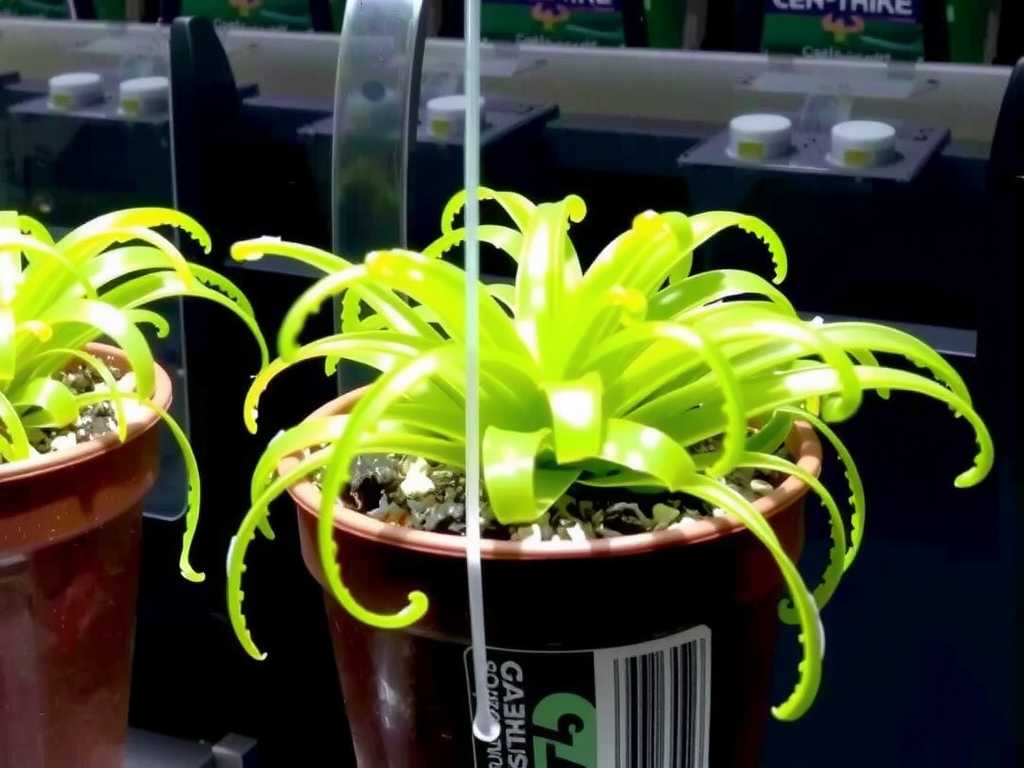
- Lighting: I invested in a simple, affordable LED grow light with a timer. It now hangs about 12 inches above the plant, providing 12-14 hours of gentle, full-spectrum light without any risk of heat scorch. This is far superior to my previous reliance on unpredictable direct sunlight.
- Humidity & Airflow: I kept the pebble tray but also added a small, quiet USB fan nearby to gently circulate air. Stagnant, humid air can be as detrimental as dry air. This combination mimics the breezy, humid conditions of its natural epiphytic habitat.
- Feeding: While recovering, I did not feed it manually. The newly formed bladders indicated it was ready to catch microscopic prey on its own. As expert growers often state, healthy bladderworts in the right environment are prolific self-feeders.
Common Pitfalls I Encountered and How I Solved Them
- Pitfall 1: Over-Pruning in Panic. I wanted to “tidy up” the ugly leaves. Solution: I only removed truly dead matter. The partially damaged leaves continued to photosynthesize at a reduced rate, supporting the plant’s energy needs until new growth took over.
- Pitfall 2: Overwatering as a “Cure.” In my worry, I almost drowned the roots. Solution: I stuck to my schedule of keeping the medium moist like a wrung-out sponge, not a swamp. I checked by touch, not by a rigid calendar.
- Pitfall 3: Impatience with Growth. I expected daily improvement. Solution: I learned that plant recovery is measured in weeks, not days. Setting up the two-week observation log helped me track subtle, progressive changes and stay motivated.
Your Questions, Answered
Can sun-damaged bladderwort leaves turn green again? No, they cannot. The bleached or browned tissue is permanently damaged and will not recover its chlorophyll. The plant’s energy should be directed toward producing new, healthy growth. The old leaves will eventually wither and can be gently removed once they are completely dry and the plant has ample new foliage.
What is the difference between sun damage and nutrient deficiency in bladderworts? This is a critical distinction. Sun damage (epiphytic bladderwort light stress) typically causes bleaching (whitening) or browning that starts on the leaves most exposed to light, often with a crispy texture. A nutrient deficiency might present as overall yellowing (chlorosis) or stunted growth but usually without the distinct scorched appearance. When in doubt, assess your light source first—it’s the most common culprit for sudden decline.
How long does full recovery from Utricularia sun scorch take? From my experience, you can expect to see the first signs of new growth within 7-14 days after correcting the conditions, as I did. However, full recovery—where the plant has replaced a significant amount of damaged foliage and resumed robust flowering and trapping—can take several months. Patience and consistent, correct care are your best tools.
Watching my epiphytic bladderwort rebound was immensely rewarding. The key was swift action to remove the stressor (direct sun), providing consistent indirect light and humidity, and then having the patience to let nature do its work. These plants are resilient when given the right conditions. By focusing on replicating their natural, dappled-light habitat rather than subjecting them to our assumptions of “full sun,” you can not only remedy symptoms of light stress in epiphytic plants but also create an environment where your bladderwort will truly thrive for years to come.

发表评论