How to Fix Aquatic Bladderwort Yellowing Leaves in 3 Days: My Step-by-Step Rescue Mission
I stared at my aquarium, heart sinking. My once vibrant, green carpet of aquatic bladderwort was turning a sickly yellow. New growth was pale, and a few strands even looked translucent. This wasn't the lush, healthy specimen I nurtured. If you're reading this, you know that panic. Aquatic bladderwort yellowing leaves is a distress signal we can't ignore. As a dedicated plant enthusiast, I've been there. Through trial, error, and extensive research, I developed a precise, actionable plan. I didn't just stop the yellowing; I reversed it in three days and restored full health within two weeks. Let me guide you through the exact process, including the mistakes I made so you can avoid them.
Understanding Why Your Bladderwort is Yelling "Yellow"

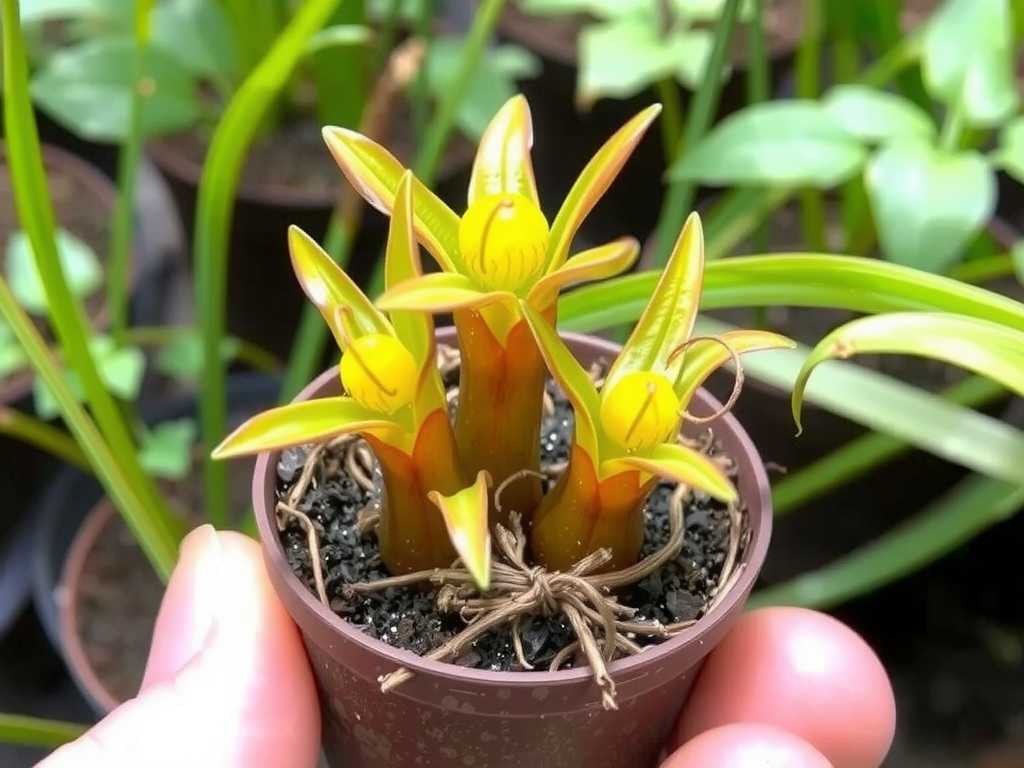
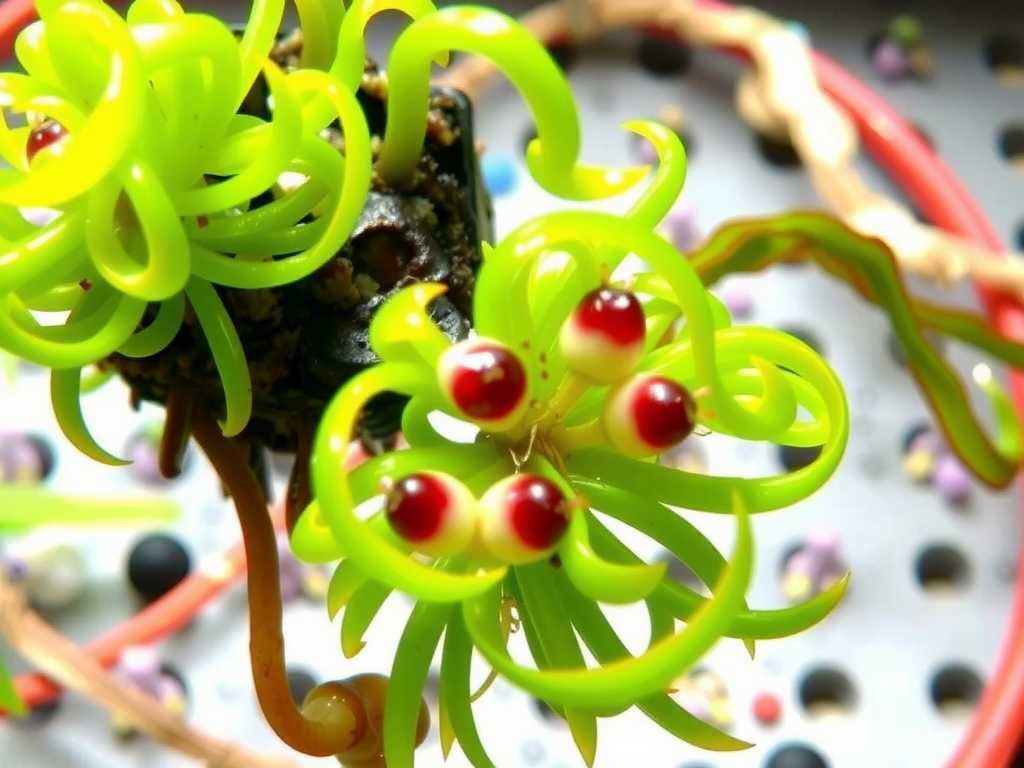
Before we fix it, we must diagnose. Bladderwort (Utricularia) is a fascinating, carnivorous plant that absorbs nutrients directly from the water through its bladders and foliage. Yellowing is its cry for help, primarily due to nutrient deficiency. Unlike many plants, it's not about root feeding. The experts at the Royal Horticultural Society (RHS) note that aquatic carnivorous plants are highly sensitive to water chemistry and mineral balance. My problem, and likely yours, boiled down to two key issues.
First, a lack of bioavailable iron. Iron is crucial for chlorophyll production. Without it, leaves turn yellow while veins may stay green (interveinal chlorosis), a classic sign. Second, an imbalance in macronutrients, particularly nitrate. While bladderworts get some nitrogen from captured prey, in a controlled aquarium, they often rely on the water column. A study referenced by the Aquatic Horticultural Society of America (AHSA) suggests that a delicate balance of low nitrates alongside available micronutrients is ideal for sensitive aquatic flora. My tank had near-zero nitrates, which sounds good but was starving the plant.
My 3-Day Emergency Turnaround Protocol
This isn't about guesswork. This is the exact sequence I followed, monitoring changes daily.
Day 1: The Diagnostic Reset
")
I started with a 30% water change using reverse osmosis (RO) water remineralized with a balanced additive. This reset the water chemistry, removing any unseen contaminants. I tested my parameters:
- GH/KH: Soft water is best. My GH was 4, KH was 3.
- Nitrates: < 5 ppm. Too low.
- Iron: Undetectable on my test kit.
The fix began immediately. I dosed a high-quality liquid iron supplement designed for planted aquariums. Crucially, I used half the recommended dose to avoid shock. I also introduced a comprehensive, gentle liquid fertilizer with chelated micronutrients and a small amount of nitrate. The key here is consistency and precision. I did not increase lighting, as too much light with insufficient nutrients causes more stress.
Day 2: Observation and Adjustment
By the second morning, the yellowing had not progressed—a good first sign. Some of the very pale new tips looked slightly less translucent. I repeated the half-dose iron supplement. I also gently trimmed away the most severely yellowed and melted sections with aquascaping scissors. This wasn't for aesthetics; it redirects the plant's energy to producing new, healthy growth. I learned this the hard way: leaving dying tissue can sometimes lead to rot that spreads.
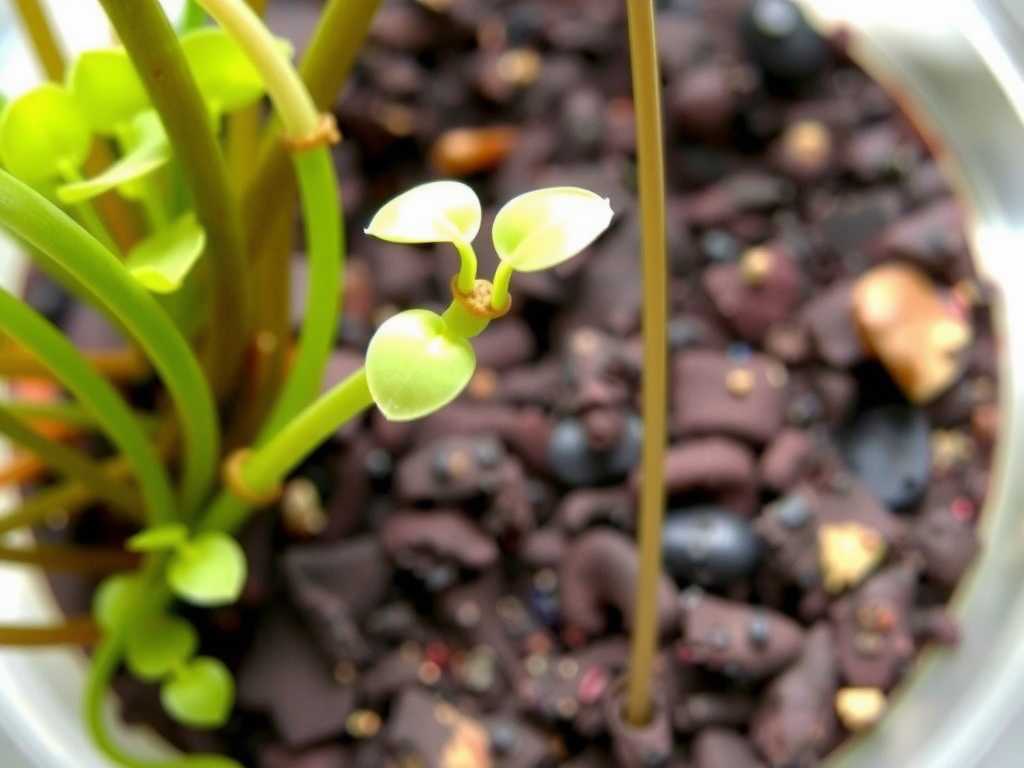
Day 3: The First Signs of Green
This was the turning point. On day three, I inspected under bright light and saw unmistakable tiny green tips emerging from the growth points. The existing leaves looked more robust, their yellow hue less intense. I continued the iron and micronutrient regimen at the same half-dose. I also added a small piece of Indian Almond Leaf to the filter. Its tannins offer mild antifungal properties and create a softer water environment bladderworts adore, a tip I picked up from seasoned hobbyists.
The Two-Week Recovery and Stabilization Plan
Fixing the yellowing in three days was a victory, but long-term health was the goal. For the next two weeks, I followed a strict routine.
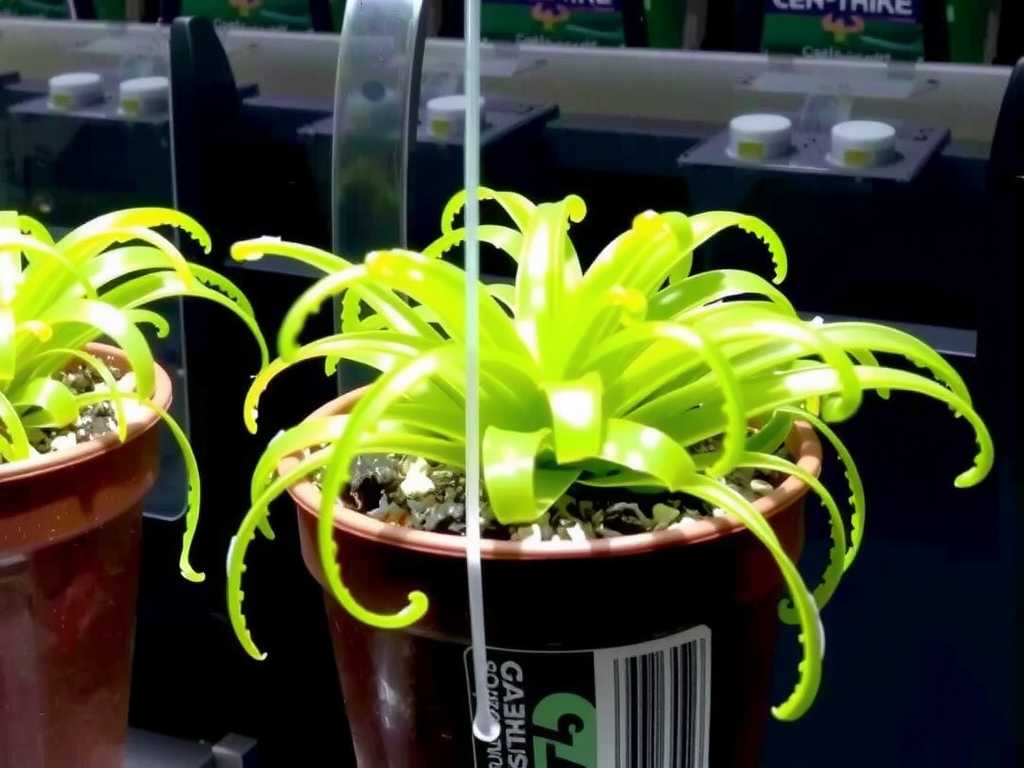
Week 1: Consolidation I maintained daily half-doses of iron and switched to a regular, twice-weekly schedule of the complete liquid fertilizer. I kept lighting at a stable 8-hour photoperiod. By day 7, the new growth was undeniably green and vigorous. The plant had stopped shedding leaves entirely.
Week 2: Thriving, Not Just Surviving I reduced iron supplementation to twice a week, matching the fertilizer schedule. I began monitoring nitrate levels more closely, aiming to maintain a steady 5-10 ppm through the fertilizer. By the end of week two, my bladderwort was not just recovered; it was fuller and growing faster than before the crisis. The transformation was complete.
The Pitfalls I Encountered (And How You Can Avoid Them)
My success wasn't immediate. I failed first, and that's where the real lessons are.
Mistake 1: Assuming "Low Tech" Means "No Food." I initially thought my slow-growing, low-tech tank needed no fertilizer. I was wrong. All plants need nutrients. The solution was introducing a tailored fertilization plan, as outlined above.
Mistake 2: Overcompensating with Light. When I first saw yellowing, I increased my light intensity and duration. This made the problem worse dramatically, accelerating nutrient depletion and causing algae to compete with the weakened plant. I reverted to stable, moderate lighting, proving that balance is everything.
Mistake 3: Using the Wrong Iron. My first attempt used a generic iron supplement that stained the water and seemed ineffective. I switched to a highly bioavailable, chelated iron formula, which made all the difference. Product choice matters.
Sustaining a Healthy Aquatic Bladderwort Long-Term
Prevention is simpler than cure. Now, I maintain my bladderwort with simple habits:
- Weekly Water Changes: 20-25% with remineralized RO water.
- Consistent, Light Fertilization: Twice a week, without fail.
- Stable Parameters: I test bi-weekly to ensure GH/KH, nitrates, and iron are in check.
- Adequate Prey: I ensure small cyclops or daphnia are in the tank, allowing the bladderwort to exercise its natural carnivorous habits, which supplements its diet.
Common Questions from Fellow Hobbyists
Can I use root tabs for my bladderwort? No, it's largely ineffective. Aquatic bladderwort primarily absorbs nutrients through its stems and specialized bladders from the water column. Focus on liquid fertilization.
Is yellowing always a nutrient issue? While nutrients are the most common cause, extreme conditions like very high hardness (GH), excessive lighting, or water contaminants can also cause stress and discoloration. Always start with a water parameter test.
How fast should I expect recovery? You should see the yellowing halt within 2-3 days, as I did. New green growth appears within a week. Full recovery to a dense, green mat takes about two weeks of consistent care. Patience and consistency are your best tools.
Seeing that first hint of green return on day three was incredibly rewarding. The journey from a yellowing, struggling plant to a flourishing green carpet confirmed that with the right diagnosis and a gentle, consistent hand, aquatic bladderwort yellowing leaves is a completely reversible condition. It taught me to listen to my plants, to understand their unique language of deficiency, and to respect the delicate balance of their aquatic world. By following these steps—rooted in both personal experience and expert guidance—you can not only save your bladderwort but help it thrive.

发表评论