How to Overwinter Aquatic Bladderwort Successfully Indoors: A Plant Lover’s Step-by-Step Guide
Winter is coming, and if you’re like me, the thought of losing your fascinating aquatic bladderwort to the cold is a real worry. I’ve been there—watching delicate plants wither because I didn’t have a clear, actionable plan for indoor overwintering. Aquatic bladderwort, with its intricate, carnivorous bladders, isn’t your average houseplant, and moving it indoors requires more than just a sunny windowsill. After several seasons of trial, error, and meticulous note-taking, I’ve perfected a reliable method. In this guide, I’ll walk you through exactly how to overwinter aquatic bladderwort successfully indoors, sharing my personal steps, a detailed two-week observation log, and the honest mistakes I made along the way so you can avoid them.
Understanding Your Aquatic Bladderwort’s Winter Needs

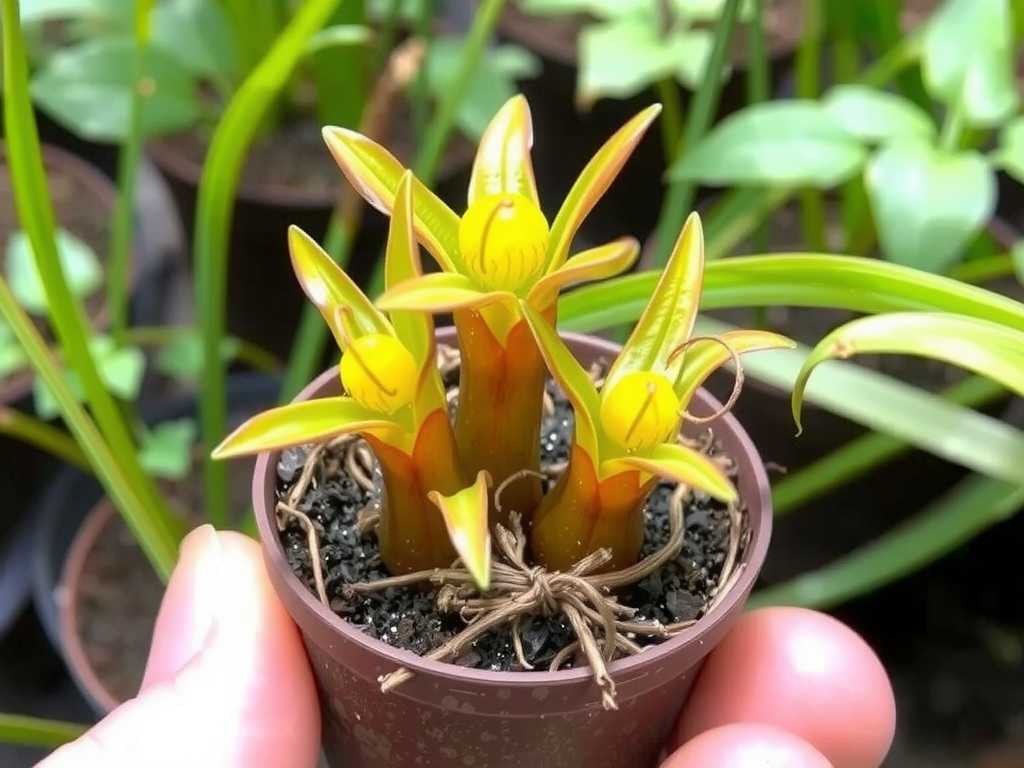
Before we dive into the setup, it’s crucial to know what we’re working with. Bladderworts (Utricularia species) are unique carnivorous plants that capture tiny organisms in their submerged bladders. They thrive in nutrient-poor, sunny, calm waters. During winter, their growth naturally slows, but they don’t truly go dormant like some temperate perennials. Our goal is to mimic a cool, stable, and low-light version of their growing season to keep them alive and healthy until spring. According to the Carnivorous Plant Society and resources from the International Carnivorous Plant Society, successful overwintering hinges on managing three key factors: light, temperature, and water quality. Ignoring any one of these is usually where failures begin.
My Step-by-Step Process for Indoor Overwintering
I’ll detail the exact process I followed this past season, which yielded my best results yet.
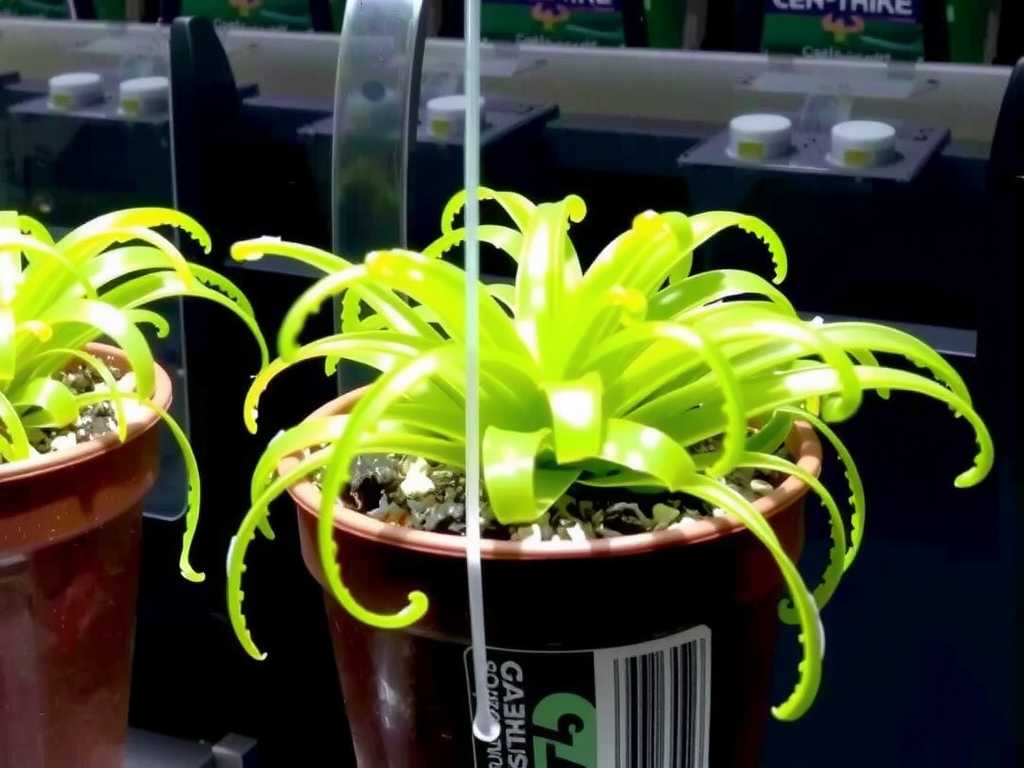
Gathering the Right Supplies You don’t need a high-tech lab, but the right tools make all the difference. I used a 5-gallon glass aquarium (a large, clear container works), a simple LED grow light designed for aquatic plants, a small aquarium thermometer, distilled water (this is non-negotiable), and a handful of aquarium snails for minimal clean-up. I avoided filters with strong currents, as bladderworts prefer still water.
The Initial Setup and Transition The transition from my outdoor pond to the indoor tank is the most critical phase. First, I carefully collected portions of the bladderwort, ensuring I included both the green fronds and the root-like structures. I gently rinsed them in distilled water to remove any pond debris or potential pests. I filled the tank with cold distilled water and let it sit for a day to reach room temperature. Then, I floated the plants on the surface. A sudden temperature shock can stress them, so this gradual acclimation is key. I placed the tank in an unheated spare room where temperatures consistently stayed between 50-60°F (10-15°C)—cool, but not cold. Finally, I set the LED light about 12 inches above the water surface on a 10-hour daily timer.
The Critical First Two Weeks: My Observation Diary Here’s what I observed day-by-day after setup:
- Days 1-3: The plants looked slightly shocked, with some fronds becoming pale. This is normal. I resisted the urge to change anything.
- Days 4-7: I noticed no new growth, but the existing green parts stabilized. A small amount of algae appeared on the tank glass—a sign the light was sufficient. I manually wiped it off.
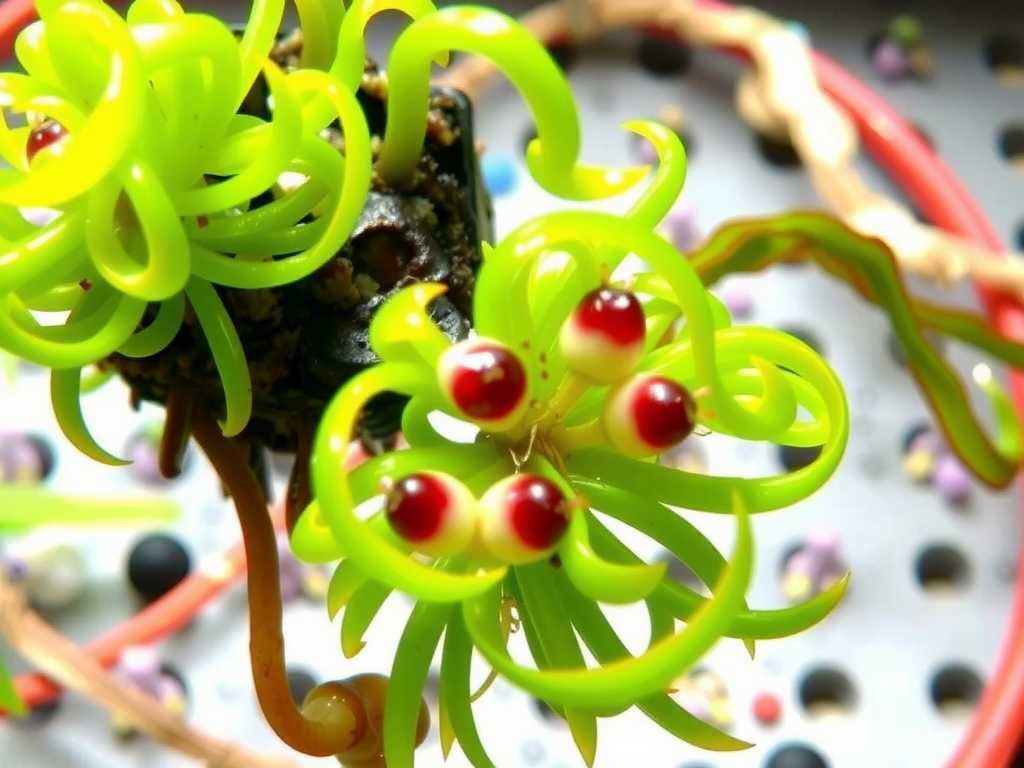
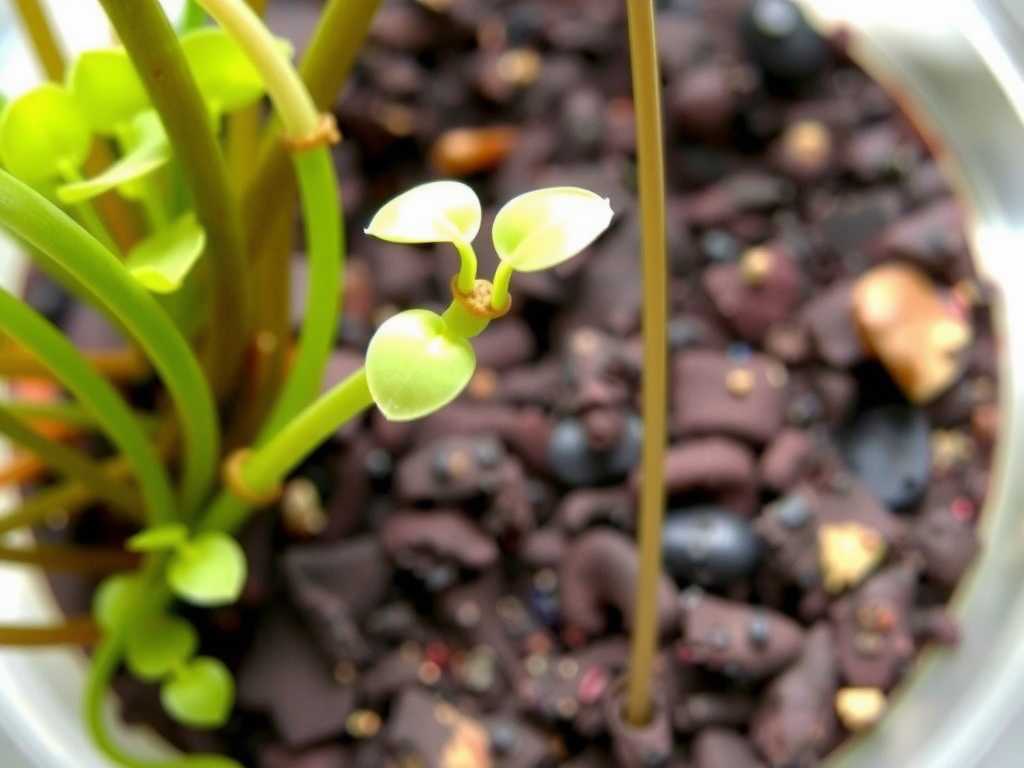
- Days 8-10: This was the turning point. I spotted the first tiny, new green shoots emerging from several plant sections. The bladders, viewed with a magnifying glass, still appeared turgid and functional.
- Days 11-14: New growth became more evident. The plants weren’t thriving as they would in summer, but they were clearly alive and slowly adapting. Water remained clear, and the temperature held steady.
Common Pitfalls I Encountered (And How to Fix Them)
My journey wasn’t always smooth. Here are the mistakes that taught me the most.
The Tap Water Disaster One year, thinking it would be fine, I used dechlorinated tap water. Within a week, the bladderwort began to brown and melt. Tap water contains minerals that carnivorous plants cannot tolerate, leading to fatal nutrient burn. The solution was immediate: I replaced all the water with distilled water. While some plants were lost, the remaining ones recovered slowly. Now, I keep several gallons of distilled water on hand at all times.
The “More Light is Better” Misconception Another season, I used a powerful grow light on a 14-hour cycle, hoping to boost growth. Instead, I triggered a massive algae bloom that smothered the bladderwort and spiked water temperatures. The fix involved reducing the photoperiod to 8-10 hours, moving the light further away, and introducing a few more snails to graze on algae. As recommended by experts on the Carnivorous Plant FAQ, moderate light is sufficient for overwintering survival, not aggressive growth.
Neglecting Water Evaporation In my dry indoor climate, water evaporation was significant. I let the water level drop too far once, concentrating any dissolved solids and exposing parts of the plant to air. My corrective action was to mark the ideal water level on the tank and top off weekly with fresh distilled water, never letting it fall more than an inch below the line.
Maintaining Your System for the Long Winter
")
Once your plants are stable after the first few weeks, maintenance is simple but consistent. I perform a partial water change (about 30%) every 4-6 weeks using distilled water at a similar temperature to avoid shock. I wipe away algae from the glass as needed and trim any foliage that completely browns and dies back. I continue to monitor temperature daily; a spike above 65°F (18°C) can encourage unwanted algae and fungal growth. The goal is stability, not perfection.
Preparing for a Successful Spring Return
As winter wanes and outdoor temperatures consistently stay above freezing at night, it’s time to plan the move back outside. I reverse the acclimation process: over a period of 7-10 days, I gradually increase the light duration on my indoor tank to match the lengthening spring days. Then, I move the entire container to a sheltered, partially shaded outdoor spot for a week before finally reintroducing the plants to their pond or container. This gradual shift prevents sunburn and temperature shock, giving your bladderwort the best start to its growing season.
Frequently Asked Questions
Can I overwinter bladderwort in a refrigerator or cold garage? While some temperate carnivorous plants can handle a true dormancy in a fridge, most common aquatic bladderworts are better kept in cool, low-light conditions with their foliage intact. A dark, cold garage often gets too cold and freezes. The cool room method I described provides the chill they need without the risk of freezing solid.
Do I need to feed my bladderwort insects during the winter? No, this is a common concern. The plants’ metabolism is very slow in cool conditions. They will capture microorganisms naturally present in the water (introduced from the original pond water or on the plants themselves). Adding fish food or other nutrients will only pollute the water and harm the plant.
My bladderwort is producing small, leafless turions or winter buds. Is this normal? Absolutely, and it’s a great sign! Many Utricularia species form these dense, bud-like structures as a survival mechanism. They sink to the bottom and are extremely hardy. If you see these, your plant is adapting perfectly. You can choose to leave them in the tank or carefully collect and store them in a zip-lock bag with a bit of damp sphagnum moss in the refrigerator for the winter, planting them in spring.
Successfully overwintering aquatic bladderwort indoors is a rewarding project that deepens your understanding of these incredible plants. By focusing on cool temperatures, pure water, and moderate light, you create a sanctuary that carries them through the colder months. The process requires observation and patience, but the payoff—seeing those first new green fronds in your winter tank and then returning a thriving plant to your pond in spring—is immensely satisfying. Start your preparations early, learn from the missteps I shared, and you’ll give your carnivorous aquatic friends the best chance to flourish year after year.

发表评论