How to Treat Aquatic Bladderwort Fungal Infections Quickly: My Step-by-Step Recovery Guide
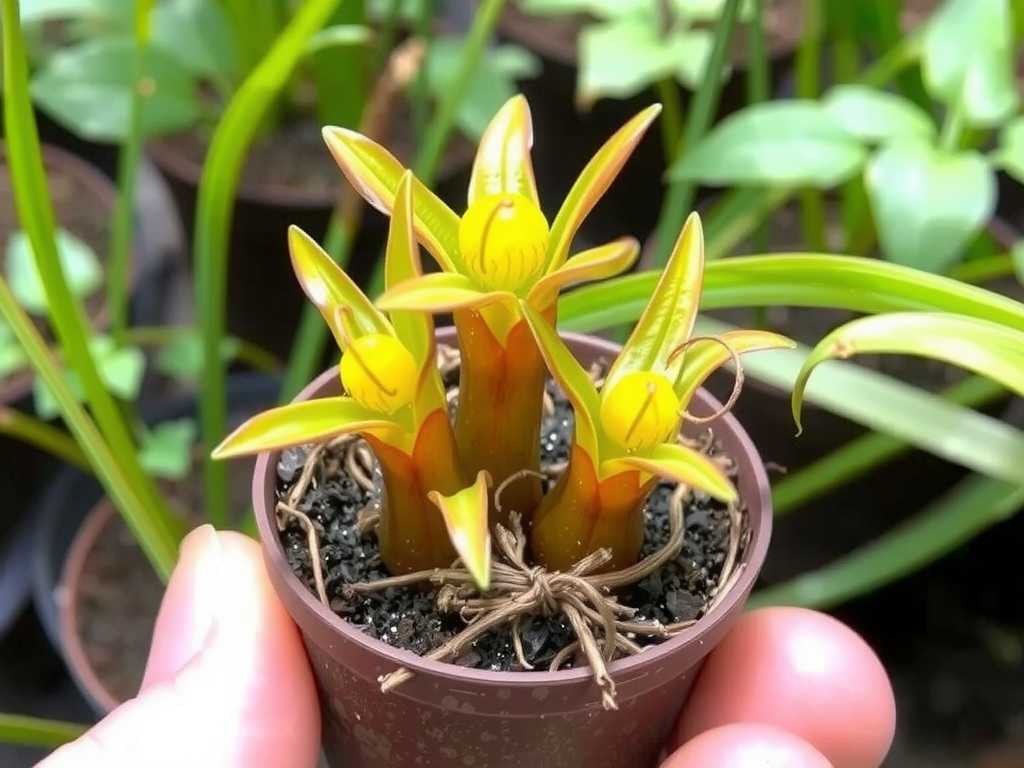
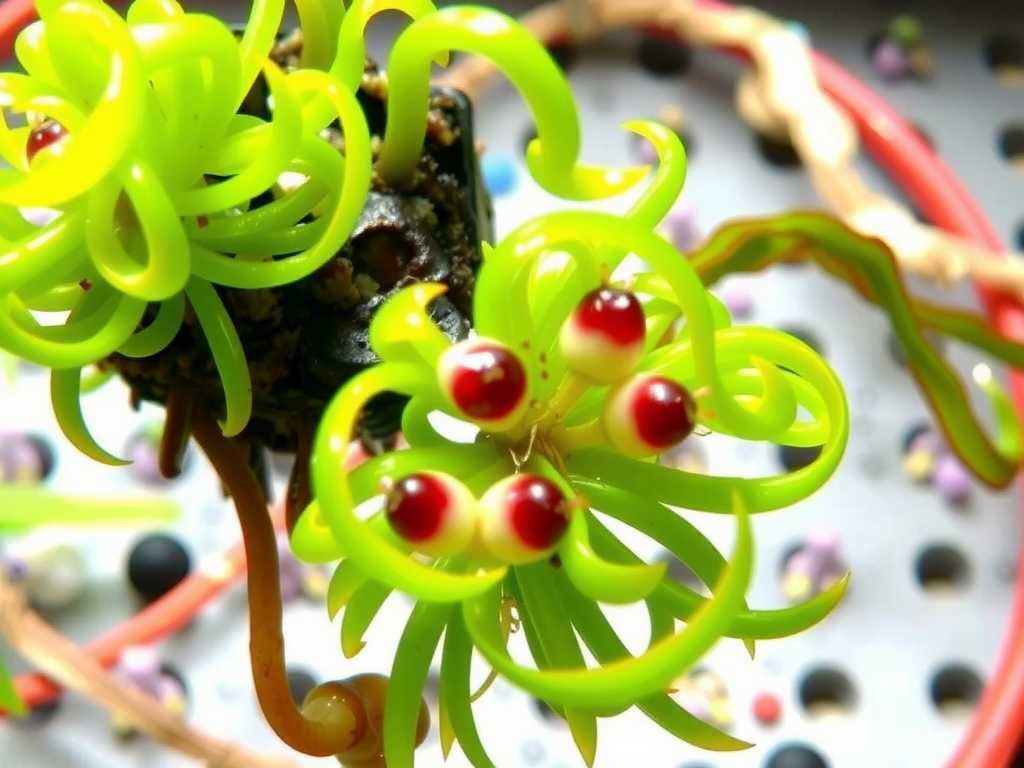
There's a special kind of panic that sets in when you notice something is wrong with your aquatic bladderwort. One day, your Utricularia is a vibrant, healthy green, its tiny bladders snapping shut on unsuspecting microorganisms. The next, you see it—a fuzzy, greyish-white film creeping along its delicate strands, or worse, a slimy, discolored rot. As a dedicated aquatic plant enthusiast, I've been there. I watched helplessly as a prized specimen in my paludarium began to deteriorate. I knew I had to act, and act fast, to save it. This guide is the culmination of my successful two-week battle against a stubborn fungal infection. I'll walk you through exactly what I did, the mistakes I made along the way, and how you can quickly and effectively restore your bladderwort to health.
Understanding the Enemy: What Are We Fighting?

Before you can treat an infection, you need to identify it. Aquatic bladderworts are generally hardy, but they can fall victim to fungal and water mold (oomycete) issues, especially in suboptimal conditions. The most common culprits are Saprolegnia (often appearing as cotton-like tufts) and other filamentous fungi. These pathogens thrive in:
- Stagnant, poorly circulated water.
- High organic load (decaying plant matter, overfeeding fish/shrimp).
- Stress on the plant from sudden parameter changes or physical damage. According to resources from the Aquatic Horticulture Society of America (AHSA), fungal spores are ever-present in aquatic environments but only become a problem when a plant's natural defenses are compromised. My bladderwort's infection likely started after a small piece was damaged during maintenance, creating an entry point in a tank with a slightly overloaded filter.
My 2-Week Recovery Protocol: A Daily Log
My goal was a treatment plan that was aggressive enough to halt the infection but gentle enough not to shock the already-stressed plant. I isolated the infected bladderwort in a separate 5-gallon hospital tank immediately.
Week 1: The Aggressive Intervention Phase
Days 1-3: Initial Diagnosis and First Treatment The infection was localized to about one-third of the plant mass. I started with a physical removal and salt dip, a method often recommended for its mild antifungal properties.
- Preparation: I made a solution of 1 tablespoon of pure aquarium salt (non-iodized) per gallon of tank water in a clean container.
- The Dip: Gently, I removed the most severely infected portions with sterilized scissors, cutting well into healthy tissue to ensure no visible fungus remained. I then submerged the remaining healthy plant in the salt bath for no more than 3 minutes. Important Note: Bladderworts can be sensitive. I did a test on a small strand first. I closely watched for any signs of excessive stress (like rapid discoloration).
- Rinse and Quarantine: After the dip, I thoroughly rinsed the plant in clean, dechlorinated water and placed it in the hospital tank. This tank had gentle filtration, low light, and pristine water conditions. My Mistake & Fix: On Day 1, I used a stronger salt solution, hoping for faster results. Within hours, the plant looked wilted. I quickly moved it back to clean water. The lesson? Always start with the mildest effective dose. For delicate plants like bladderwort, less is often more.
Days 4-7: Implementing a Targeted Antifungal After the salt dip, some fuzz reappeared on a few strands. It was time for a dedicated antifungal treatment. I chose a product containing Potassium Permanganate at a very diluted dose, as it's known to be effective against a broad spectrum of fungal and bacterial issues. Following expert guidelines, I aimed for a light pink "vin rosé" solution in the quarantine tank.
- Dosing: I used a syringe to apply a highly diluted spot treatment directly to the affected areas for 30 minutes before a large water change. For the full tank treatment, I dosed to achieve the faint pink color.
- Observation: The fungal growth visibly receded within 48 hours. I performed a 90% water change after 3 days of this light treatment to remove any residual chemical and organic waste. Authority Support: The Royal Horticultural Society (RHS) advises that while chemicals can be useful, the cornerstone of treating plant diseases is improving the underlying growing conditions. This kept me focused on water quality above all else.
Week 2: The Recovery and Observation Phase
Days 8-14: Optimizing the Environment for Healing With the fungus gone, the focus shifted to helping the plant regain its strength. I stopped all chemical treatments.
- Water Quality is King: I began daily 50% water changes with perfectly parameter-matched water (same temperature, pH, and GH/KH as the main tank). This kept nutrients for any lingering spores virtually nonexistent.
- Nutrition: I introduced a very weak dose of a liquid fertilizer suitable for sensitive plants to provide essential micronutrients for recovery, but only twice during this week to avoid algae.
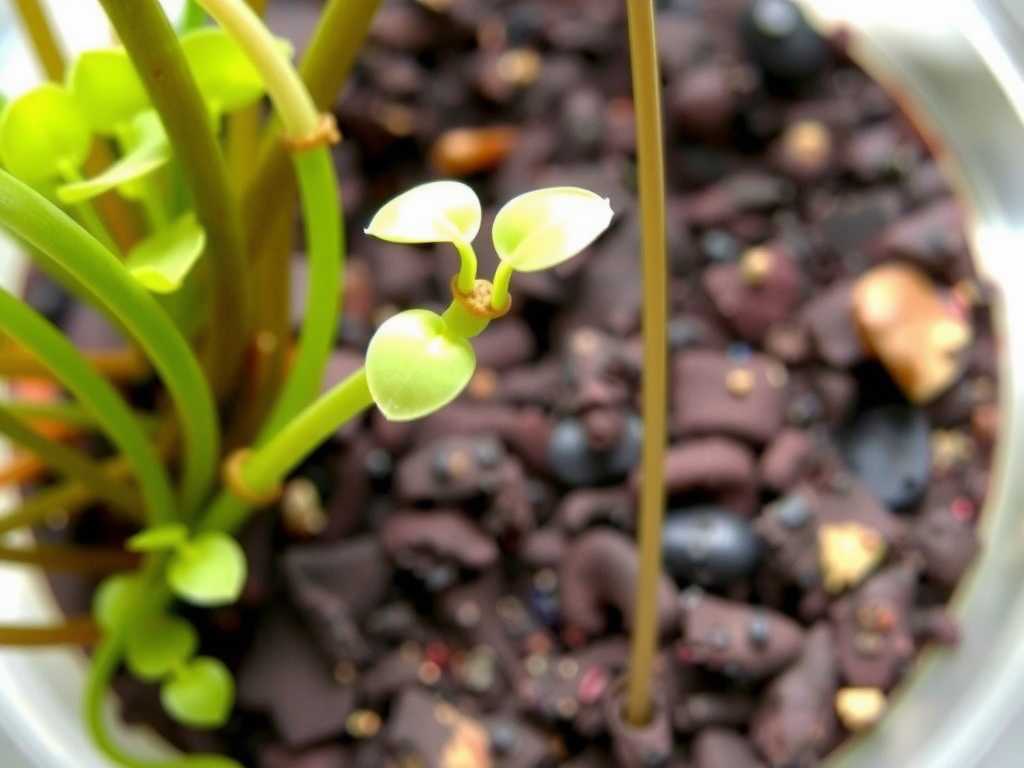
- Monitoring: I watched for new, healthy growth. By Day 12, I saw the first signs of new, bright green shoots emerging from the trimmed stems. This was the clearest indicator that the plant was winning the battle.
Key Factors for Success and Preventing Recurrence
Treating the infection is only half the battle. Ensuring it doesn't come back is critical.
- Water Flow and Filtration: Stagnant water is a fungal breeding ground. In my main tank, I added a small wavemaker to improve circulation around all plants, mimicking the gentle flow of their natural habitats.
- Tank Hygiene: I became meticulous about removing any decaying leaves, uneaten food, or detritus during my weekly maintenance. This drastically reduces the organic load that fuels fungal problems.
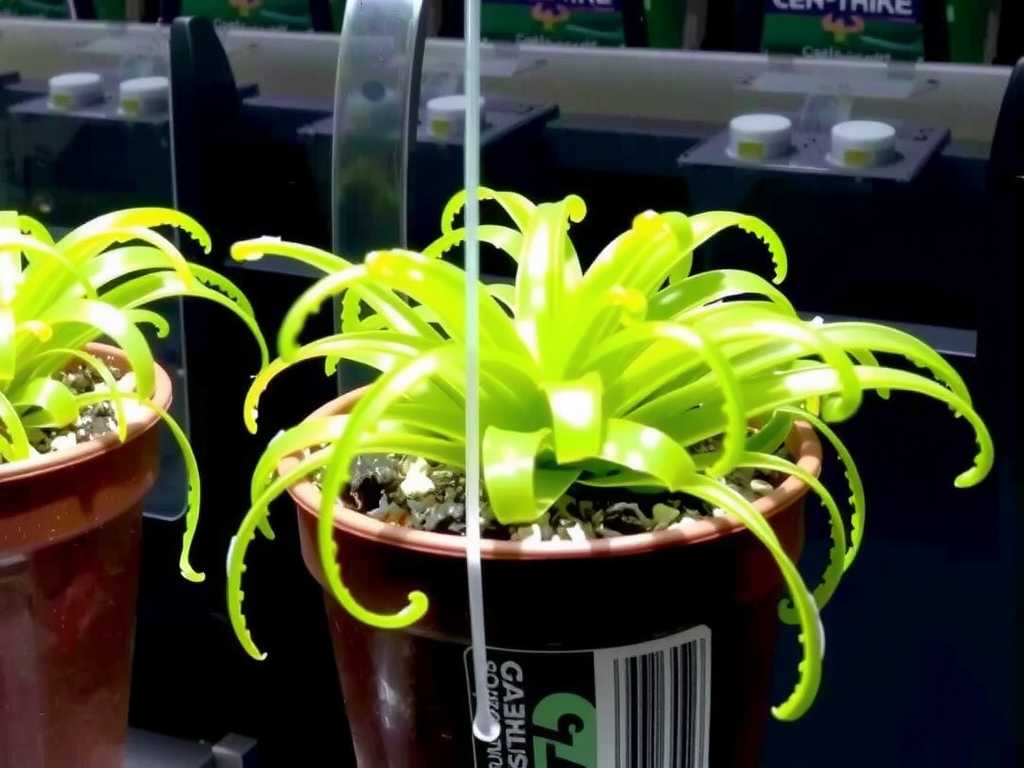
- Plant Health as Prevention: A robust plant is the best defense. I ensure my bladderworts receive appropriate light (bright but indirect) and clean, nutrient-soft water. I now quarantine all new plants for two weeks before introduction, a practice strongly endorsed by the AHSA to prevent introducing pests and diseases.
Frequently Asked Questions
Can I use the "snail method" or hydrogen peroxide on my bladderwort? I considered both. While some aquarists spot-treat with hydrogen peroxide (H2O2), I found it too risky for the delicate tissue of bladderwort. The margin for error is small, and it can easily damage healthy cells. As for snail treatments, while some snails eat fungus, they are not a reliable cure for an active infection and may not touch the type affecting bladderwort. I do not recommend them as a primary treatment strategy.
How long should I keep the plant in quarantine after the fungus is gone? I kept my bladderwort in the pristine hospital tank for a full seven days after the last visible sign of fungus disappeared. This ensured the plant was truly healthy and growing before facing the more complex ecosystem of my main tank. Rushing this step is a common mistake.
")
Are some bladderwort species more prone to fungus than others? In my experience, yes. Terrestrial or semi-aquatic species kept in very humid, still environments seem slightly more susceptible. However, any aquatic bladderwort under stress—from poor water quality, physical damage, or incorrect lighting—can develop an infection. The treatment principles remain the same regardless of the specific Utricularia variety.
Seeing those first new, vibrant green shoots after two weeks of diligent care was incredibly rewarding. The process taught me that quick treatment of aquatic bladderwort fungal infections isn't about a single miracle cure, but about a swift, multi-pronged approach: immediate isolation, careful physical removal, a mild and targeted antifungal intervention, and, most importantly, a relentless focus on impeccable water quality. By creating an environment where your bladderwort can thrive, you build its natural resilience, making such stressful interventions a rare necessity. Stay observant, act calmly but decisively, and your carnivorous aquatic jewel will thank you with renewed growth and vitality.

发表评论