How to Fix Terrestrial Bladderwort Wilting Leaves Immediately: A Grower’s Rescue Guide
I’ve been there. You walk over to your prized collection of carnivorous plants, and your heart sinks. Your terrestrial bladderwort, usually a vibrant mat of intricate foliage, now has leaves that are limp, yellowing, or downright wilting. That urgent panic sets in—you need to know how to fix terrestrial bladderwort wilting leaves immediately. As a dedicated plant enthusiast who has nurtured these fascinating, soil-dwelling predators for years, I understand that panic. But through trial, error, and careful observation, I’ve developed a reliable, step-by-step rescue protocol. This guide isn't just theory; it's the exact process I followed over two intense weeks to nurse a struggling Utricularia back to health, complete with the mistakes I made and how I corrected them.
Understanding the "Why" Before the "How"

Before we jump into action, it’s crucial to know that wilting leaves in terrestrial bladderworts are almost never a standalone issue. They are a dramatic symptom of stress in the root zone or growing environment. Unlike many plants, bladderworts have minimal true roots; they rely on a network of stolons and their famous bladder traps in the growing medium. When those leaves droop, the plant is telling you its subterranean world is in crisis. The Royal Horticultural Society (RHS) notes that Utricularia species are highly sensitive to water quality, medium decomposition, and light stress. Your immediate fix must address the root cause, not just the visible foliage.
My Two-Week Rescue Mission: Step-by-Step
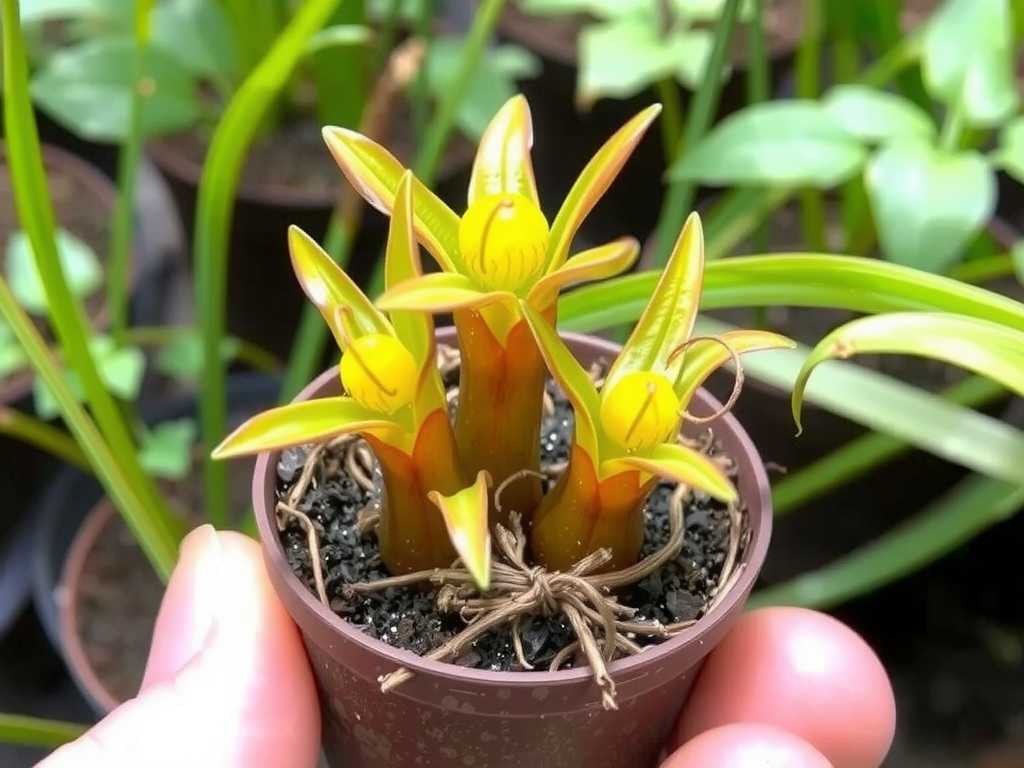
When I noticed the telltale wilting on my Utricularia livida, I initiated this plan. I documented everything daily.
Phase 1: The Immediate Triage (Day 1-3)
The first 24 hours are about stopping further damage. I call this the "diagnostic shuffle."
My first action was a thorough environmental check. I assessed the light. Was it getting its usual bright, indirect light? Yes. I checked the tray watering system—the water level was correct, but the water itself had been sitting for a week. Mistake #1: Stale water. I immediately discarded the old water and flushed the pot from the top with distilled water, allowing it to run through the medium freely. This helps flush out any mineral buildup.
Next, I performed the gentle "lift test." I carefully lifted a section of the plant mat. It felt soggy and the sphagnum moss base had a slightly dark, compressed look. The medium was breaking down, becoming too dense and anaerobic. This is a common killer. The American Horticultural Society (AHA) emphasizes the need for well-aerated, low-nutrient media for carnivorous plants. My medium was failing.
Phase 2: The Surgical Intervention (Day 3)
Diagnosis confirmed: media collapse. There was no way around it—the plant needed repotting. This feels scary with a wilting plant, but it’s often the only cure.
I prepared a new mix: 50% fine, long-fiber sphagnum moss (soaked in distilled water) and 50% perlite. I used a shallow, wide pot, perfect for their spreading habit. Gently, I lifted the entire plant colony. I teased apart the healthier, firmer sections from the mushy, wilting central mass. This was heartbreaking but necessary. I discarded the severely compromised parts. I laid the healthy stolons on the fresh, damp medium and lightly misted them. I did not bury them. I placed the pot in its original bright location but in a clear propagation dome to maintain very high humidity, reducing stress on the wilting leaves while the "roots" re-established.
Phase 3: The Recovery Vigil (Day 4-14)
This phase is about patience and precision. I kept the dome on, ensuring condensation was present but not so much that water dripped on the plants. I provided strong artificial light for 14 hours a day to boost energy without the heat stress of direct sun.
Every other day, I lifted the dome for 30 minutes for air exchange, preventing mold. I kept the pot sitting in a shallow tray with just a centimeter of fresh distilled water, allowing capillary action to moisten the medium from below. This is the optimal watering method for terrestrial bladderwort to prevent wilting leaves, as it keeps the surface aerated while ensuring consistent moisture below.
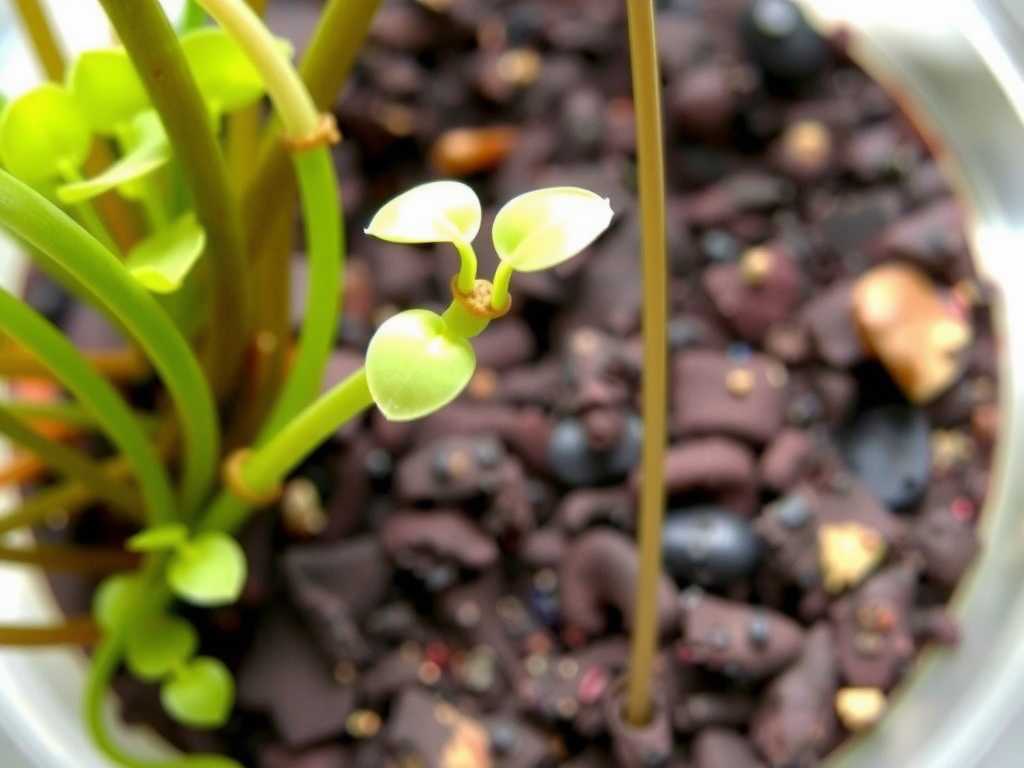
By Day 7, I observed the first sign of hope: the remaining green leaves, while still small, had perked up and were no longer getting worse. New, tiny green shoots were emerging from the stolons. By Day 10, the wilting had completely halted, and active growth was visible. I began to gradually acclimate the plant to lower humidity by propping the dome open for longer periods each day. On Day 14, I removed the dome entirely. The plant was actively growing, with new traps forming and leaves spreading firmly across the medium. The rescue was a success.
Crucial Factors for Prevention and Long-Term Health
")
My two-week experiment reinforced that prevention is easier than cure. Here are the non-negotiable pillars for keeping your terrestrial bladderwort thriving.
Water is Everything Only use rainwater, distilled water, or reverse osmosis water. Tap water, even if left to stand, contains minerals that will slowly poison the plant and compact the medium, leading to—you guessed it—wilting leaves. I now change the water in my trays every 4-5 days without fail.
The Perfect Home: Medium and Pot The medium must be airy and inert. My 50/50 sphagnum/perlite mix is a standard, but some growers successfully use pure live sphagnum or a peat/perlite blend. The key is that it must not decompose quickly. Repot annually, even if the plant looks fine. A shallow pot is better than a deep one, promoting healthy surface growth and preventing soggy bottom layers.
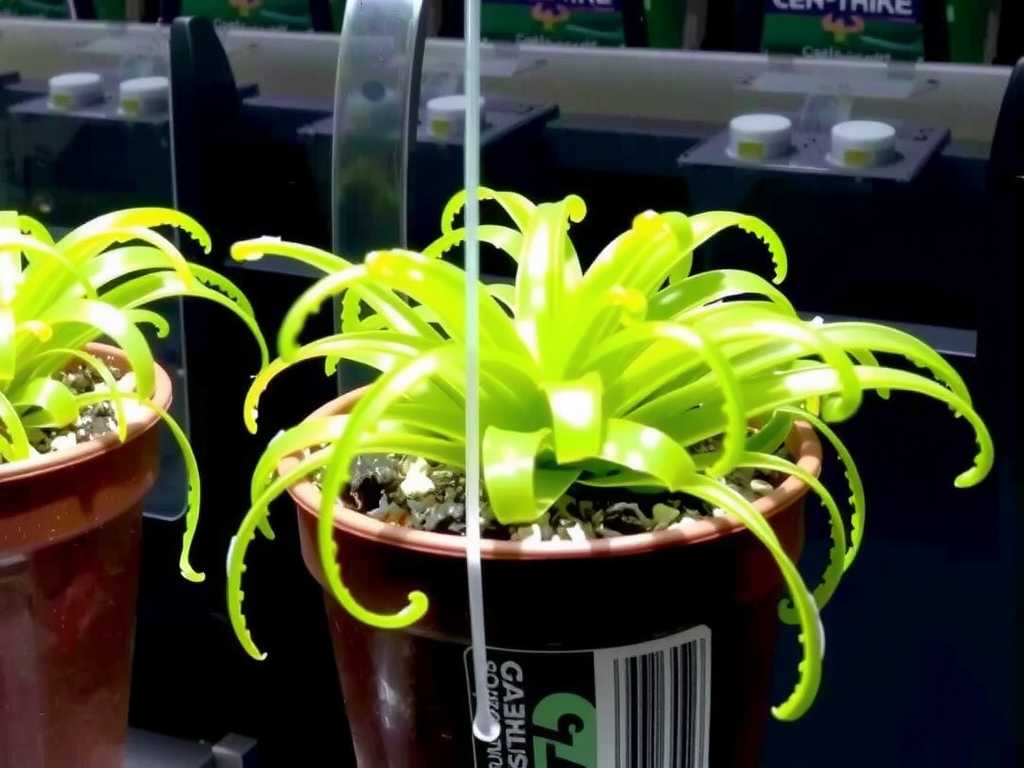
Light and Humidity: The Energy Balance Terrestrial bladderworts need bright light to fuel their trapping mechanisms and growth. A south or east-facing window or a strong LED grow light works wonders. Humidity above 50% is ideal, especially for tropical species. The wilting I experienced wasn’t from dry air, but low humidity can compound other stresses.
Common Pitfalls and How to Avoid Them
- Overhandling: These are not plants for frequent poking and prodding. Disturb the stolons as little as possible.
- Feeding Them: Never fertilize the soil. They get all nutrients from their prey. Fertilizer is a fast track to root burn and media algae growth.
- Ignoring Old Media: Even if the top looks green, the bottom layer can be a decaying, toxic mess. Schedule yearly repots.
What is the most common cause of terrestrial bladderwort leaves wilting? Overwhelmingly, the cause is an old, broken-down, or waterlogged growing medium. It suffocates the stolons and traps, preventing them from functioning. Stale or mineral-rich water is a very close second.
Can I just cut off the wilting leaves? You can gently trim away completely brown or mushy foliage with sterile scissors. However, this does not solve the underlying problem. Focus on fixing the root zone environment first; often, slightly wilted leaves can recover if the cause is addressed promptly.
How long does it take for a bladderwort to recover from wilting? If the cause is addressed immediately, you may see leaves perk up within a week. For a full recovery with visible new growth, like in my case, expect a solid 2-3 weeks of careful post-operative care. Patience is essential.
Seeing your terrestrial bladderwort wilt is alarming, but it’s a solvable problem. Immediate action centered on checking your water and investigating the state of your growing medium is critical. My two-week journey from discovery to recovery proved that a systematic approach—triage, repotting into fresh medium, and providing a stable, humid recovery environment—brings these resilient plants back from the brink. Remember, their needs are specific but simple: pure water, airy media, and bright light. Get those fundamentals right, and you’ll spend less time fixing problems and more time enjoying the unique, creeping beauty of a healthy terrestrial bladderwort colony.

发表评论