How to Grow Terrestrial Bladderwort in Pots for Beginners: My Step-by-Step Guide
I remember the first time I saw a terrestrial bladderwort. It wasn't in a murky pond, but sitting in a small, mossy pot at a specialty plant show. I was captivated. Here was a carnivorous plant, a tiny predator, that you could supposedly grow on a windowsill. But when I searched for a clear, practical guide on how to grow terrestrial bladderwort in pots, I hit a wall. Information was scattered, technical, and often contradictory. The prospect of keeping these fascinating, soil-dwelling, insect-trapping plants alive seemed shrouded in mystery. If you’ve ever felt that mix of fascination and frustration, you’re in the right place. After killing a few plants (I’ll be honest) and finally succeeding, I’ve condensed everything into this beginner-friendly guide. I’ll walk you through my exact process, share the mistakes I made so you can avoid them, and show you what to expect over the crucial first weeks.
Understanding Your New Carnivorous Companion
Before we get our hands dirty, it's crucial to know what makes terrestrial bladderworts (primarily Utricularia species like U. livida, U. sandersonii, or U. bisquamata) so unique. Unlike their aquatic cousins, these live in damp, nutrient-poor soils. Their "bladders," or utricles, are microscopic traps in the soil that suck in and digest tiny organisms. They don't need fertilizer; they get their nutrients from the soil biome. This defines their core needs: pure water, airy soil, and lots of light. As Dennis Cathcart of Tropiflora notes, "Treating Utricularia like a typical houseplant is the fastest path to failure. Their needs are specific but simple once understood."

The Complete Materials Checklist for Potted Bladderwort Success
Gathering the right materials from the start is 80% of the battle. Here’s what you’ll need, based on my trial and error:
- The Pot: Shallow is better than deep. I use 3-4 inch plastic pots with drainage holes. Terrestrial bladderworts have shallow, spreading root/stolon systems. A deep pot holds too much water and risks rot.
- The Growing Medium: This is non-negotiable. You must use a nutrient-free, moisture-retentive yet airy mix. My proven recipe is a 1:1 mix of sphagnum peat moss and perlite. I moisten the peat moss thoroughly before mixing to avoid dry pockets.
- The Water: Tap water is usually a death sentence due to minerals and salts. You must use rainwater, distilled water, or reverse osmosis (RO) water. I keep a dedicated watering can for this.
- The Light Source: A bright, sunny windowsill (east or south-facing) works. For consistent, robust growth and prolific flowering, I use a simple LED grow light for 12-14 hours a day.
- Optional but Helpful: A clear plastic dome or ziplock bag to create a humid environment for newly potted divisions.
My Step-by-Step Potting Process: A Photo Journal
This is the exact method I used for my Utricularia sandersonii that is now thriving.
Step 1: Preparing the "Soil" I filled my sink with a few inches of distilled water. I then placed my handful of sphagnum peat moss in the water and gently squeezed it until it was fully saturated, like a damp sponge. I let the excess water drain and then mixed it evenly with an equal volume of perlite. The result was a dark, crumbly, and very airy medium.
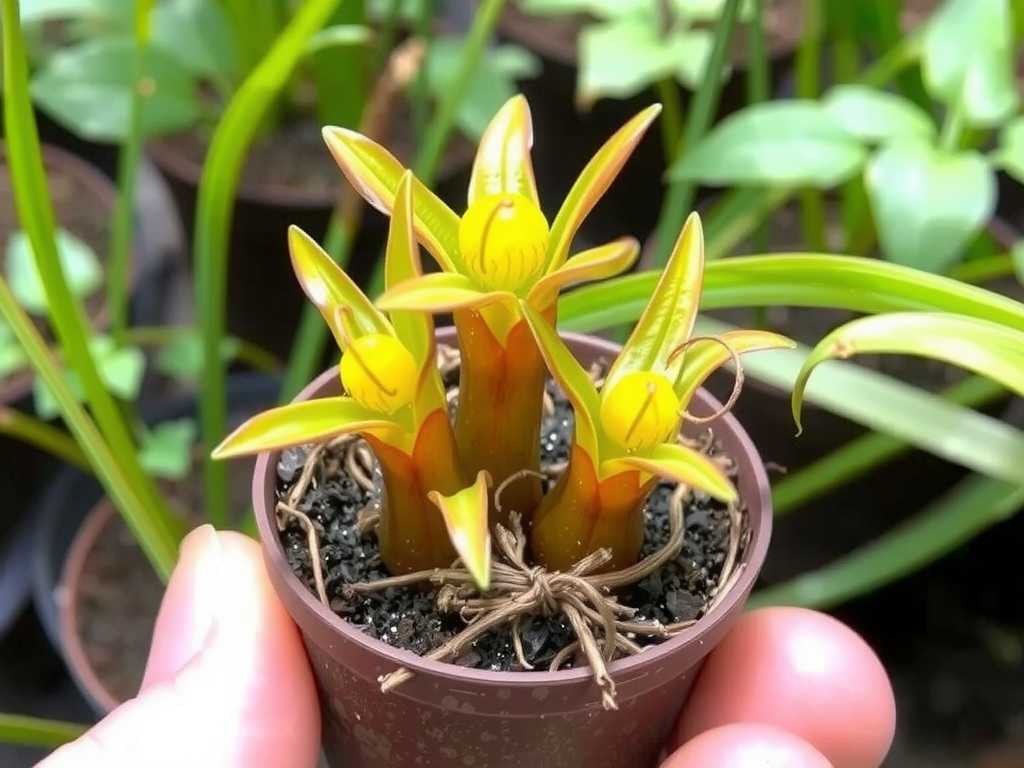
Step 2: Potting Up the Plant I filled my shallow pot with the pre-moistened mix, leaving about half an inch from the rim. I had purchased a small plug of bladderwort. Gently, I placed it on the surface of the medium. Here’s a critical tip: Do not bury it. Terrestrial bladderworts spread via stolons (runners) on or just below the surface. I simply nestled it lightly and used a bent paperclip to hold it in place if needed. Then, I gave it a gentle top-watering with distilled water until it began to drain from the bottom.
Step 3: The Humidity Boost Because my home humidity is fairly low, I placed the entire pot inside a clear plastic terrarium cloche for the first week. This created a mini-greenhouse, reducing transplant shock and preventing the delicate surface stolons from drying out. If you don't have a dome, a loosely tied transparent plastic bag over the pot works perfectly.
")
The First 2 Weeks: My Daily Observations and Adjustments
This initial period is all about monitoring and subtle adjustments.
- Days 1-3: The plant looked unchanged, just sitting there. The medium under the dome stayed visibly moist. I resisted the urge to water again.
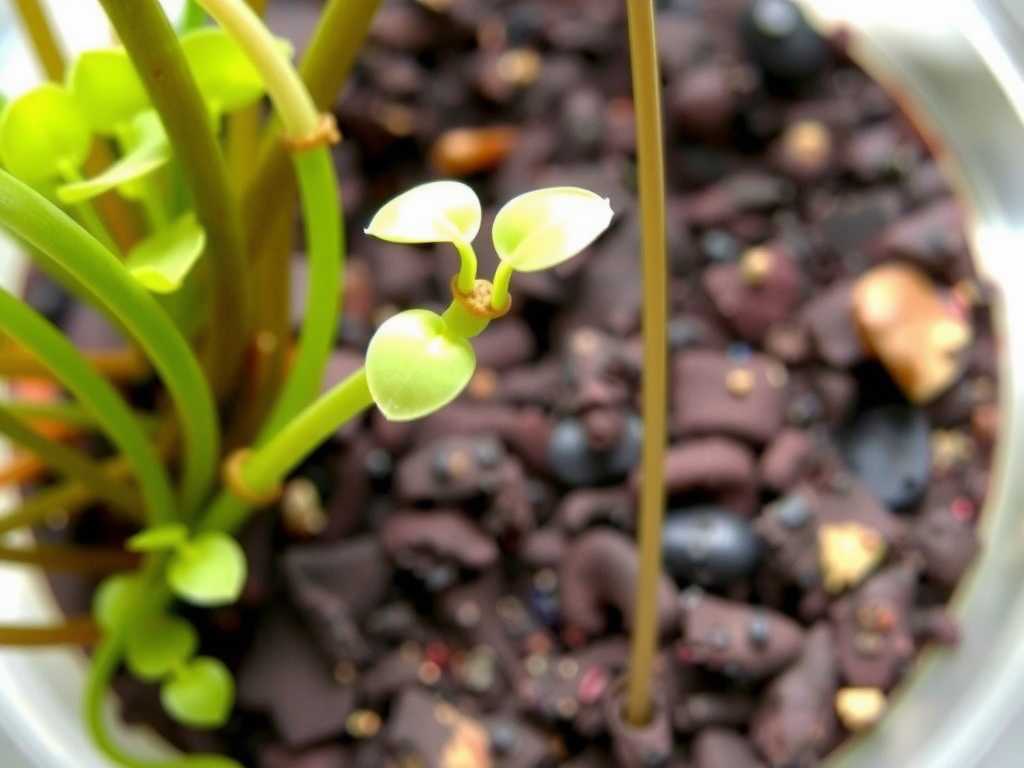
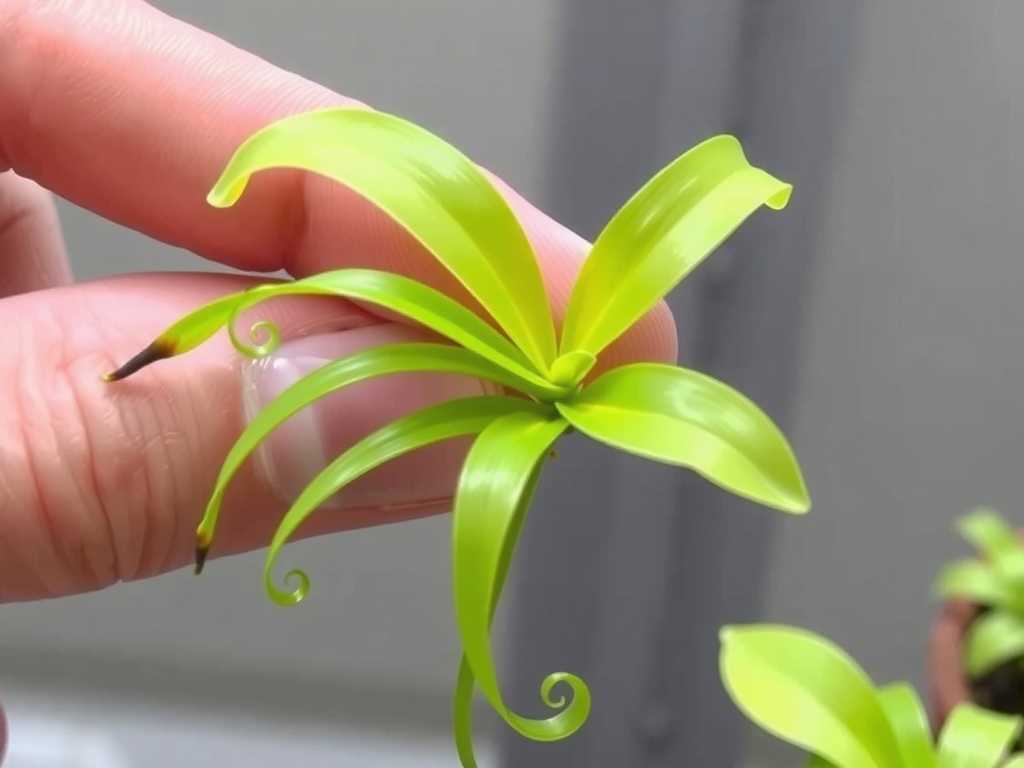
- Days 4-7: I started to see the first signs of life! Tiny, bright green stolons (like fine green threads) began to creep out from the original plug and across the surface of the peat moss. This was the "aha!" moment. I ventilated the dome for an hour each day to prevent mold.
- Days 8-10: The stolon growth was accelerating. I noticed a few traps (tiny, seed-like structures) on the threads. Confident it had acclimated, I removed the humidity dome permanently.
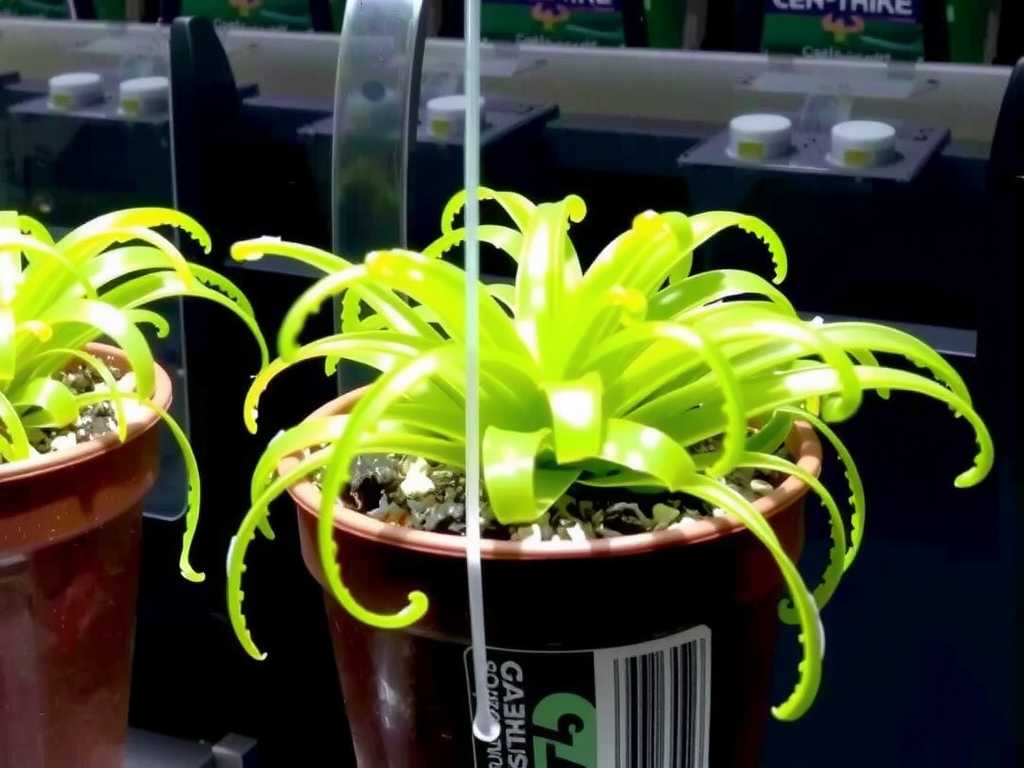
- Days 11-14: Now under my LED grow light, the colony exploded. The stolons weaved a dense mat over the pot's surface. I maintained the watering technique of keeping the saucer filled with about 1/4 inch of distilled water, allowing it to be absorbed from the bottom. The top surface felt slightly damp to the touch but never soggy.
The Pitfalls I Encountered (And How to Fix Them)
My journey wasn't all green stolons. Here are the problems I faced and how I solved them.
Problem 1: The Great Algae Bloom. Around week 3 in my first attempt, the soil surface turned a slimy green. I had used a pot that was too deep and kept the top constantly wet by overhead watering. Algae loved it; the bladderwort did not.
- My Solution: I repotted into a shallower pot with fresh medium. I switched exclusively to the bottom-watering technique—filling the saucer and letting the medium wick it up. This keeps the surface drier while the roots stay moist, effectively stopping algae growth.
Problem 2: The Case of the Disappearing Traps. On one species (U. bisquamata), I noticed the tiny bladders seemed shriveled. I was letting the pot dry out completely between waterings, a fatal mistake for these moisture-loving plants.
- My Solution: I established a consistent watering schedule. I never let the saucer go completely dry. The medium should feel like a well-wrung-out sponge at all times. Using a clear saucer helped me easily monitor the water level.
Problem 3: Leggy, Weak Growth and No Flowers. My plant was alive but looked stretched and pale, with no sign of its charming little flowers.
- My Solution: Light was the issue. I moved it from a north-facing window to a much brighter south-facing sill and supplemented with a basic LED grow light panel. Within two weeks, the growth became denser, darker green, and flower stalks finally emerged.
Long-Term Care for a Thriving Colony
Once established, terrestrial bladderworts in containers are surprisingly low-maintenance.
- Watering: Forever and always, use only pure water. Keep the saucer method going. In winter, you can let the water in the saucer dry out for a day before refilling.
- Feeding: Do not fertilize. The plant feeds itself. If grown indoors, it will catch soil microbes and possibly springtails. You can sprinkle a few dried bloodworms (fish food) onto the soil surface occasionally as a supplement, but it's not necessary.
- Flowering: Ample light triggers blooming. Most species produce delightful, orchid-like flowers on thin stalks. Utricularia sandersonii looks like a flock of tiny white rabbits!
- Division & Repotting: When the pot becomes a solid mat of growth (usually every 1-2 years), you can gently tear or cut a section and pot it up fresh. This is how you share with friends!
Can I use regular potting soil for my bladderwort? Absolutely not. Regular potting soil contains fertilizers and minerals that will burn the roots and slowly kill the plant. The nutrient-free, acidic environment of a peat-perlite mix is essential for their health.
How often should I water my potted terrestrial bladderwort? Don't water on a strict calendar schedule. Water based on the condition of the medium. The best method is to keep a shallow reservoir of distilled water in the saucer (about 1/4 inch) and refill it as it evaporates or is absorbed. The goal is constant, slight moisture, not wetness.
Why is my bladderwort not flowering? Insufficient light is the most common reason. These are full-sun to bright-light plants. Move it to a significantly brighter location or introduce a grow light. Flowering also tends to be more prolific once the plant has established a dense colony in its pot.
Growing terrestrial bladderworts in pots is a uniquely rewarding corner of the plant hobby. It demystifies carnivorous plants and brings an ecological wonder to your desk or windowsill. The keys are simple: pure water, the right soil, and plenty of light. Start with a resilient species like Utricularia sandersonii, follow these steps, and pay close attention to what your plant is telling you. Those first tiny, exploring green stolons are a sign of success, and the charming flowers that follow are your reward for creating the perfect little environment.

发表评论