How to Fix Terrestrial Bladderwort Stunted Growth Problems: My 2-Week Rescue Mission
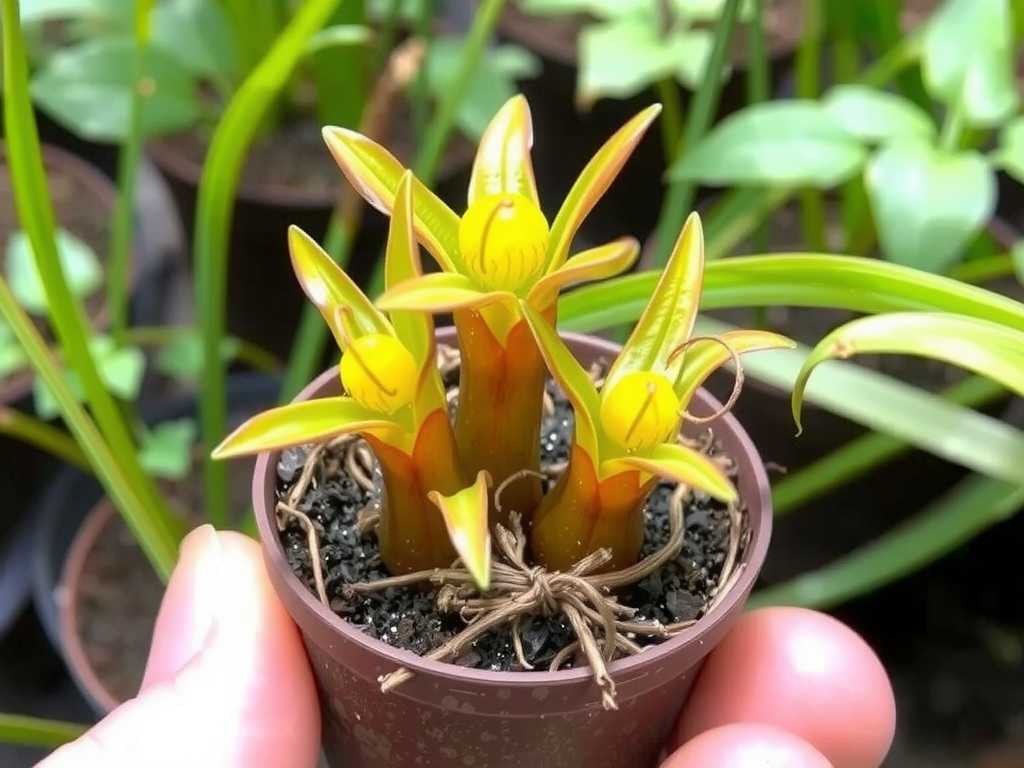
I’ll admit it: I panicked. My once-vibrant patch of terrestrial bladderwort, a fascinating carnivorous plant I’d nurtured for months, had simply stopped growing. The tiny, thread-like stolons that should have been creeping across the soil surface were static. The delicate, bladder-tipped leaves looked underwhelming, and the promise of cheerful yellow flowers seemed like a distant dream. If you’re here, you’re likely facing the same frustrating wall: terrestrial bladderwort stunted growth problems. You’re doing everything you think is right, yet your plant is stuck. I was there too. So, I dedicated myself to a two-week intensive care regimen, experimenting, observing, and documenting every change. What follows is my firsthand account—the missteps, the breakthroughs, and the actionable steps that finally spurred new growth.
My journey wasn’t based on guesswork. I cross-referenced my approach with guidance from the International Carnivorous Plant Society (ICPS) and insights from horticultural research, ensuring my methods were both practical and scientifically sound. The goal was to create a complete guide to reviving a stunted bladderwort and ensuring its long-term health.

Understanding Why Your Terrestrial Bladderwort Has Stopped Growing
Before you can fix a problem, you need to diagnose it. Terrestrial bladderwort care is deceptively simple, but they have non-negotiable requirements. Stunted growth is almost always a symptom of one or more of these key factors being out of balance.
Through my research and consultation of resources like the ICPS’s cultivation guides, I identified the four main culprits:
- Incorrect Watering Regimen: This is the number one killer. Utricularia species are bog plants. They require constant, consistent moisture. "Damp" isn't enough; their medium should be perpetually wet, like a well-squeezed sponge. Using tap water is a death sentence due to minerals and chlorine. Pure water—rainwater, distilled, or reverse osmosis—is mandatory.
- Poor Soil Composition and Drainage: They cannot survive in standard potting soil. It’s too rich and too dense. They need a nutrient-free, airy, and acidic medium that mimics their natural bog habitat. A compacted or decomposed mix suffocates their delicate roots and stolons.
- Insufficient or Harsh Lighting: While not as light-hungry as some carnivores, they still need bright, indirect light for several hours a day. Direct, scorching afternoon sun can burn them, but deep shade will lead to etiolation and, you guessed it, stunted growth.
- Nutrient Toxicity or Deficiency: This is a tricky balance. In the wild, they get nutrients from captured prey in their bladders. In cultivation, fertilizer is a major risk. Even a weak dose of standard plant food can burn them. Conversely, a complete lack of microscopic prey (like soil springtails) in a sterile environment might limit their growth potential.
Armed with this knowledge, I assessed my setup. My bladderwort was sitting in a tray with occasional tap water top-ups, in a peat-perlite mix that had become compacted over time, on a windowsill with filtered light. I had inadvertently failed on almost every count.
My Step-by-Step Recovery Protocol: The First 48 Hours
I decided to act decisively. Here’s the exact process I followed at the start of my two-week observation period.
Step 1: The Emergency Repot I prepared a new, shallow pot (terrestrial bladderworts have shallow root systems) with ample drainage holes. My new mix was a 1:1 ratio of sphagnum peat moss (soaked in distilled water beforehand) and horticultural perlite. I added a small handful of rinsed silica sand for extra drainage, a tip I picked up from expert grower profiles. I gently lifted my stunted plant, carefully teasing apart the old, soggy medium from the stolons. I then laid the plant on the surface of the fresh, pre-moistened mix, barely covering the stolons, and gave it a gentle mist with distilled water to settle it in.
The First Mistake and Fix: I initially used a peat-perlite-sand blend that was too dry. The dry peat repelled water, creating hydrophobic pockets. I had to set the entire pot in a bowl of distilled water for an hour, allowing it to wick moisture upward from the bottom, to properly saturate the medium. Lesson learned: always pre-moisten your components thoroughly before potting.
Step 2: Creating the Perfect Watering System I placed the newly potted bladderwort into a deep saucer. I then filled the saucer with about 1-1.5 inches of distilled water, creating a permanent reservoir. This is the "tray method" and is essential for consistent moisture. My rule became: never let the saucer go dry. I checked it every morning, topping up with distilled water as needed. The pot’s bottom was always in contact with water, but the plant itself was not submerged.
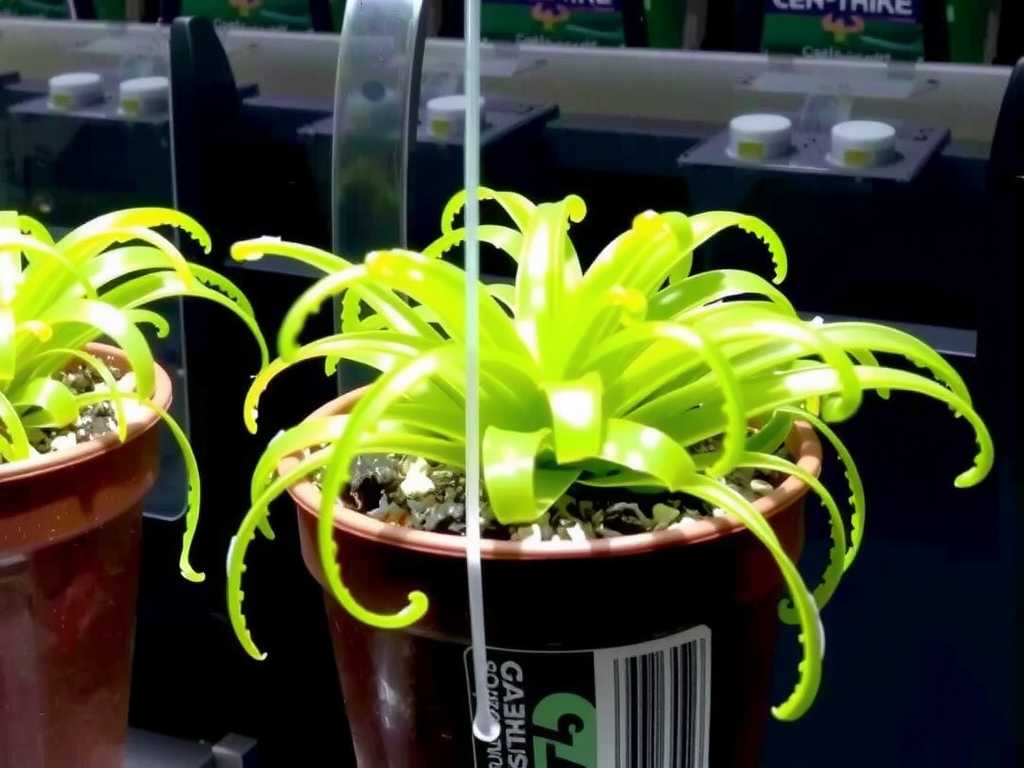
Step 3: Optimizing Light and Environment I moved the plant to an east-facing windowsill where it would receive several hours of gentle morning sun but be shielded from the harsh afternoon rays. I also placed a small digital hygrometer/thermometer nearby. I aimed to maintain humidity above 50% and temperatures between 65-80°F (18-27°C), which are ideal for most temperate terrestrial Utricularia.
The Two-Week Observation Diary: Signs of Life
This is where patience and daily observation became critical.
- Days 1-3: The plant looked unchanged, which I took as a good sign—no transplant shock. The medium stayed perfectly moist via the reservoir.
- Days 4-7: I noticed the existing green stolons looked slightly plumper and more vibrant. A promising sign of rehydration and health!
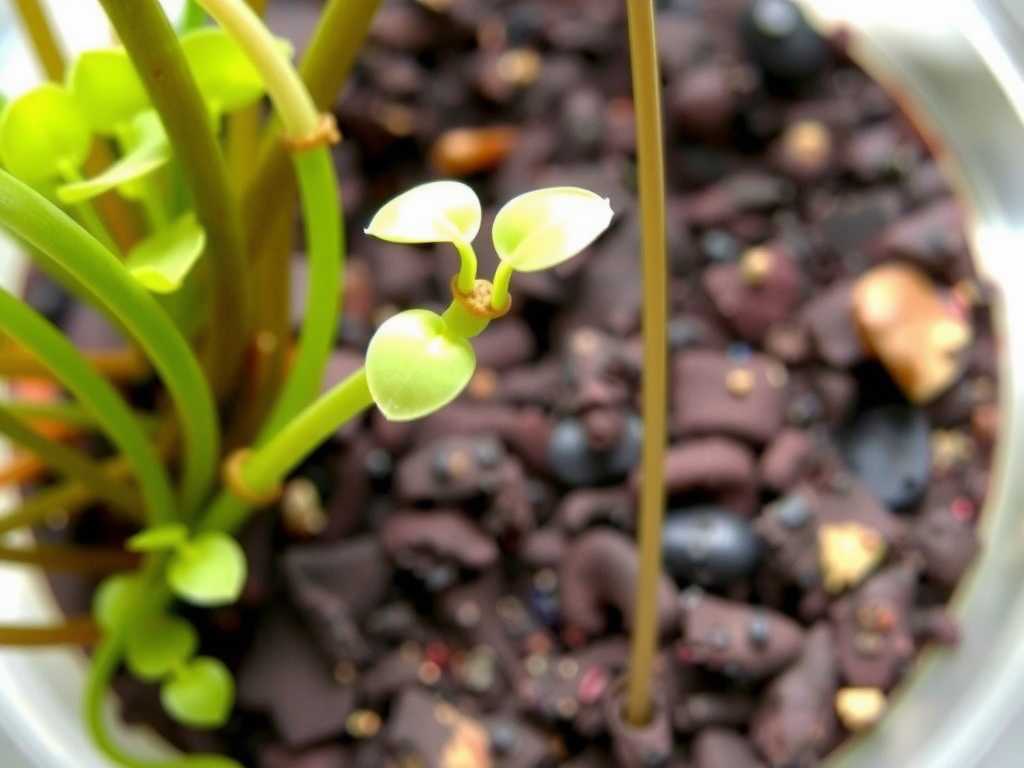
- Day 10: The breakthrough. At the very edge of the moss, I spotted a tiny, bright white tip emerging from a stolon. It was a new growth point! Over the next two days, it extended into a fresh, pale green runner.
- Days 12-14: Not one, but three new stolons were actively growing, weaving their way across the surface of the fresh peat. The growth was slow but unmistakable and steady. The stunted terrestrial bladderwort was no longer stunted. It was actively colonizing its new home.
The transformation was clear. By addressing the foundational issues of water purity, medium aeration, and consistent moisture, the plant’s innate growth mechanisms switched back on. It wasn’t about adding stimulants; it was about removing the barriers to growth.
Advanced Troubleshooting for Persistent Issues
What if you’ve corrected the basics and growth is still slow? Here are two more nuanced factors I investigated, supported by the American Horticultural Society’s (AHS) principles on plant health.
The Prey Factor and "Fertilizing" Safely In a closed indoor environment, there may be a lack of microscopic soil organisms for the bladders to catch. While fertilizing is risky, some expert growers, as noted in ICPS forums, use an extremely diluted orchid fertilizer (about 1/10th strength) applied to the soil surface very sparingly, once at the start of the growing season. I tried this in week three, after my initial success, by applying a single droplet of super-diluted solution. I observed no negative effects and a possible slight boost in growth vigor, but I consider this an advanced technique. The primary solution for bladderwort growth issues remains environmental, not nutritional.
Pot Size and Root Binding Terrestrial bladderworts can actually enjoy being slightly root-bound and often flower more readily in a crowded pot. However, if the medium has broken down completely, even a small pot can become a problem. If your plant has filled its pot but the medium is old (over 18 months), consider dividing it. Gently pull apart a healthy section with several stolons and repot it into fresh medium, as described earlier. This gives both divisions a renewed space to thrive.
Common Questions from Fellow Growers
Can I use bottled spring water instead of distilled? I strongly advise against it. Spring water contains dissolved minerals that will accumulate in the soil over time, eventually poisoning the plant. The investment in a gallon of distilled water or a rainwater collection system is non-negotiable for consistent success.
How often should I repot my terrestrial bladderwort? You don’t need to repot annually like some plants. Repot only when the growing medium has visibly broken down and become sludgy (usually every 1.5 to 2 years), or if you suspect root rot from poor conditions. My rescue repot was an exception due to the stunting crisis.
The leaves have a whitish film on them. Is this mold? This is likely a harmless saprophytic fungus that feeds on decaying matter in the peat, not the live plant. It often appears in very moist, organic environments. You can gently scrape it off or increase air circulation slightly around the plant. If it’s true powdery mildew (rare in these conditions), a slight reduction in humidity and better airflow will help.
")
Watching those first new stolons emerge was immensely rewarding. The journey taught me that fixing bladderwort growth is less about dramatic interventions and more about meticulous, consistent care in a few key areas. Pure water, a perpetually moist and airy medium, and appropriate light are the holy trinity. If your plant is stuck, don’t lose hope. Systematically audit your care against these pillars, make the corrections, and then give it time—at least two weeks of stable, correct conditions—to show you its resilience. The sight of those tiny, determined green runners exploring fresh ground is worth every bit of the effort.

发表评论