How to Care for Terrestrial Bladderwort in High Humidity: A Grower's Survival Guide
If you're a carnivorous plant enthusiast like me, you've probably felt that mix of excitement and trepidation upon acquiring a terrestrial bladderwort. These fascinating, rootless plants with their tiny, subterranean bladder traps are marvels of evolution. But when your growing environment is consistently humid, the standard care advice often falls short. I struggled for months with mold, rot, and a general sense that my Utricularia was merely surviving, not thriving. The high humidity that should have been a blessing seemed to be suffocating it. After extensive trial, error, and consultation, I developed a tailored routine. This guide is the result of my hands-on experience, including a detailed two-week observation period that finally unlocked the secret to lush, flowering terrestrial bladderwort in moisture-rich air.
My journey centers on mastering terrestrial bladderwort care in humid environments, with a sharp focus on preventing the fungal issues that plague these conditions. We'll dive deep into the specifics of managing Utricularia soil moisture and optimizing airflow for bladderwort health. Through this process, I'll share the exact steps I took, the mistakes I made, and the solutions that turned things around.

Understanding Your Plant and Its Environment
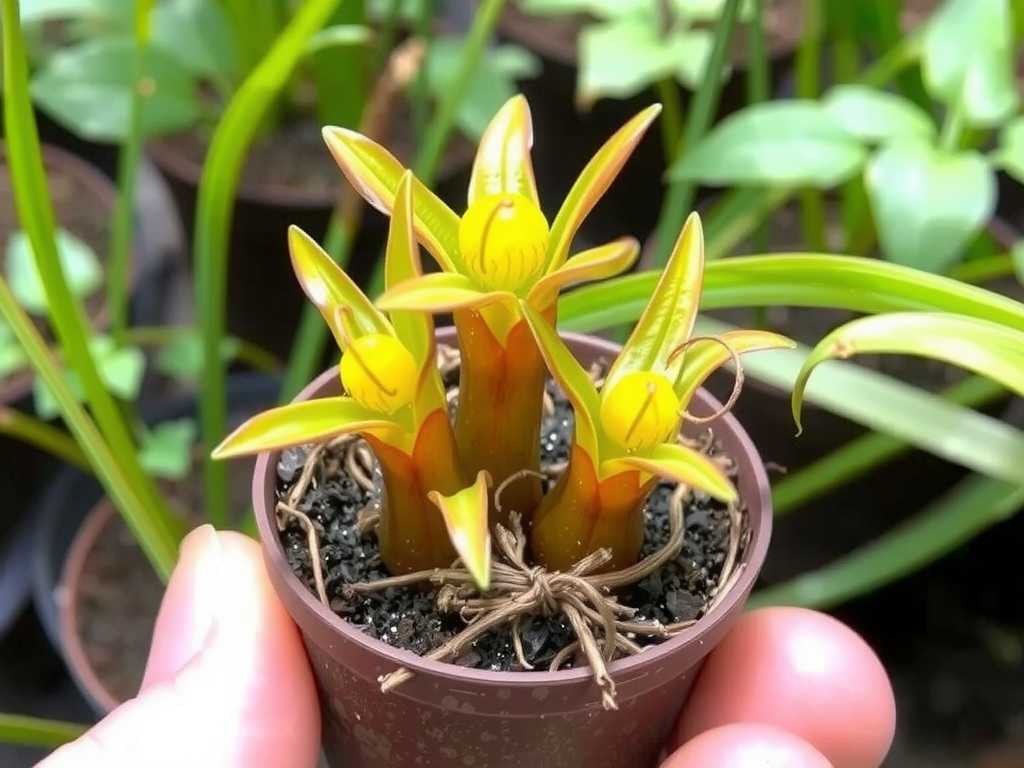
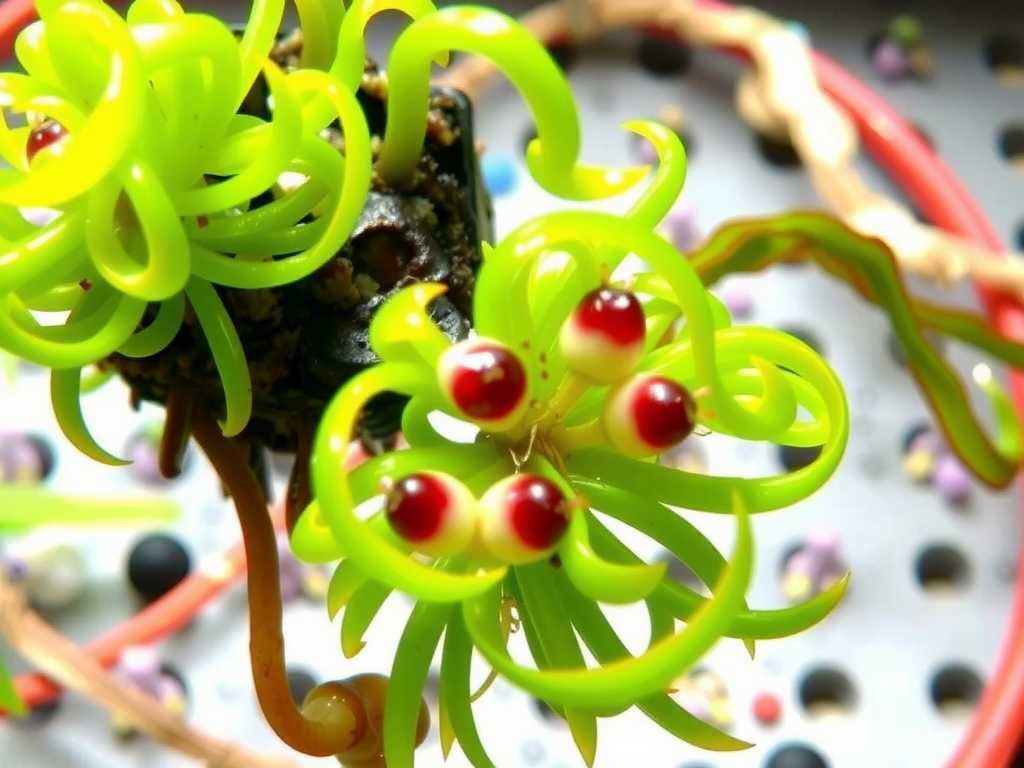
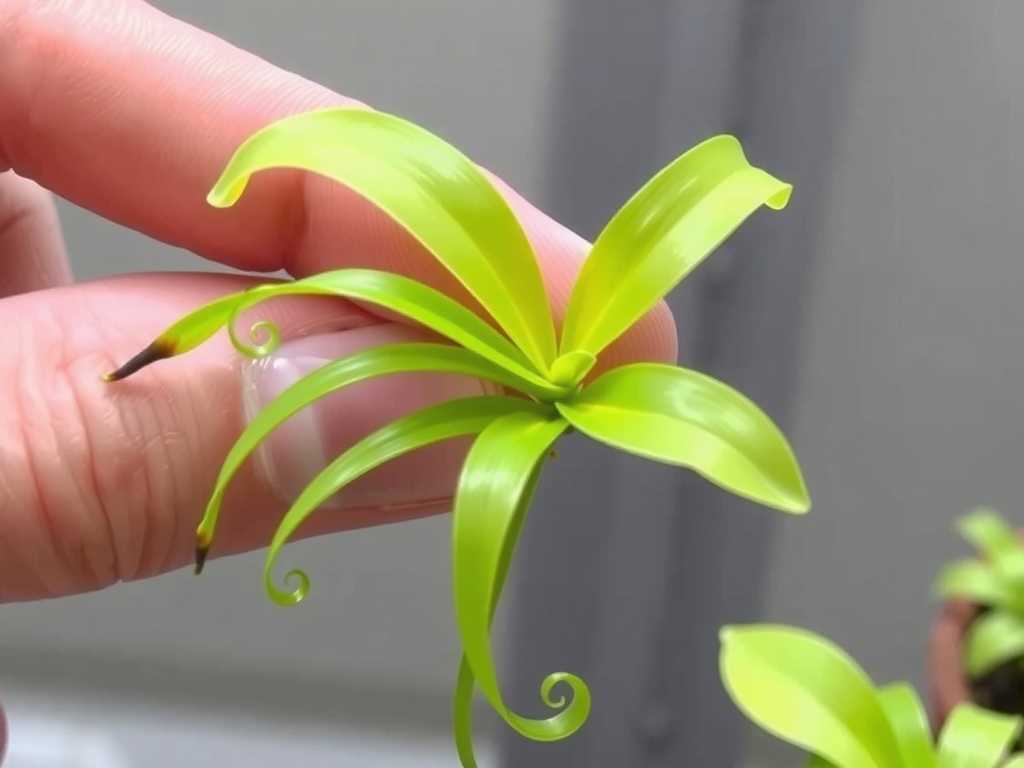
First, let's clarify what we're dealing with. Terrestrial bladderworts (genus Utricularia) are primarily found in wet, nutrient-poor soils across the globe. Unlike their aquatic cousins, they grow in damp moss or peat. Their "bladders" are vacuum-powered traps in the soil that suck in microscopic prey. While they love consistent moisture, "wet feet" in stagnant, humid air is a death sentence. The Royal Horticultural Society (RHS) notes that while many Utricularia species appreciate high atmospheric humidity, paramount importance must be placed on a well-aerated, open substrate that prevents the base of the plant from becoming waterlogged.
This distinction is critical. The plant draws moisture from the humid air and damp substrate, but its delicate stolons and rhizoids need oxygen. In a high-humidity setup without adequate air movement, evaporation slows to a crawl, creating a stagnant microenvironment perfect for pathogens.
The Two-Week Humidity Adjustment Protocol
I decided to start fresh with a Utricularia livida that was looking soggy and pale. My goal was to stabilize it and observe the effects of deliberate environmental tweaks over 14 days. Here was my daily and weekly protocol.
Week 1: Assessment and Corrective Action
")
Day 1-3: The Reset. I gently unpotted the plant. The original medium—a fine peat moss—was saturated and slightly sour-smelling. I prepared a new mix: 50% shredded, long-fiber sphagnum moss (for moisture retention) and 50% horticultural perlite (for aeration). I chose a shallow, wide terracotta pot. Terracotta's porosity allows the substrate to "breathe" from the sides, a crucial factor for managing Utricularia soil moisture in humid climates. I lightly moistened the mix with distilled water until it was damp like a wrung-out sponge, not dripping.
I replanted the bladderwort, settled it in, and placed it in my grow tent. The ambient humidity was a steady 75%. Here was my first deliberate change: I positioned a small, oscillating fan on the lowest setting, pointed indirectly across the top of the plant community, ensuring gentle airflow for bladderwort health without blasting the Utricularia directly.
Day 4-7: Observation and Fine-Tuning. The immediate change was visual. The surface of the new potting mix began to look lightly moist instead of wet. No condensation was building up on the terracotta pot. The plant itself showed no dramatic change, but crucially, there was no further decline. I resisted the urge to water. I used a humidity meter to confirm the air was still at 75%, proving the fan was moving air without stripping humidity.
By day 7, I noticed the very tips of the moss starting to dry slightly. Using a narrow-spouted watering can, I applied distilled water only to the edges of the pot, allowing capillary action to moisten the center where the plant sat. This technique keeps the crown area drier.
Week 2: Stabilization and Signs of Growth
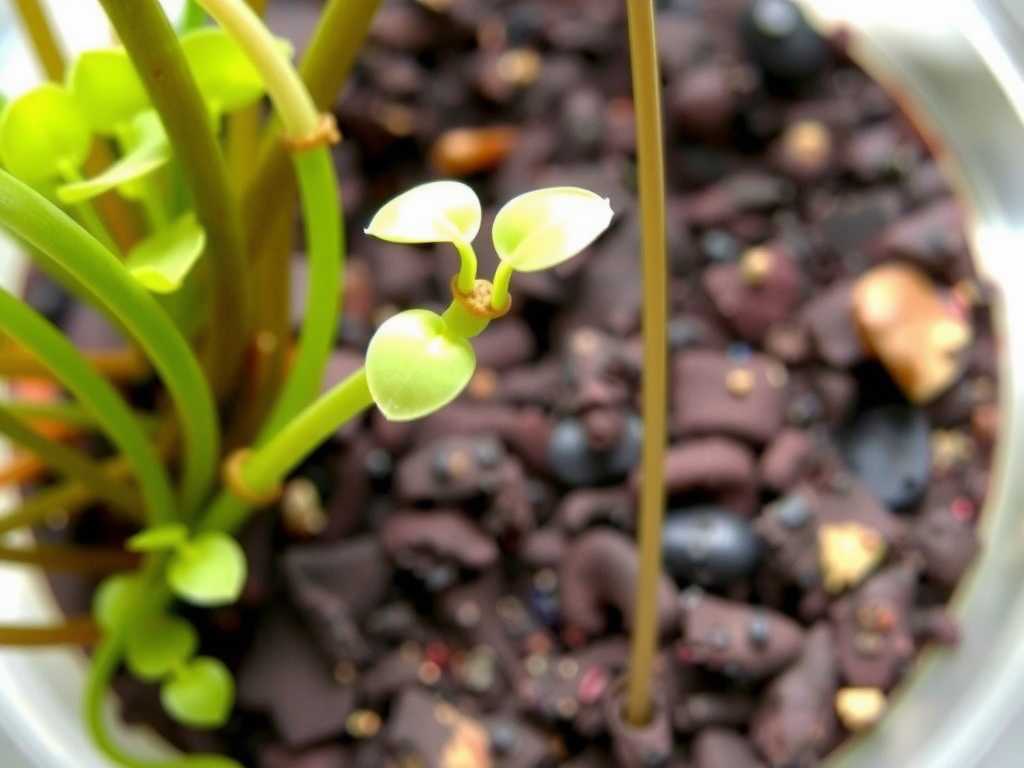
Day 8-10: Positive Indicators. The true test of terrestrial bladderwort care in humid environments is the emergence of new growth. On the morning of day 9, I spotted several new, bright green stolons beginning to creep over the surface of the sphagnum. This was the first major victory. The plant was putting energy into growth, not survival.
Day 11-14: System Integration. The new growth continued. The original foliage firmed up and lost its pallid look. I maintained the routine: indirect fan airflow 24/7, watering only when the surface of the medium showed signs of drying, and always from the pot's edge. By the end of the two weeks, the Utricularia livida was visibly more robust and had even sent up a single, small flower stalk—a clear sign of happiness.
The Pitfalls I Encountered and How I Solved Them
My success wasn't immediate. I failed with earlier plants, and those failures taught me everything.
Pitfall 1: The "Swamp Pot" Syndrome. I initially used plastic pots. In high humidity, water had no escape route. The bottom of the pot became an anaerobic swamp, and the plant rotted from below. Solution: Switch to unglazed terracotta or net pots. The American Horticultural Society (AHA) emphasizes the importance of container choice, stating that for moisture-sensitive plants, porous materials can be as important as the potting mix itself.
Pitfall 2: Overhead Watering Disaster. Misting or pouring water over the crown in high humidity is an invitation for mold. I saw gray, fuzzy mold appear on the moss and stems within days. Solution: Bottom-watering or edge-watering only. I now place my terracotta pot in a shallow tray of water for 5-10 minutes, then remove it. This hydrates the medium from below while keeping the surface and plant base comparatively drier.
Pitfall 3: Stagnant Air is the Silent Killer. I assumed high humidity meant I didn't need to think about air movement. This was my biggest mistake. Stagnant, humid air creates a microclimate where fungi and bacteria proliferate. Solution: Constant, gentle air circulation. The fan is non-negotiable. It mimics a natural breeze, discourages pathogens, and strengthens the plant.
Building the Ideal Long-Term High-Humidity Setup
Based on my two-week experiment and subsequent months of growth, here is my sustained care regimen.
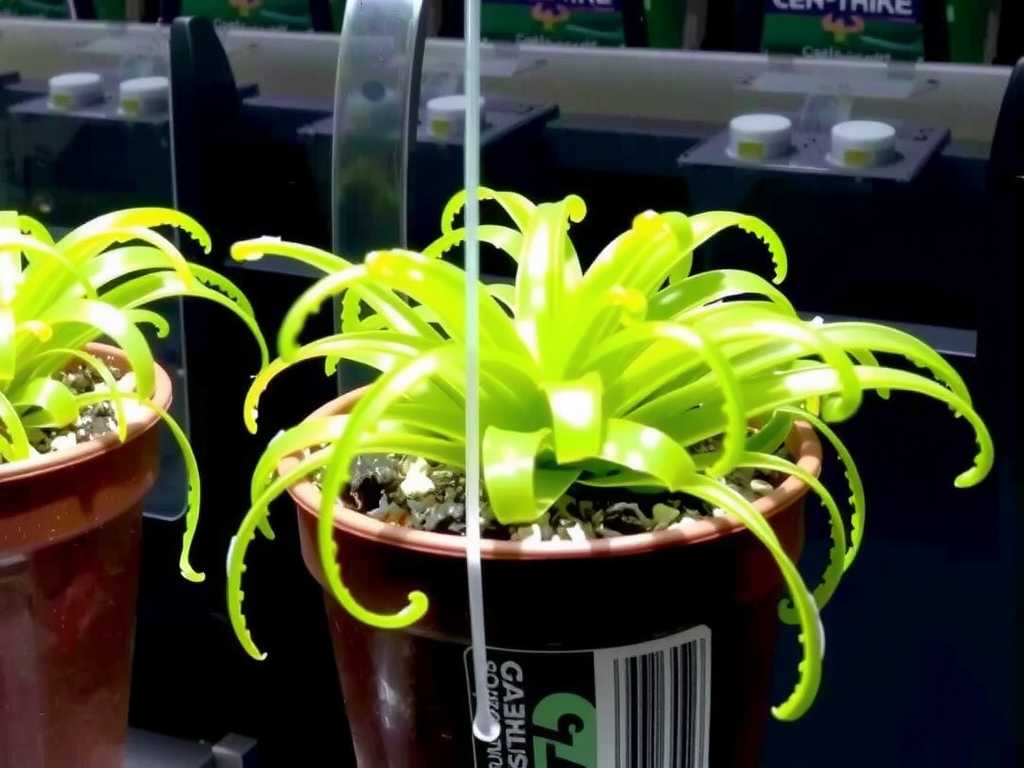
The Foundation: Pot and Medium. The partnership of an airy medium and a breathable pot is your primary defense. I swear by the sphagnum/perlite mix in a terracotta "breathing pot." Some growers also use orchid bark chips for even more aeration.
Watering Wisdom. Forget the calendar. Water only when the top layer of sphagnum feels just barely damp to the touch. In constant 70%+ humidity, this might mean watering only every 7-10 days. Always use low-mineral water: rainwater, distilled, or reverse osmosis.
Light and Airflow. These plants need bright, indirect light. Combined with strong airflow, it helps regulate the plant's own transpiration and keeps the surface conditions in check. My fan runs constantly on low.
Feeding. While they catch their own prey, in a sterile potting mix, a diluted foliar feed with an orchid fertilizer (1/4 strength) once a month during active growth can boost flowering. I apply it carefully to the leaves, not the medium.
Frequently Asked Questions
Can I grow terrestrial bladderwort in a sealed terrarium since it needs humidity? This is a common trap. While they love humidity, most terrestrial bladderworts will almost certainly rot in a sealed terrarium due to zero air flow. If you use a terrarium, it must be large, have a large open top, and include a small computer fan for circulation. A well-ventilated grow tent or open tray is far safer.
The moss on top of my pot is growing green algae. Is this bad? Algae growth on the surface medium is a direct indicator of too much surface moisture and light. While not directly harmful, it's a warning sign that conditions are ripe for less benign issues. Increase air circulation over the surface, ensure you're not over-watering, and consider a thin top-dressing of dry sphagnum to block light from the wet medium underneath.
My humidity is very low. Should I use a humidity dome for my bladderwort? For low-humidity environments, a dome or cloche can help, but you must be vigilant. Provide ventilation daily to prevent stagnation. As the plant acclimates, gradually increase the ventilation until you can remove the dome, aiming to keep the plant in a tray with wet pebbles instead. Remember, these plants are more adaptable to slightly lower humidity with perfect root aeration than they are to high humidity with poor aeration.
Caring for terrestrial bladderwort in high humidity is a dance of balance. It's about providing the moisture they crave through the air and substrate while fiercely defending the oxygen their roots and stolons desperately need. The shift from a water-centric to an air-centric mindset was my breakthrough. By prioritizing breathable pots, chunky media, and constant gentle airflow, you transform a challenging condition into a perfect one. Watch for those new, creeping stolons and the delightful surprise of flower spikes—they’re the best confirmation that your terrestrial bladderwort has not just adapted, but is truly flourishing in its humid home.

发表评论