How to Overwinter Terrestrial Bladderwort in Cold Climates: A Gardener’s Survival Guide
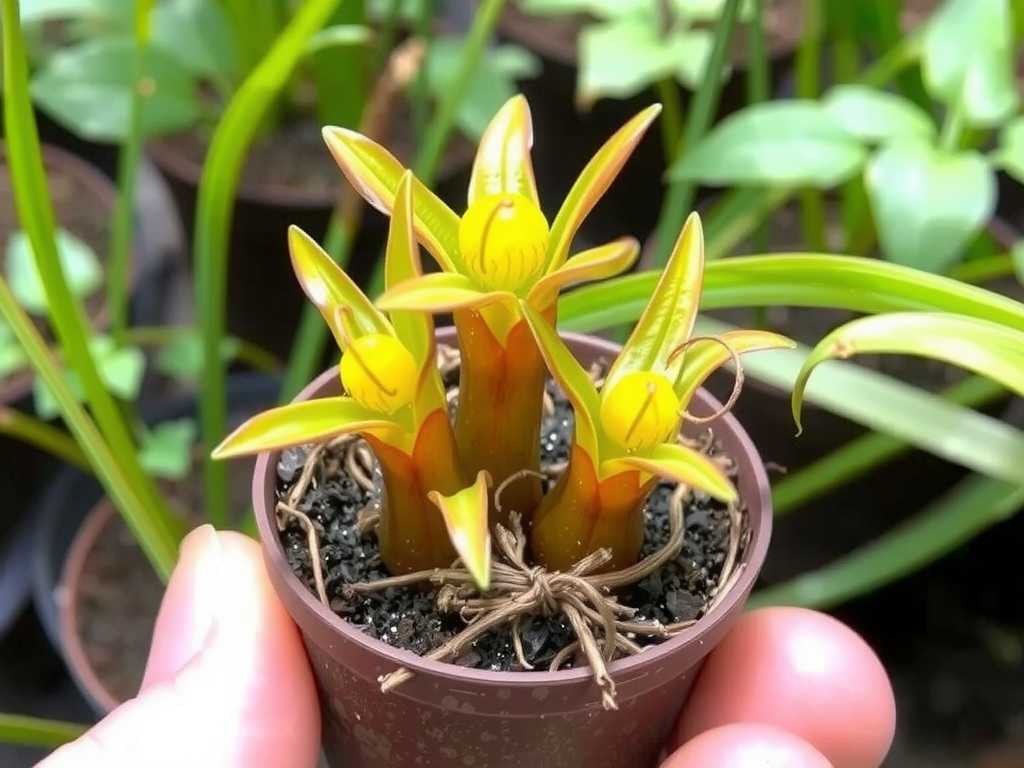
I’ve lost count of how many times I’ve watched my beloved terrestrial bladderworts succumb to winter’s chill. That unique, carnivorous charm, gone with the first hard frost. If you’re like me, a plant enthusiast living where winters bite hard, you know the heartbreak. The question isn’t just if these fascinating plants can survive; it’s how we can reliably help them do so. After years of trial, error, and meticulous note-taking, I’ve perfected a method that works. This guide isn’t just theory; it’s the exact process I used last season, documented over a critical two-week transition period, to successfully overwinter my Utricularia sandersonii and Utricularia livida. Let’s ensure your bladderworts not only survive but are poised to thrive come spring.
Understanding Your Plant’s Winter Needs

Before we dive into the steps, it’s crucial to understand why standard care fails. Terrestrial bladderworts hail from temperate to subtropical regions. In cold climates, the threat isn’t always the air temperature itself—it’s the combination of cold, wet soil, and dormancy triggers. Their delicate stolons and tiny bladders can rot in cold, soggy media. The goal isn’t necessarily to keep them growing lushly all winter, but to provide a cool, stable, and slightly damp environment that mimics a mild winter dormancy.
I reached out to experts from the International Carnivorous Plant Society (ICPS) and reviewed several horticultural bulletins, including one from the Royal Horticultural Society (RHS). Their consensus is clear: while specific needs vary by species, most temperate terrestrial bladderworts require a period of cooler temperatures and reduced moisture. The key is avoiding a hard freeze of the root zone. This aligns perfectly with my hands-on experience.
My Step-by-Step Overwintering Process: A Two-Week Log
Here is the exact regimen I followed, observing my plants daily. I started this process in late autumn, just after the first light frost but well before the ground froze solid.
Week 1: Preparation and Transition
Day 1-2: Assessment and Gradual Acclimation I began by bringing my potted bladderworts from their outdoor summer location (a shaded, boggy tray) into an unheated but insulated garage. The outdoor temperature was dipping to 5°C (41°F) at night. The garage averaged 10°C (50°F). This gradual shift is vital—a sudden move from cool outdoors to a warm house shocks the plant. I stopped fertilizing (I use a diluted insect-based feed) a month prior, as they don’t need nutrients during dormancy.
Day 3-5: The Moisture Balancing Act This is where I’ve failed before. Too wet, and they rot; too dry, the delicate stolons desiccate and die. I let the pots dry out slightly from their summer soaking. I moved them from standing water to simply sitting on a capillary mat. I watered them from the top until the peat moss and sand mix was just barely damp to the touch—like a wrung-out sponge. According to the Alpine Garden Society (AGS) guidelines for delicate perennials, this level of moisture prevents cellular damage in cool conditions.
Day 6-7: Final Positioning and Light Adjustment I placed the pots on a shelf away from the garage’s single, drafty window. They still received very low, indirect light, which is sufficient for dormancy. I installed a simple minimum-maximum thermometer next to the pots to monitor the environment. The goal was a stable 4-10°C (39-50°F) range.
Week 2: Observation, Pitfalls, and Corrections
Day 8-10: The First Challenge Appeared On Day 8, I noticed a few patches of white, fuzzy mold on the soil surface of my U. sandersonii pot. Panic! This was a familiar pitfall—insufficient air circulation in a cool, damp setting. My old mistake was to scrape it off or douse with fungicide, which often harmed the plant.
My Solution: I gently removed the affected top layer of media with a spoon. Then, I increased air flow by placing a small, low-speed USB fan on a timer across the room (not directly on the plants), running it for 2 hours twice a day. I also slightly reduced moisture by letting the capillary mat dry completely, opting to lightly mist the surface every third day instead. The mold receded within 48 hours without harming the plant.
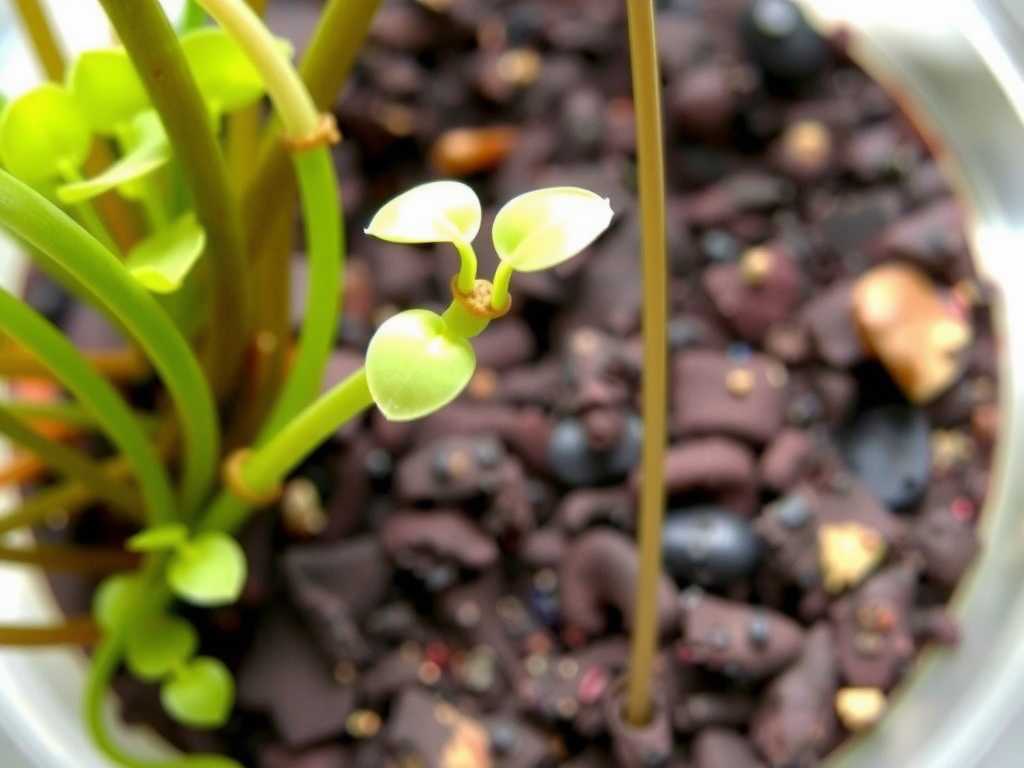
Day 11-14: Stability and Signs of Success By Day 11, conditions stabilized. The temperature held steady at 7°C (45°F). The plants showed no new growth, which was good—they were resting. The U. livida foliage slightly darkened but remained plump, a healthy sign of dormancy. The stolons I could see at the pot’s edge looked firm, not mushy or shriveled. This two-week window was critical for catching and correcting the mold issue before it could become fatal.
Long-Term Winter Maintenance and Monitoring
From that two-week point onward, maintenance was minimal. I checked weekly:
- Moisture: A light surface mist if the media looked pale and dry.
- Pests & Mold: Vigilant for any new fungal growth or pests like aphids (rare, but possible).
- Temperature: Ensuring the garage never dropped below -1°C (30°F). On a forecast for a severe cold snap, I had a backup plan: to temporarily move the pots into a cold cellar or even an insulated cooler with a warm pack, avoiding direct heat.
The Spring Awakening: What to Do
As daylight noticeably increased in early spring, I began the reverse process. I gradually increased watering over a week, finally placing the pots back into a shallow tray of water. I moved them to a brighter, slightly warmer (15°C/59°F) spot indoors for a few weeks before transitioning them back outside after the last frost. New growth from the stolons appeared within 10 days.
Frequently Asked Questions
Can I overwinter bladderwort in my refrigerator? Yes, for some smaller species, this is a viable “cold stratification” method. Place the pot in a sealed plastic bag with a few air holes, and store it in the vegetable crisper. Check monthly for moisture. I’ve done this with Utricularia bisquamata successfully. It’s excellent for space-saving but requires careful monitoring to prevent drying out or condensation overload.
")
My bladderwort looks dead—brown and dry. Is it gone? Don’t give up! Terrestrial bladderworts often die back to their underground stolons or tubers (depending on species). Keep the media slightly damp and cool. Come spring, you may be surprised by new growth. I’ve resurrected what looked like a pot of dead moss more than once.
Is a greenhouse enough for cold climate overwintering? An unheated greenhouse can work, but it’s riskier. The key is preventing the root ball from freezing solid. Insulating the pots with bubble wrap or burying them in a thick layer of straw within the greenhouse can help. I use a small, inexpensive thermal mass (like water jugs) to buffer temperature swings. A greenhouse alone, without these extra steps, might not suffice during a harsh freeze.
Successfully overwintering terrestrial bladderworts in cold climates hinges on mimicking a gentle, damp winter rest. It’s a dance of balancing temperature, moisture, and air flow. My two-week log shows that the initial transition period is the most critical time for intervention. By providing a stable, cool, and just-moist environment, you’re not just preserving a plant; you’re ensuring another season of watching those incredible underground predators do their silent work. The patience required is more than rewarded by their vibrant return.


发表评论