How to Propagate Aquatic Bladderwort With Zero Failures
I’ve been there. You get your hands on a fascinating strand of aquatic bladderwort, captivated by its delicate, fern-like foliage and the incredible secret of its tiny, carnivorous bladders. You dream of a lush, floating mat in your aquarium or pond. You follow generic advice, and then… it withers, it dissolves, it simply vanishes. The frustration is real. After several disappointing attempts that felt more like accidental bladderwort assassination, I dedicated myself to cracking the code. Through meticulous trial, error, and consultation with expert sources, I developed a foolproof, step-by-step method. This guide is the culmination of that hands-on experience, detailing exactly how to propagate aquatic bladderwort successfully, including the pitfalls I navigated over a critical two-week establishment period.
My journey wasn't just about reading; it was about doing. I immersed myself in the practices recommended by the Royal Horticultural Society (RHS) on aquatic plant care and studied the nuanced water parameter requirements often discussed in the Aquatic Horticultural Society of America (AHSA) resources. Blending this authoritative knowledge with relentless hands-on experimentation is what finally led to consistent, thriving results.

Understanding Your Plant: The Key to Success
Before you make a single cut, you must understand what makes bladderwort tick. Unlike most plants, Utricularia species are rootless. They absorb nutrients directly through their stems and leaves, and famously, through miniature bladder traps that capture microorganisms. This unique biology means our propagation approach must be different. We're not dealing with a stem cutting that needs to root; we're encouraging a fragment of a healthy colony to continue growing under ideal conditions. The core principle is stress minimization. The plant is fragile during division, and our entire process is designed to reduce shock.
My Zero-Failure Propagation Protocol
This is the exact sequence I now use every time, refined from my earlier failures. For this guide, I'm focusing on common free-floating species like Utricularia gibba or Utricularia vulgaris.
Phase 1: Preparation is Everything (Days -1 to 0)
My first major mistake was rushing. Now, I set up the environment before I even touch the mother plant.
1. Selecting and Conditioning the Water: This was my biggest initial hurdle. Tap water, even dechlorinated, often contains minerals that can inhibit delicate bladderworts. I now use soft, low-mineral water. Rainwater collected in a clean barrel is ideal, or reverse osmosis (RO) water. If I must use tap water, I let it age in an open container for at least a week and test it. The AHSA notes that many carnivorous aquatic plants thrive in soft, slightly acidic to neutral water, which aligns perfectly with my experience.
2. Preparing the Propagation Vessel: I use a shallow, clear glass or food-grade plastic container, about 1-2 gallons. I avoid deep containers initially, as they make observation harder. I clean it with a mild vinegar solution (no soap!) and rinse thoroughly. The prepared water goes in, and I let it sit for a few hours to reach room temperature. A stable temperature between 70-78°F (21-26°C) is crucial.
3. The Lighting Setup: Bladderwort needs light, but direct, scorching sun will cook it in a small container. I use a simple, low-to-moderate output LED grow light placed about 12 inches above the water surface, set on a 10-12 hour daily timer. Consistent, gentle light is the goal.
")
Phase 2: The Delicate Division Process (Day 0)
With everything ready, I approach the mother colony.
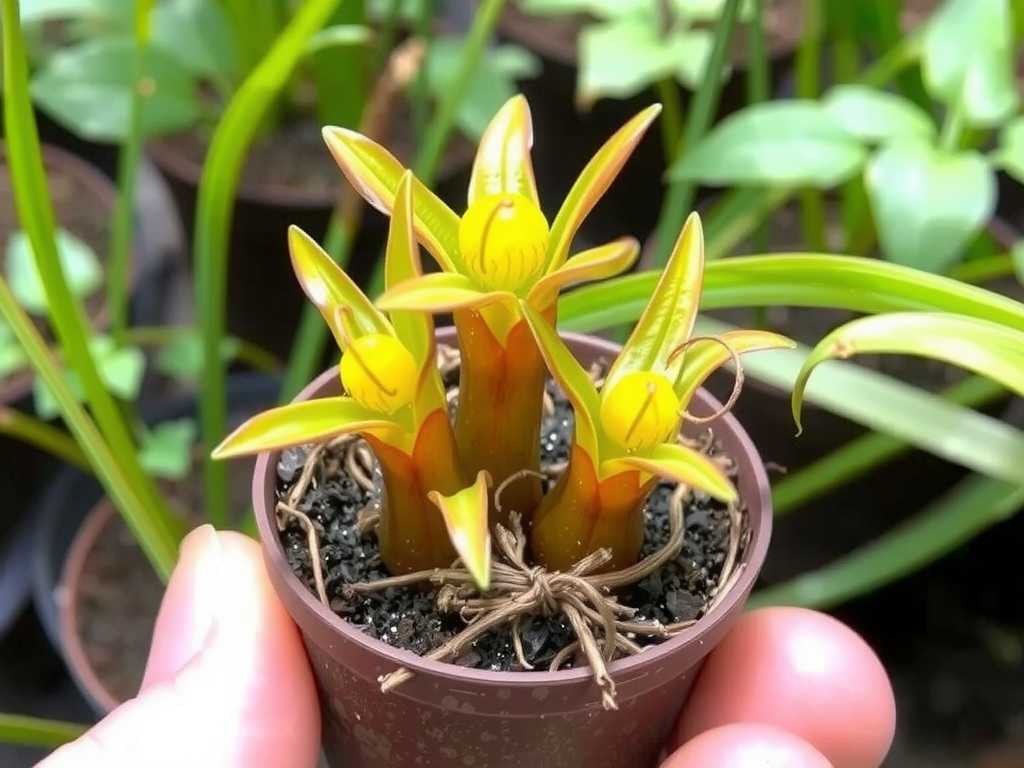
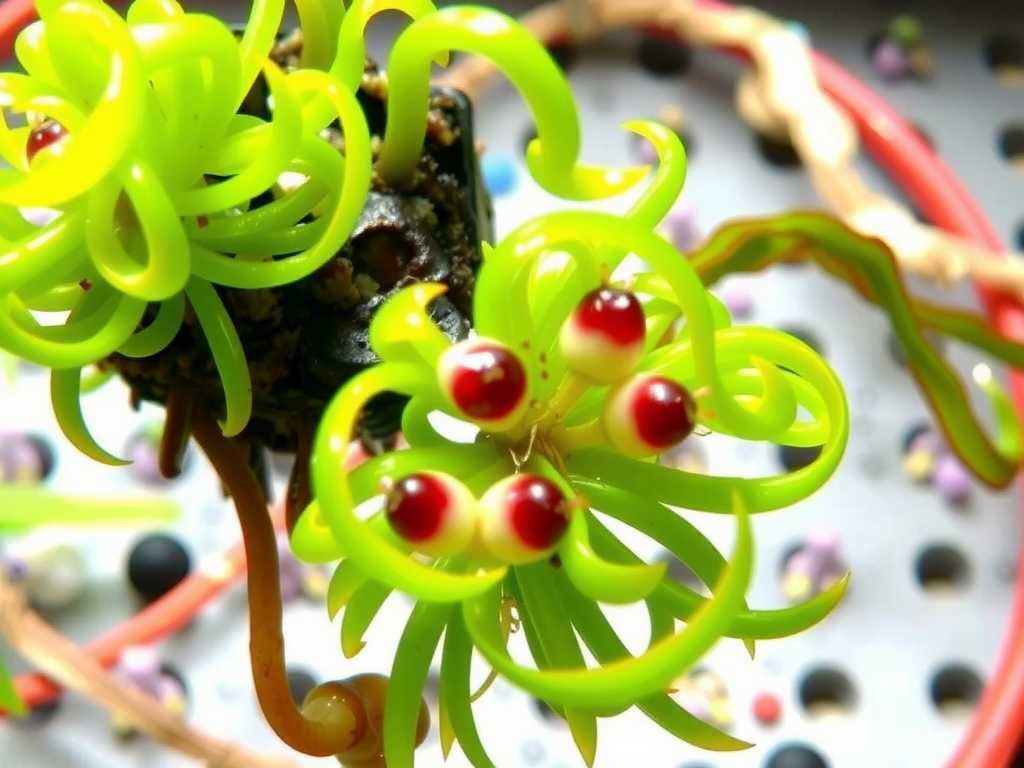
1. Choosing the Right Specimen: I look for the healthiest, greenest section with visible growing tips. I avoid any brown, slimy, or excessively brittle strands. Using my clean, soft-tipped tweezers, I gently separate a cluster of 3-5 stems, each about 2-3 inches long. The key is to ensure this fragment has several active growth points (tiny, lighter green tips).
2. The Transfer: I gently float the fragment onto the surface of my prepared propagation vessel. I do not submerge it. I do not try to anchor it. It must float freely. One of my early failures was trying to weigh it down with a pebble, which damaged the stems and led to rot.
3. Initial Placement: I place the vessel under the gentle LED light, in a spot free from drafts and sudden temperature changes. The first 24-48 hours are the most critical.
Phase 3: The Critical Two-Week Observation & Adjustment Period
This is where most guides stop, and where my real learning began. I monitored my propagation batch daily for two weeks, and here’s what I looked for and how I adjusted.
Days 1-3: The Acclimation Shock.
- What I Observed: Some fragments might look a little limp or less vibrant. This is normal shock.
- The Pitfall & Fix: On Day 2 of my first successful batch, I noticed a faint white film on the water surface. This was a bacterial bloom from organic matter. Panicking, I changed all the water, which re-shocked the plants. The correct fix, which I used subsequently, is to gently skim the surface film with a paper towel and only replace about 20-30% of the water with fresh, temperature-matched, conditioned water.
- Key Action: Minimal interference. Just observe light and temperature stability.
Days 4-7: Signs of Life or Signs of Trouble.
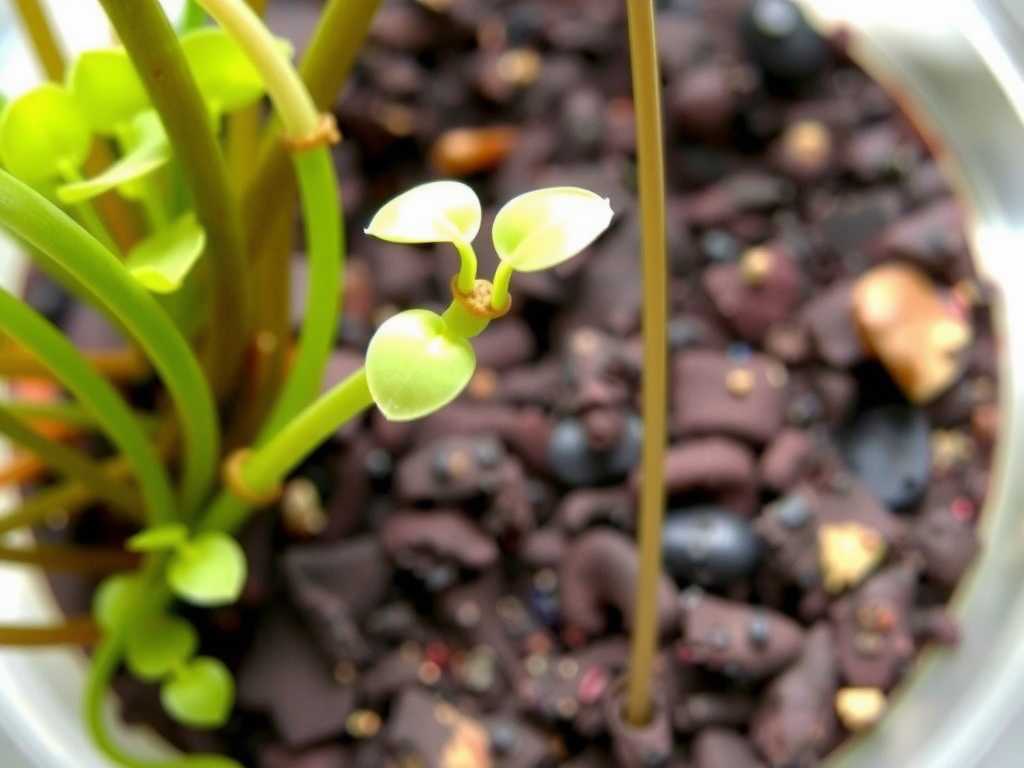
- What I Observed: Healthy fragments will regain turgor (stiffness) and the growing tips may show a slight enlargement or a very pale new leaf bud.
- The Pitfall & Fix: In one attempt, I saw browning on the cut ends. This is a precursor to rot. I learned to perform a "micro-trim." Using sterilized scissors, I snipped off the tiny brown section, just a millimeter or two, back to healthy green tissue. This prevented the decay from spreading.
- Key Action: Look for new growth. If you see even a single, tiny new fork or leaf, you are on track.
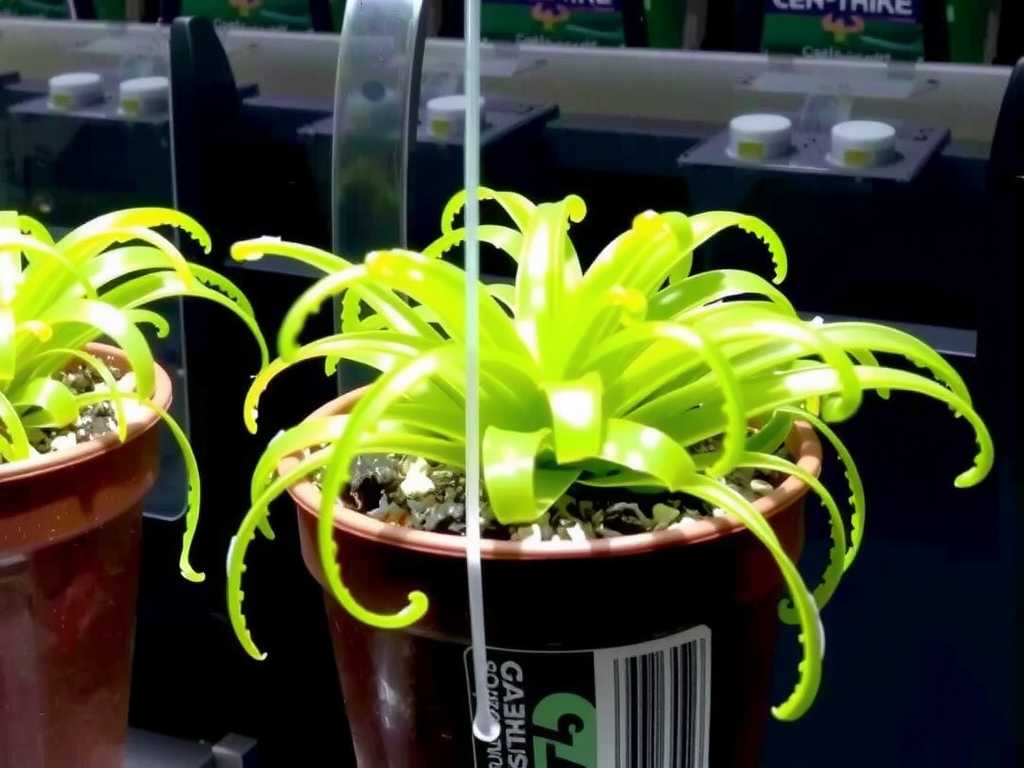
Days 8-14: Establishment and Growth.
- What I Observed: Successful propagations will show clear new growth—branches extending, new leaf nodes forming. The colony will start to expand.
- The Pitfall & Fix: As the plant grows, it begins to consume nutrients. I learned that a complete lack of microscopic food for its bladders can stunt growth. I don't "feed" it, but I introduce a very small pinch of powdered green water algae (available from aquarium stores) or add a single drop of liquid infusoria culture to the water. This provides natural prey for the bladders without fouling the water.
- Key Action: Continue weekly 30% water changes with conditioned water. Resist the urge to move it to its final home too soon.
Transitioning to a Permanent Home
After two weeks of sustained, visible growth, your bladderwort colony is ready to move. Whether to an aquarium, outdoor pond, or a larger dedicated container, the transition principle remains: gradual acclimation.
I float the entire propagation vessel in the final tank for an hour to equalize temperature. Then, I gently pour or scoop the new bladderwort mass into its new environment, ideally into a calm, well-lit area. I avoid placing it directly under a powerful filter outflow, which can tear it apart. In an aquarium with fish, the bladderwort will now benefit from naturally occurring microfauna.
Common Challenges and Their Solutions
- Algae Competition: If algae coats the bladderwort, it will die. Prevention is key: use clean water, avoid excessive light duration, and ensure good water circulation in the final tank. If it occurs, gently swish the colony in a separate container of clean water to dislodge algae.
- Melt/Dissolution: This is usually a water chemistry issue. Immediately test pH and hardness. A sudden melt calls for moving the remaining healthy bits to a fresh batch of soft, conditioned water.
- Stagnant Growth: Often due to a lack of microscopic food or insufficient light. Review your lighting spectrum and duration, and consider the gentle introduction of infusoria as mentioned.
How long does it take for bladderwort to start showing significant growth after propagation? Under ideal conditions with the protocol above, you should see definite new growth within 7-10 days. Significant colony expansion, where you can visibly notice the mat enlarging, typically begins after the two-week mark and accelerates in the following weeks.
Can I propagate bladderwort by just cutting a single stem? Technically yes, but the failure rate is much higher. A single stem fragment is incredibly vulnerable. My method of using a cluster of 3-5 stems provides redundancy; if one stem struggles, the others support the colony, dramatically increasing your chance of successful aquatic bladderwort propagation.
Is bladderwort safe for a fish tank with shrimp or small fish? Absolutely, and it can be beneficial. It provides excellent cover for fry and shrimp. The bladders are far too small to harm anything but microscopic organisms like protozoa and rotifers. In fact, many aquarists use it as a natural indicator of water quality and a supplemental food source for tiny creatures in the tank.
Propagating aquatic bladderwort is a deeply rewarding practice that demystifies this unique carnivorous plant. The path to zero-failure bladderwort cultivation lies in respecting its specific needs: pristine, soft water; gentle, consistent light; and a patient, observant approach during the fragile first fortnight. By preparing the environment first, handling the plant with minimal stress, and vigilantly guiding it through the critical establishment phase, you can transform a small fragment into a thriving, floating masterpiece. The sight of that first new branch, knowing you’ve successfully unlocked its growth cycle, is worth every moment of careful attention.

发表评论